一般的 Windows Form 通常是運用各種控件來顯示數據,然而如果您希望在窗體中加入特殊效果來凸顯數據內容,那麼圖形與動畫將是非常不錯的選擇。
一般來說,我們會使用 .Net Framework中 的 GDI+ 函式庫來制作圖形與動畫效果。在 GDI+ 還沒有推出之前,如果要產生二維的 向量圖形、影像、以及印刷樣式,必須使用舊版操作系統中的GDI。新的 GDI+ 是 Windows XP 的一部份,除了加入新功能之外,還最佳化現有功能以便具體改進 GDI(也就是舊版 Windows 包含的繪圖裝置接口)的效能。
程序范例
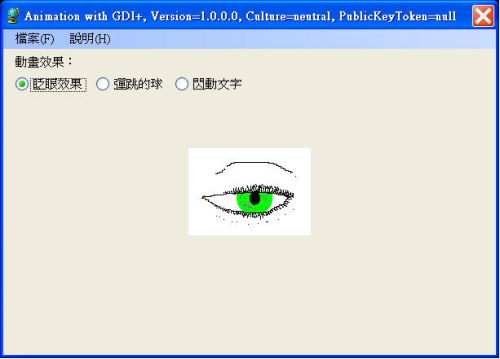
圖表1
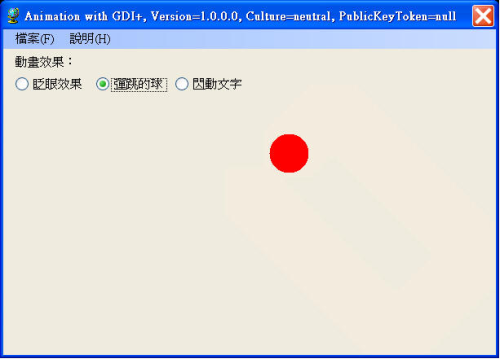
圖表2
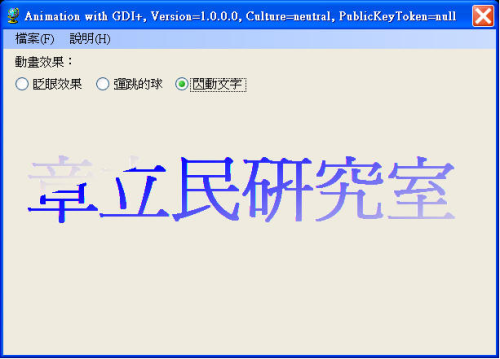
圖表3
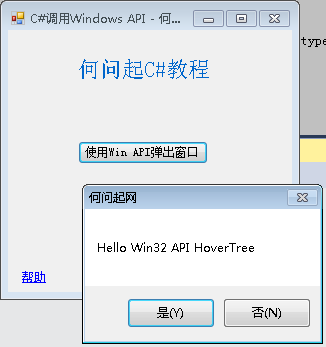
我們的程序范例示范了三種動畫效果,分別是:眨眼效果、彈跳的球、以及文字閃爍,當程序執行時會自動展示第一種眨眼效果,如圖表1到3所示。
運用之前「如何利用程序代碼動態存取組件信息」的技巧,將組件的 AsmFQName 屬性值指派給窗體的 Text 屬性,並將先前已經加入項目資源的四張圖片名稱指派給數組,之後就使用此數組來示范眨眼效果,程序代碼撰寫於窗體的Load事件處理例程中,如下所示:
private void Blog_DemoForm002_Load(object sender, EventArgs e)
{
 AssemblyInfoClass myAssembly = new AssemblyInfoClass();
 this.Text = myAssembly.AsmFQName;
 // 指派數組成員。
 arrImages[0] = Properties.Resources.Eye1;
 arrImages[1] = Properties.Resources.Eye2;
 arrImages[2] = Properties.Resources.Eye3;
 arrImages[3] = Properties.Resources.Eye4;
} 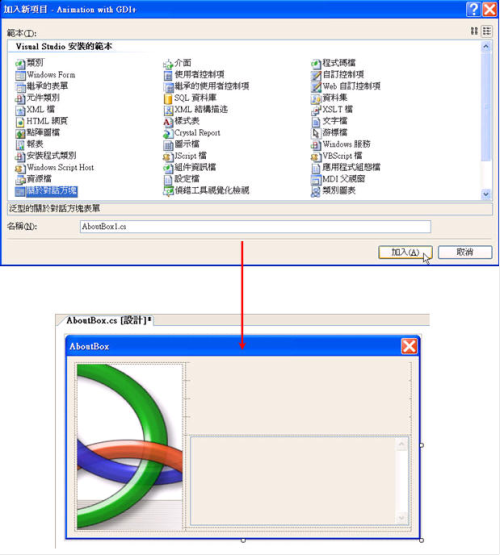
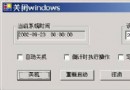
圖表4
如果您要使用 Visual C# 來制作「關於」對話框,建議先使用Visual Studio 2005所提供的模板來產生關於對話框窗體,然後再自訂窗體所要呈現的內容(如圖表4所示)。在此,我們選擇將組件的相關信息填入窗體對應的控件,請於「關於」對話框窗體的 Load 事件處理例程中撰寫下列程序代碼:
private void AboutBox_Load(object sender, EventArgs e)
{
 AssemblyInfoClass myAssembly = new AssemblyInfoClass();
 labelProductName.Text = "產品名稱:" + myAssembly.Product;
 labelVersion.Text = "版本:" + myAssembly.Version;
 labelCopyright.Text = "版權宣告:" + myAssembly.Copyright;
 labelCompanyName.Text = "公司名稱:" + myAssembly.Company;
 textBoxDescription.Text = "細部描述:" +
 myAssembly.Description;
}
要顯示「關於」對話框,請替「說明」菜單項目的Click事件處理例程中撰寫下列程序代碼:
private void toolStripMenuItem4_Click(object sender, EventArgs e)
{
 // 顯示關於對話框。
 AboutBox MyAboutBox = new AboutBox();
 // 設定關於對話框的啟始位置。
 MyAboutBox.StartPosition = FormStartPosition.CenterScreen;
 MyAboutBox.Show();
}
當用戶點選不同的選項按鈕時,將會執行下列程序代碼來顯示不同的動畫效果。這些程序代碼撰寫於選項按鈕的 CheckedChanged 事件處理函式中,如下所列:
private void RadioButtons_CheckedChanged(object sender,
EventArgs e)
{
 if(optWink.Checked)
 {
  tmrAnimation.Interval = WINK_TIMER_INTERVAL;
 }
 else if(optBall.Checked)
 {
  tmrAnimation.Interval = BALL_TIMER_INTERVAL;
 }
 else if(optText.Checked)
 {
  tmrAnimation.Interval = TEXT_TIMER_INTERVAL;
 }
 OnResize(EventArgs.Empty);
}
自訂函式 RadioButtons_CheckedChanged 會叫用 OnResize 函式來產生不同的圖形,請大家注意,我們系使用 Graphics 類別的 FillEllipse 方法來繪制球形,程序代碼如下所列:
protected override void OnResize(EventArgs ea)
{
 if (optWink.Checked)
 {
  Graphics grfx = CreateGraphics();
  // 重繪窗體。
  this.Refresh();
 }
 else if (optBall.Checked)
 {
  Graphics grfx = CreateGraphics();
  grfx.Clear(BackColor);
  double dblRadius = Math.Min(ClientSize.Width / grfx.DpiX,ClientSize.Height / grfx.DpiY) / intBallSize;
  intBallRadiusX = (int)(dblRadius * grfx.DpiX);
  intBallRadiusY = (int)(dblRadius * grfx.DpiY);
  intBallMoveX = (int)(Math.Max(1, intBallRadiusX / intMoveSize));
  intBallMoveY = (int)(Math.Max(1, intBallRadiusY / intMoveSize));
  intBitmapWidthMargin = intBallMoveX;
  intBitmapHeightMargin = intBallMoveY;
  intBallBitmapWidth = 2 * (intBallRadiusX + intBitmapWidthMargin);
  intBallBitmapHeight = 2 * (intBallRadiusY + intBitmapHeightMargin);
  bitmap = new Bitmap(intBallBitmapWidth, intBallBitmapHeight);
  grfx = Graphics.FromImage(bitmap);
  grfx.Clear(BackColor);
  // 繪制球形。
  grfx.FillEllipse(Brushes.Red, new Rectangle(intBallMoveX,intBallMoveY, 2 * intBallRadiusX, 2 * intBallRadiusY));
  intBallPositionX = (int)(ClientSize.Width / 2);
  intBallPositionY = (int)(ClientSize.Height / 2);
 }
 else if (optText.Checked)
 {
  Graphics grfx = CreateGraphics();
  grfx.Clear(BackColor);
 }
}
最後,利用定時器將圖形連續重繪於窗體上,便產生了動畫效果。程序代碼撰寫於定時器的 Tick 事件處理例程中,如下所示: