1、准備安裝
查看當前oracle版本,確定是比較舊的11.2.0.1
[oracle@hch_test_121_90 ~]$ rlwrap sqlplus / as sysdba
SQL*Plus: Release 11.2.0.1.0 Production on Fri Mar 17 15:20:45 2017
Copyright (c) 1982, 2009, Oracle. All rights reserved.
Connected to:
Oracle Database 11g Enterprise Edition Release 11.2.0.1.0 - 64bit Production
With the Partitioning, OLAP, Data Mining and Real Application Testing options
SQL> exit
Disconnected from Oracle Database 11g Enterprise Edition Release 11.2.0.1.0 - 64bit Production
With the Partitioning, OLAP, Data Mining and Real Application Testing options
[oracle@hch_test_121_90 ~]$
上傳11.2.0.4的安裝包p13390677_112040_Linux-x86-64_1of7.zip、p13390677_112040_Linux-x86-64_2of7.zip到服務器上。Oracle11.2.0.4的安裝包下載,請查閱我的blog地址,這上面有下載源:http://blog.csdn.net/mchdba/article/details/51418063
升級准備:
解壓縮:
[oracle@hch_test_121_90 oracle]$ unzip p13390677_112040_Linux-x86-64_1of7.zip
[oracle@hch_test_121_90 oracle]$ unzip p13390677_112040_Linux-x86-64_2of7.zip
打開啟動圖像界面
[oracle@hch_test_121_90 oracle]$ cd database/
[oracle@hch_test_121_90 database]$ ./runInstaller
Starting Oracle Universal Installer...
Checking Temp space: must be greater than 120 MB. Actual 6024 MB Passed
Checking swap space: must be greater than 150 MB. Actual 1798 MB Passed
Checking monitor: must be configured to display at least 256 colors. Actual 16777216 Passed
Preparing to launch Oracle Universal Installer from /tmp/OraInstall2017-03-17_03-11-29PM. Please wait ...[oracle@hch_test_121_90 database]$
[oracle@hch_test_121_90 database]$
2、開始升級
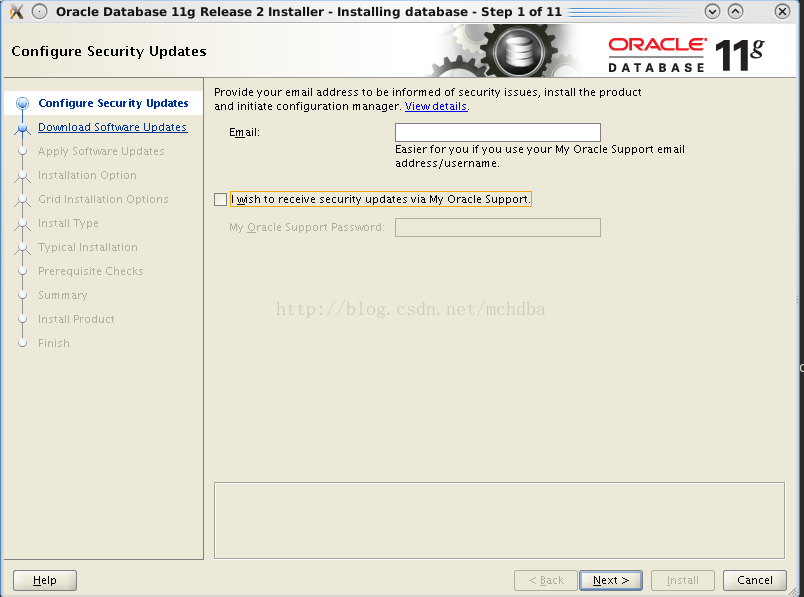
C:\pic\oracle\100.png,填寫郵箱地址(也可以忽略不填寫),然後下一步
選擇忽略軟件升級,下一步嗎,如101.png

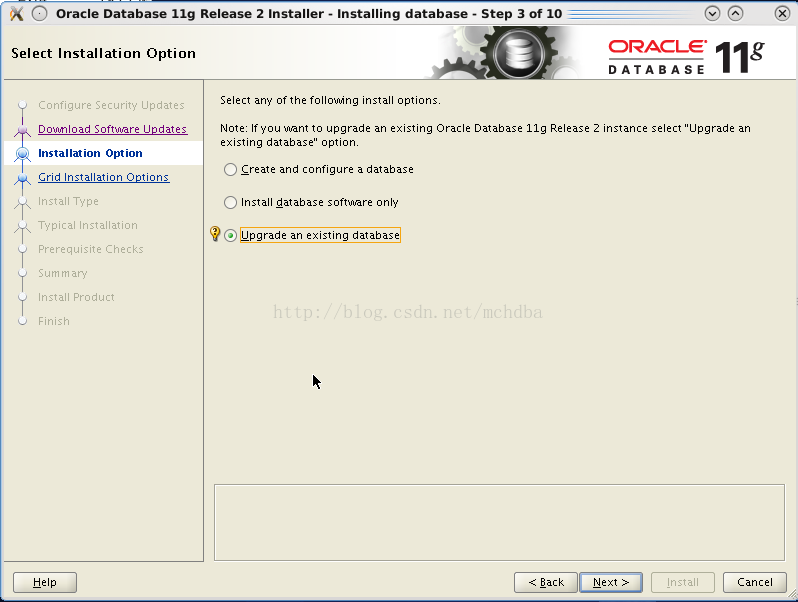
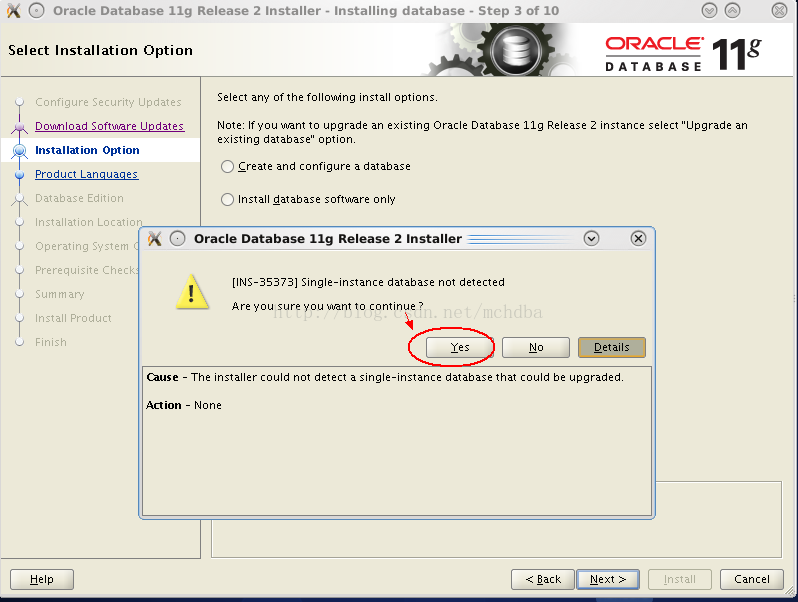
然後選擇升級,如下102.png
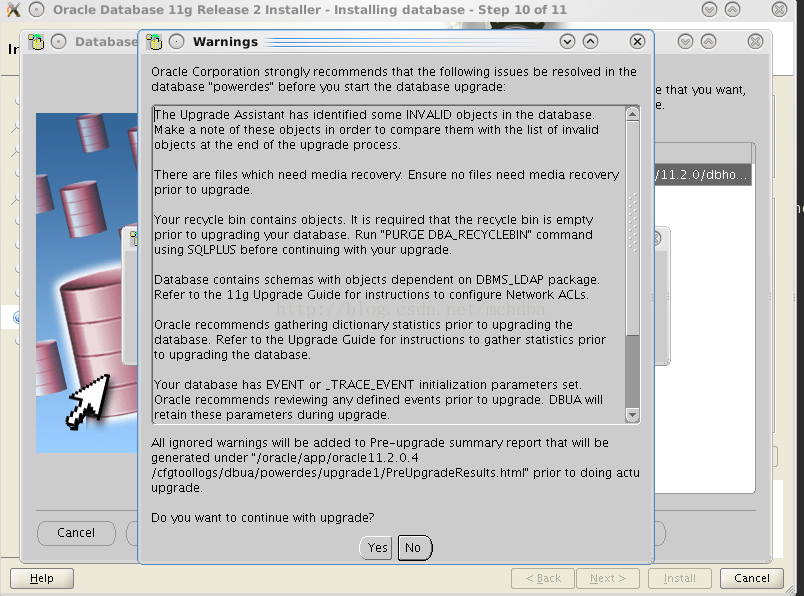
然後繼續進行,有個INS-35373錯誤,選擇Yes,如下
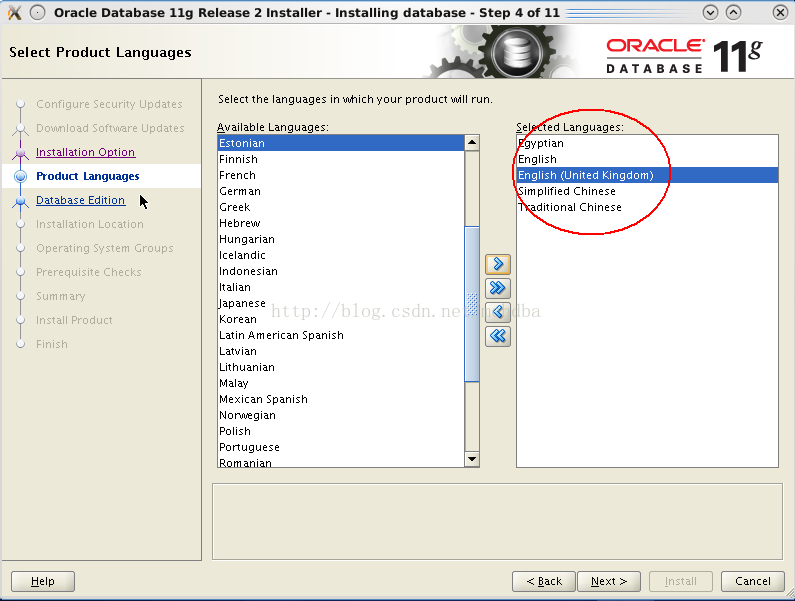
然後選擇好語言種類,簡體中文、繁體中文、英語、美式英語等,如104.png所示:
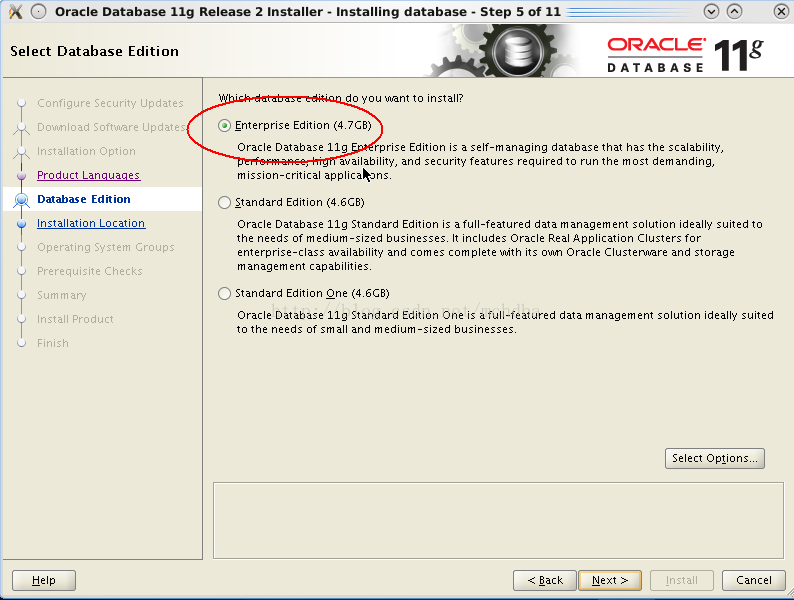
繼續下一步,選擇企業版,如
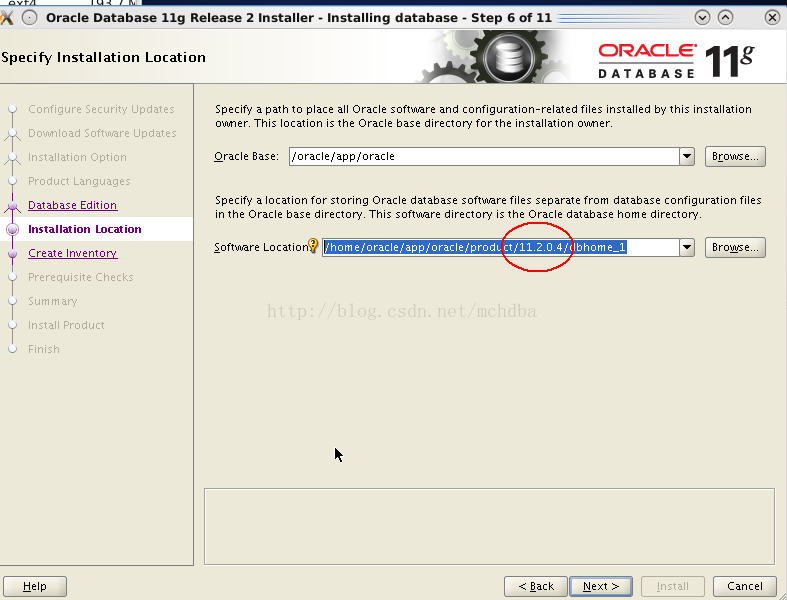
接下來,開始選擇oracle目錄了,是選擇新建的目錄呢還是選擇原來的老版本11.2.0.1的目錄呢?這裡最好選擇一個新的目錄,因為萬一升級失敗了,老的oracle版本軟件目錄沒有被覆蓋掉,還可以繼續使用的,否則升級失敗,就基本只有徹底暴力清除所有文件以及注冊信息,之後重新安裝oracle了。
我這裡就選擇一個新的目錄11.2.0.4的目錄,如106.png、107.png所示

接下來,繼續,選擇新的的Inventory Directory目錄,默認的會報錯,如108.png所示

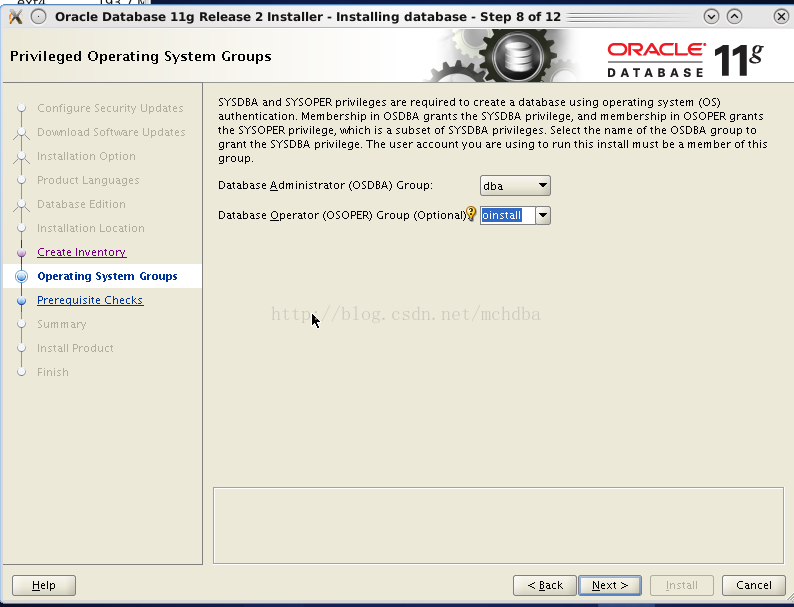
接下來選擇用戶組和操作組,如109.png所示:
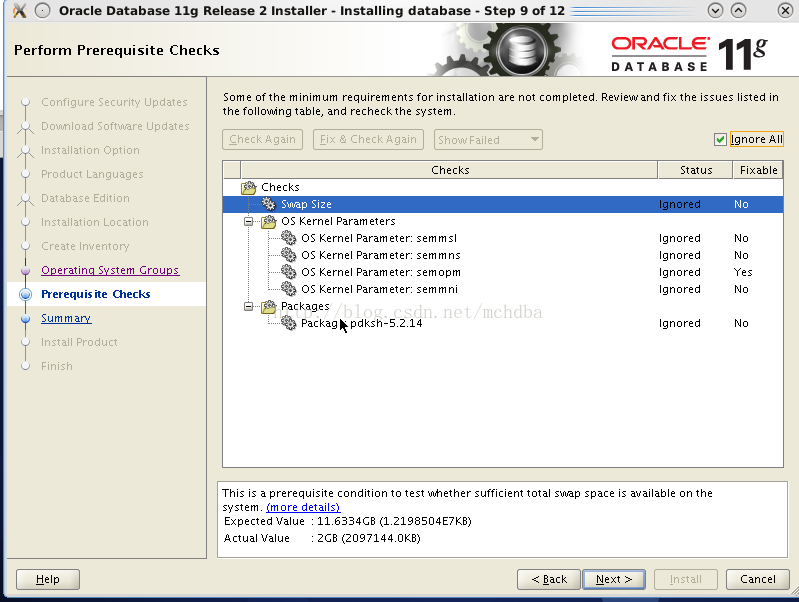
接下來,會有checking各種lib包,一些比較偏的,缺少了也沒事,直接Ignore忽略掉就ok,如110.png所示:
下一步看安裝的目錄以及基本信息,如111.png所示:

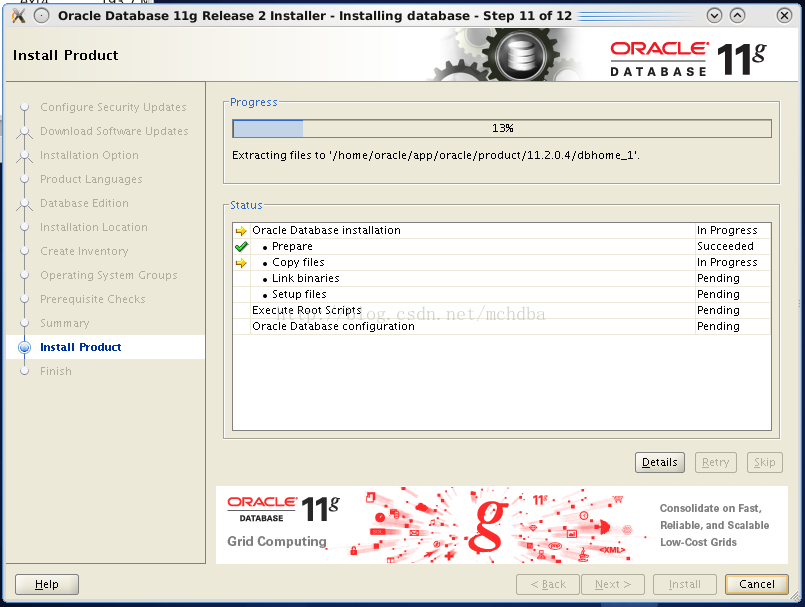
然後點擊“”Install“”按鈕,開始安裝,如圖112.png
中級需要執行配置腳本,如圖112_1.png
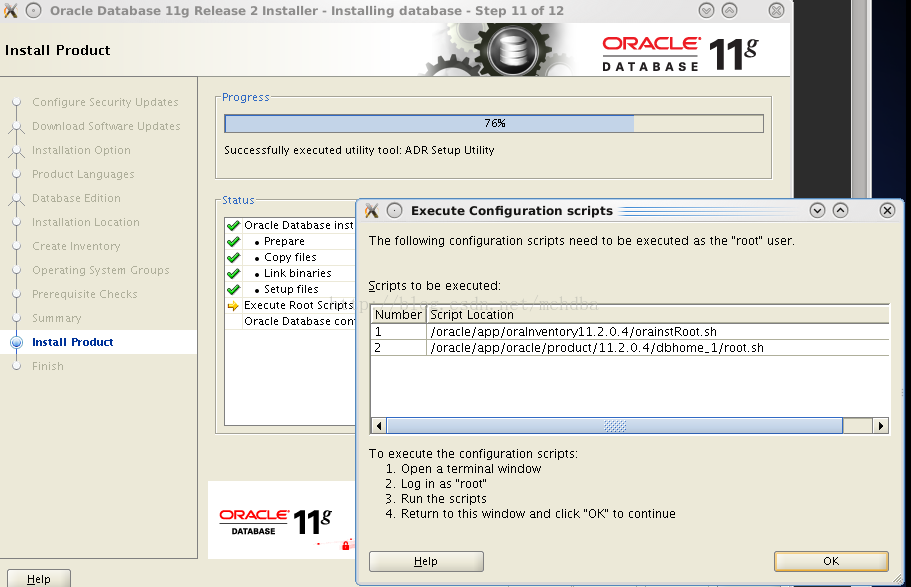
重新打開xshell,ssh連接到數據庫,在命令行去執行命令:
[root@hch_test_121_90 oracle]# bash -x/oracle/app/oraInventory11.2.0.4/orainstRoot.sh
[root@hch_test_121_90 oracle]# bash -x/oracle/app/oracle/product/11.2.0.4/dbhome_1/root.sh
執行過程如下:
[root@hch_test_121_90 oracle]# bash -x /oracle/app/oraInventory11.2.0.4/orainstRoot.sh
+ AWK=/bin/awk
+ CHMOD=/bin/chmod
+ CHGRP=/bin/chgrp
+ CP=/bin/cp
+ ECHO=/bin/echo
+ MKDIR=/bin/mkdir
++ /usr/bin/id
++ /bin/awk '-F(' '{print $1}'
++ /bin/awk -F= '{print $2}'
+ RUID=0
+ '[' 0 '!=' 0 ']'
+ '[' -d /etc ']'
+ /bin/chmod 755 /etc
+ '[' -f /oracle/app/oraInventory11.2.0.4/oraInst.loc ']'
+ /bin/cp /oracle/app/oraInventory11.2.0.4/oraInst.loc /etc/oraInst.loc
+ /bin/chmod 644 /etc/oraInst.loc
+ /bin/echo 'Changing permissions of /oracle/app/oraInventory11.2.0.4.
Adding read,write permissions for group.
Removing read,write,execute permissions for world.
'
Changing permissions of /oracle/app/oraInventory11.2.0.4.
Adding read,write permissions for group.
Removing read,write,execute permissions for world.
+ /bin/chmod -R g+rw,o-rwx /oracle/app/oraInventory11.2.0.4
+ '[' 0 '!=' 0 ']'
+ /bin/echo 'Changing groupname of /oracle/app/oraInventory11.2.0.4 to oinstall.'
Changing groupname of /oracle/app/oraInventory11.2.0.4 to oinstall.
+ /bin/chgrp -R oinstall /oracle/app/oraInventory11.2.0.4
+ '[' 0 '!=' 0 ']'
+ /bin/echo 'The execution of the script is complete.'
The execution of the script is complete.
[root@hch_test_121_90 oracle]#
[root@hch_test_121_90 oracle]#
[root@hch_test_121_90 ~]# sh /oracle/app/oracle/product/11.2.0.4/dbhome_1/root.sh
Performing root user operation for Oracle 11g
The following environment variables are set as:
 ORACLE_OWNER= oracle
 ORACLE_HOME= /oracle/app/oracle/product/11.2.0.4/dbhome_1
Enter the full pathname of the local bin directory: [/usr/local/bin]: /oracle/app/oracle/product/11.2.0.4/dbhome_1/bin
The contents of "dbhome" have not changed. No need to overwrite.
The contents of "oraenv" have not changed. No need to overwrite.
The contents of "coraenv" have not changed. No need to overwrite.
Entries will be added to the /etc/oratab file as needed by
Database Configuration Assistant when a database is created
Finished running generic part of root script.
Now product-specific root actions will be performed.
Finished product-specific root actions.
[root@hch_test_121_90 ~]#
之後回到vnc遠程的窗口,點擊界面的OK,會提示安裝Oracle Net Configuration Assistant: Welcome操作:
接下來會配置網絡,如下113.png、114.png

設置sys密碼,如115.png所示
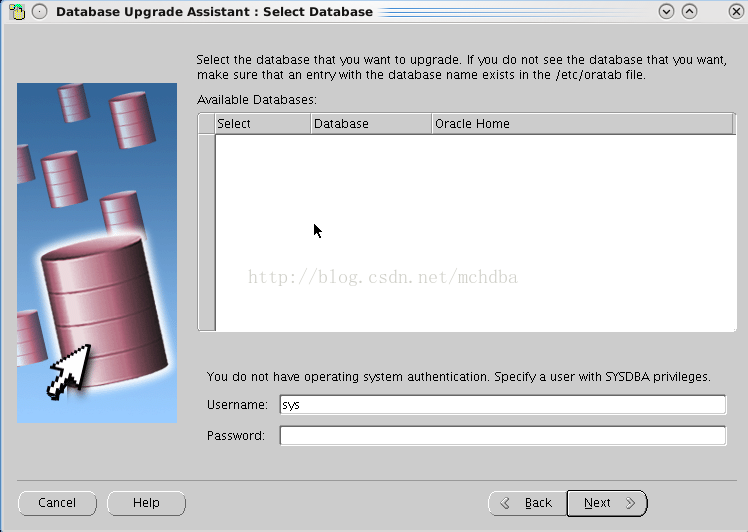
看到這裡,問題來了,中間沒有數據庫讓你選擇去升級,問題在哪裡呢,在/etc/oratab沒有配置,所以趕緊去配置:
[root@hch_test_121_90 ~]# more /etc/oratab
#
# This file is used by ORACLE utilities. It is created by root.sh
# and updated by either Database Configuration Assistant while creating
# a database or ASM Configuration Assistant while creating ASM instance.
# A colon, ':', is used as the field terminator. A new line terminates
# the entry. Lines beginning with a pound sign, '#', are comments.
#
# Entries are of the form:
# $ORACLE_SID:$ORACLE_HOME:<N|Y>:
#
# The first and second fields are the system identifier and home
# directory of the database respectively. The third filed indicates
# to the dbstart utility that the database should , "Y", or should not,
# "N", be brought up at system boot time.
#
# Multiple entries with the same $ORACLE_SID are not allowed.
#
powerdes:/hom/oracle/app/oracle/product/11.2.0/dbhome_1:Y
[root@hch_test_121_90 ~]#
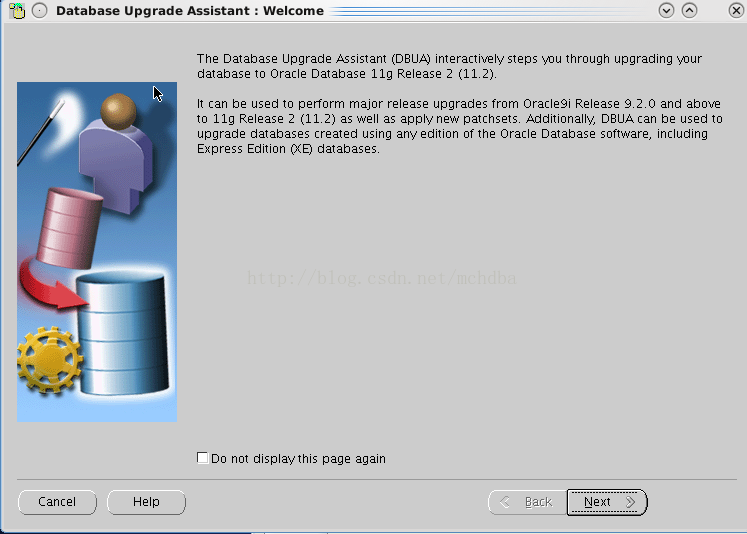
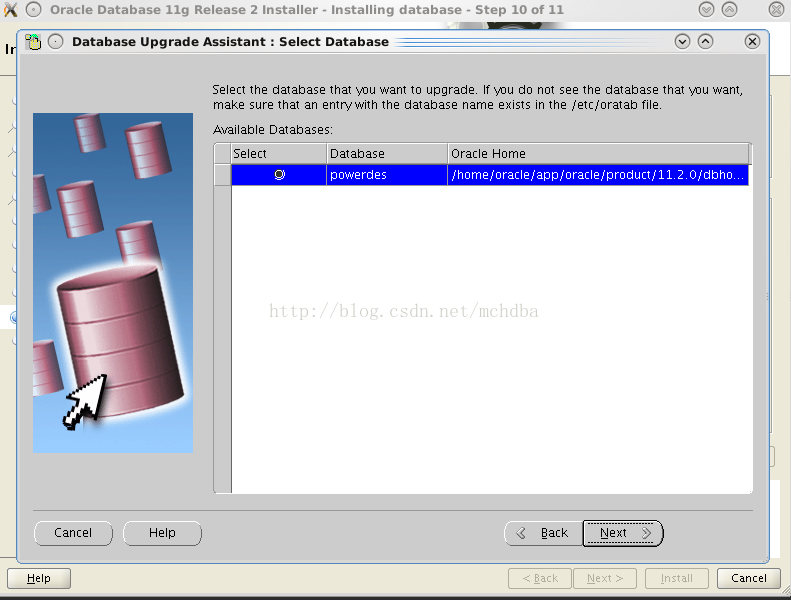
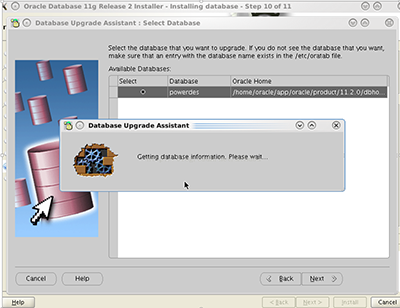
配置完後,前面的步驟重新來一遍,到此就會有下面的出現的database選擇項讓我們選擇,如116.png、117.png、118.png所示:
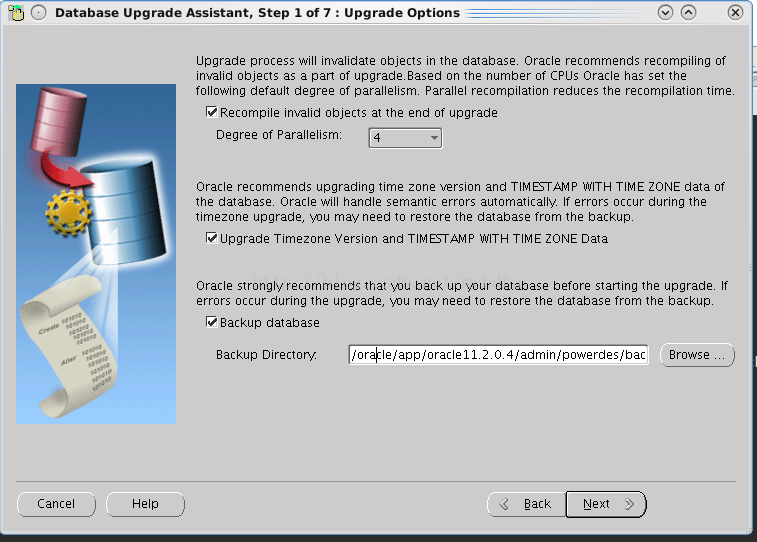
接下來,選擇升級時區以及備份數據庫,如119.png所示:
選擇升級過程中不移動數據文件,如圖120.png

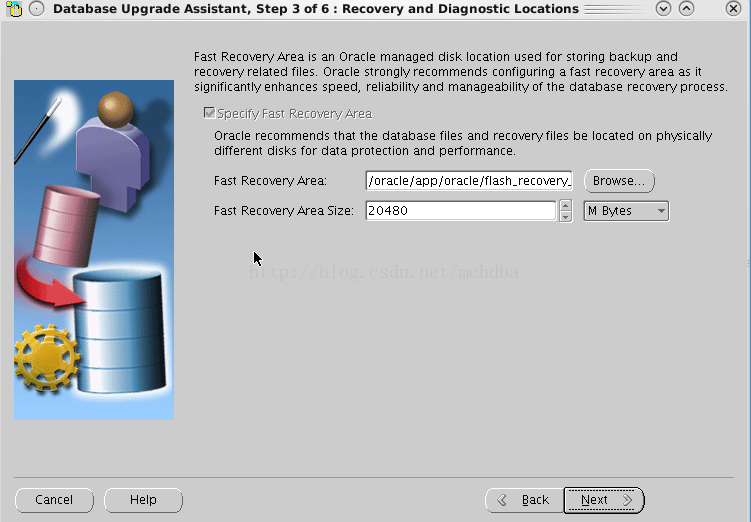
選擇默認的閃回恢復區以及恢復區大小,也可以自己手動調整,如121.png
接下來默認下一步,准備企業管理器,當然也可以選擇不需要的,直接忽略掉,如下圖122.png

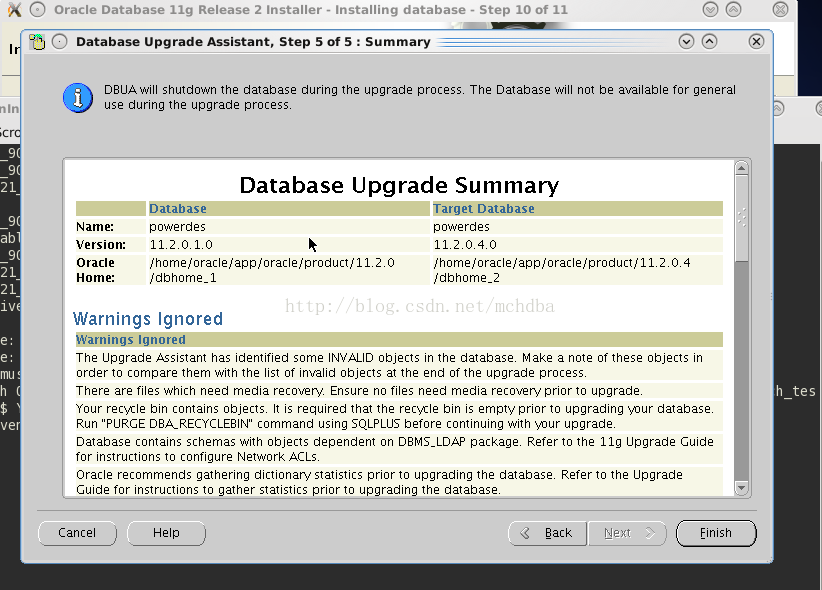
接下來,點擊“Finish”按鈕(這個時間會比較長,至少1個小時吧,我這裡用了1.5個小時,可能在ssd上時間比較短),如圖123.png、124.png、125.png所示
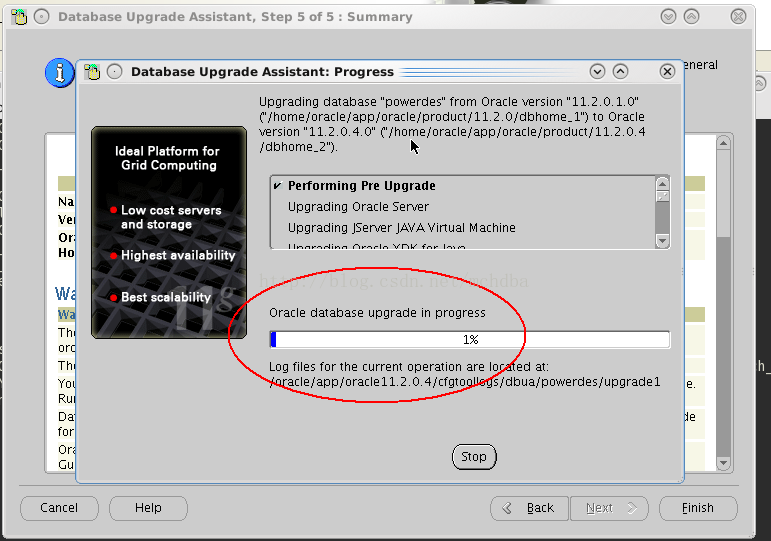
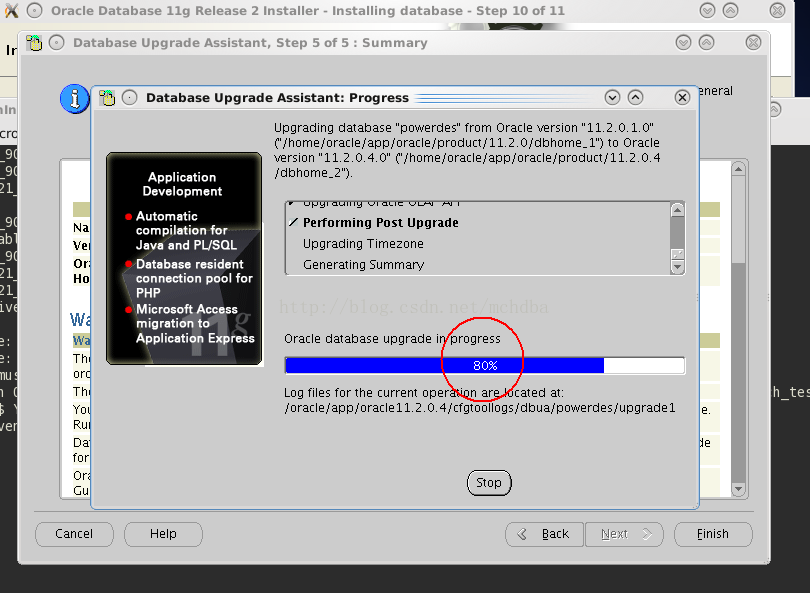
OK,等待進度條變成100%,然後基本的升級就好了,就完成了,後續記得修改.bash_profile裡面的ORACLE_HOME目錄為新的11.2.0.4目錄即可。
以上所述是小編給大家介紹的ORACLE 11g從 11.2.0.1升級到11.2.0.4 詳細實戰教程,希望對大家有所幫助,如果大家有任何疑問請給我留言,小編會及時回復大家的。在此也非常感謝大家對網站的支持