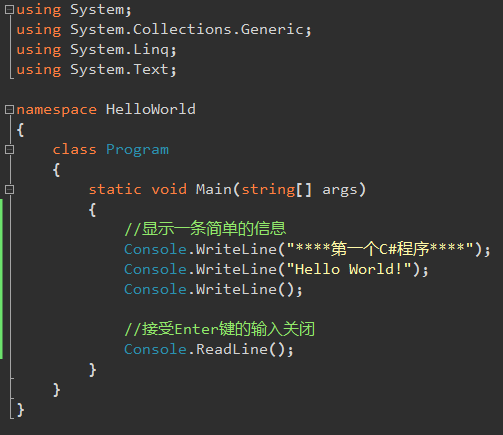
最近才開始學微信開發的相關內容,記錄下,慢慢的養成習慣!
1.申請公眾號: 公眾號分為 訂閱號 和 服務號。他們之前的區別可以點擊這裡查看
因為我們是測試的,所以可以直接申請測試帳號,就把所有的功能都開通好了。 申請地址:http://mp.weixin.qq.com/debug/cgi-bin/sandbox?t=sandbox/login
申請了以後就有自己的和
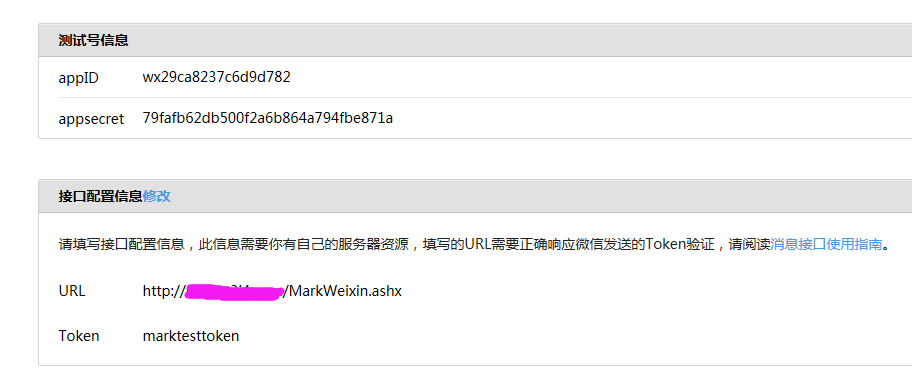
2.配置接收信息的URL地址(必須保證外網能訪問到,微信需要驗證),我這邊只用handler來接收和處理信息。同時設置一個你自己的Token.(token值必須和你程序裡面寫的值是一致的)
/// <summary>
    /// MarkWeixin 的摘要說明
    /// </summary>
    public class MarkWeixin : IHttpHandler
    {
        public void ProcessRequest(HttpContext context)
        {
            weixinHelper wx = new weixinHelper();
            String postStr = String.Empty;

            if (HttpContext.Current.Request.HttpMethod.ToUpper() == "POST")
            {
                Stream s = HttpContext.Current.Request.InputStream;
                Byte[] b = new Byte[s.Length];
                s.Read(b, 0, (Int32)s.Length);
                postStr = Encoding.UTF8.GetString(b);

                if (!String.IsNullOrEmpty(postStr))
                {
                    //接收處理消息
                    wx.Handle(postStr);
                }
            }
            else
            {
                //驗證token方法
                wx.InterfaceTest();
            }
        }

        public bool IsReusable
        {
            get
            {
                return false;
            }
        }
    }
下面是驗證方法: (配置裡面的token值,就是這個方法裡面的值)
/// <summary>
        /// 驗證
        /// </summary>
        public void InterfaceTest()
        {
            string token = "marktesttoken";
            if (string.IsNullOrEmpty(token))
            {
                return;
            }

            string echoString = HttpContext.Current.Request.QueryString["echoStr"];
            string signature = HttpContext.Current.Request.QueryString["signature"];
            string timestamp = HttpContext.Current.Request.QueryString["timestamp"];
            string nonce = HttpContext.Current.Request.QueryString["nonce"];

            if (!string.IsNullOrEmpty(echoString))
            {
                HttpContext.Current.Response.Write(echoString);
                HttpContext.Current.Response.End();
            }
        }
結束語:簡單的配置就這樣完成了,後面就可以完善接收處理信息的方法!