Preface
Data preparation stage
Version recommendation
Project realization stage
Django Establishment of the project
Routing configuration and access
Add rich text model
Create city and province models
Background management system
summary
Prefacebe based on Pythgo Of Django frame , Programming a WEB Program , Provide users with City information inquiry function . The user can enter a city name , Output the name and zip code of its province Etc . for example , Input “ Guilin ”, Output “ Guangxi Zhuang Autonomous Region ” and “541000” etc. City related information .
Data preparation stage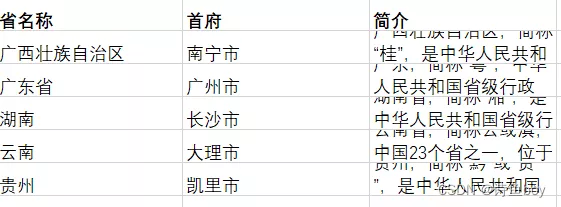
In this tutorial django by 4.0.3,python Version is 3.10.4, Recommended , If not these versions ,django,python There will be error !
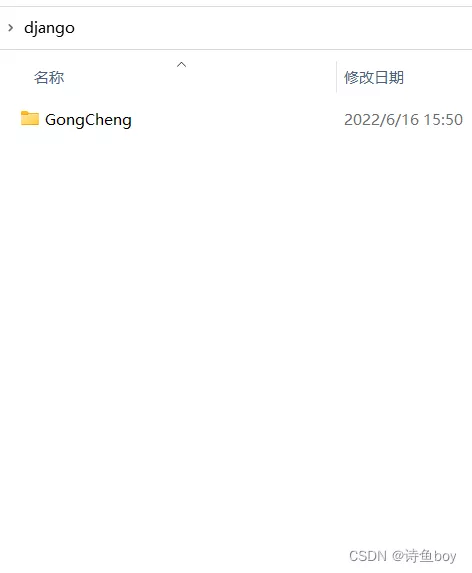
Create a new one on the desktop django Folder , stay vscode The terminal of opens this folder , Create a project in the terminal , Such as :
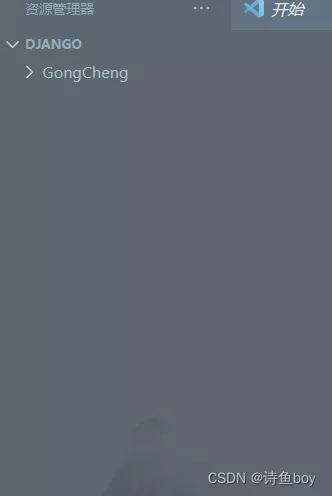
django-admin startproject GongChengYou can see that the left side of the Explorer appears GongCheng
And run on the terminal manager.py file :
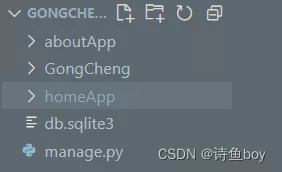
Desktop\django\GongCheng> python manage.py runserverAdd two for the project App, One as the homepage , A query as a province :
PS C:\Users\ user \Desktop\django\GongCheng> python manage.py startapp homeAppPS C:\Users\ user \Desktop\django\GongCheng> python manage.py startapp aboutAppAfter adding , Corresponding to the left Explorer :
Under the project directory , establish static file , It is inconvenient to say more here , File link link : Click here to download

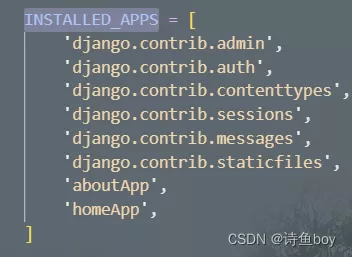
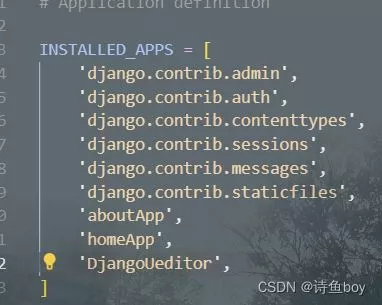
Under the project route settings.pu In the document INSTALLED_APPS[ ] Enter two app The name of :
Rendering interface
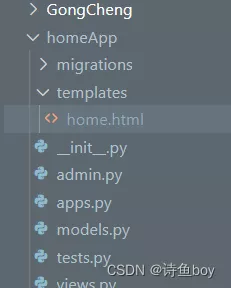
After completing the above configuration , open homeApp The folder views.py, Make it return to the page through code , Code in :
from django.shortcuts import renderfrom django.shortcuts import HttpResponse# Create your views here.def home(request): return render(request, 'home.html')And then in homeApp Set up under the templates Folder , Create... In this folder home.html:
And in html Enter the following code in , Make the file and static File to connect , obtain css,js style :
notes : There are some people Django The version is 2.2.4 Of , Small make up the Django The version is the latest version , therefore 2.2.4 Version of the students , Need to be in HTML Of {% load static %} Change to {% load staticfiles %}
{% load static %}<!DOCTYPE html><html lang="zh-cn"><head> <meta charset="utf-8"> <meta http-equiv="X-UA-Compatible" content="IE=edge"> <meta name="viewport" content="width=device-width, initial-scale=1"> <title> home page </title> <link href="{% static 'css/bootstrap.css' %}" rel="stylesheet"> <link href="{% static 'css/style.css' %}" rel="stylesheet"> <script src="{% static 'js/jquery.min.js' %}"></script> <script src="{% static 'js/bootstrap.min.js' %}"></script></head><body></body></html>Set the website root access path , Find... In the project root directory urls.py find urlpatterns Field , Then add home page route :
from django.contrib import admin# Already there. from django.urls import path# Already there. from homeApp.views import homefrom django.conf.urls import includeurlpatterns = [ path('admin/', admin.site.urls), path('',home,name='home'), path('aboutApp/',include('aboutApp.urls')),]stay aboutApp Is created under the directory urls.py, And then aboutApp\urls.py Add inside
from django.urls import pathfrom . import viewsapp_name = 'aboutApp'urlpatterns = [ path('about/',views.about,name='about'),]send app_name Own name .
open aboutApp\views.py, Enter the following code :
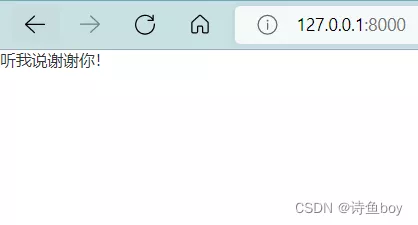
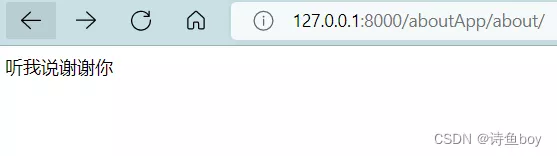
from django.shortcuts import renderfrom django.shortcuts import HttpResponsedef about(request): html='<html><body> Listen to me. Thank you </body></html>' return HttpResponse(html)Then input... At the terminal :python manage.py runserver Run the program , Open the link
Home page effect :
aboutApp Page effects :
Last , At the root setting.py Of INSTALLED_APPS[ ] At the top of the ALLOWED_HOSTS = [ ] add to ‘*’ :
ALLOWED_HOSTS = ['*',] Add rich text model Rich text installation : You need to install the download package manually , Download url :https://github.com/twz915/DjangoUeditor3/ Then install , For terminal cd Definition To DjangoUeditor3-master, Then enter the following command to complete the installation :
python manage.py installNeed to put DjangoUeditor3-master In the project DjangoUeditor Add folder to current GongCheng In the project root directory :
Add under project root DjangoUeditor

After adding files , Under the project route settings.pu In the document INSTALLED_APPS[ ] add to DjangoUeditor
Find... In the project root directory urls.py find urlpatterns Field , Then add rich text routes :
path('ueditor/',include('DjangoUeditor.urls')),Here it is , Completed the configuration of rich text
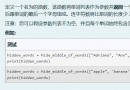
Create city and province modelsopen aboutApp Of models.py file , Add a province model to this file (Province)
from django.db import modelsfrom DjangoUeditor.models import UEditorField from django.utils import timezoneclass Province(models.Model): name = models.CharField(max_length=10,verbose_name=' Province ') capital= models.CharField(max_length=8, verbose_name=' Capital, ') concise=UEditorField(u' Province profile ',default='',width=800,height=300,) class Meta: verbose_name =' data ' verbose_name_plural =' data ' def __str__(self): return self.nameclass City(models.Model): province = models.ForeignKey(Province,related_name='city',verbose_name=' Province ',on_delete=models.CASCADE) name = models.CharField(max_length=10,verbose_name=" City ") mail = models.IntegerField(null=False,verbose_name=' Postal Code ') concise=UEditorField(u' City Profile ',default='',width=800,height=300) class Meta: verbose_name =' The city data ' verbose_name_plural =' The city data 'And then at the root setting.py Add the following code :
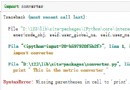
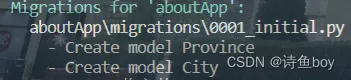
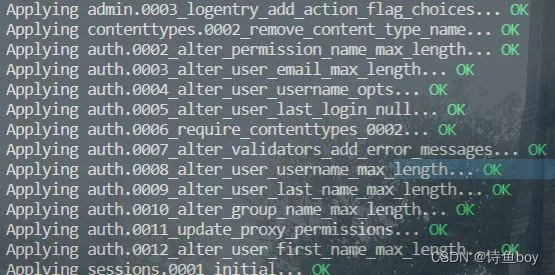
import osSTATICFILES_DIRS = ( os.path.join(BASE_DIR, "static"),)MEDIA_URL='/media/'MEDIA_ROOT=os.path.join(BASE_DIR,'media/') Then input... At the terminal :python manage.py makemigrations
Press enter to see that the model has been established
Continue to input... At the terminal ;python manage.py migrate
enter :
The model is on the back end . Next, we register the super administrator user , You can see the model in the background management system .
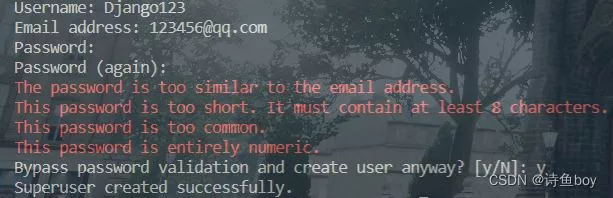
Background management systembecause django I will establish a background management system , So we only need to create an administrator user account in the registration :
python manage.py createsuperuserAfter entering, the page appears , Enter as follows :Username( Administrator's account number , Take whatever you like )
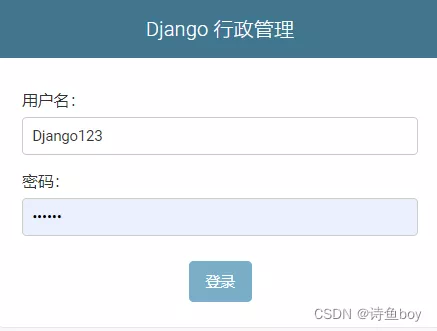
adopt http://127.0.0.1:8000/admin/ Enter the page , If it doesn't open , Please input... At the terminal python manage.py runserver Run the program
After we enter the background management system through the account and password , We can't see the model , We need to be in aboutApp Medium admin.py file , Edit the following code :
from django.contrib import adminfrom .models import *class Cityline(admin.StackedInline): model = City extra = 1 class ProvinceAdmin(admin.ModelAdmin): inlines = [Cityline,]admin.site.register(Province, ProvinceAdmin)admin.site.site_header=' City data 'admin.site.site_title=' City data 'Refresh the background interface , We can see that the model has come out :
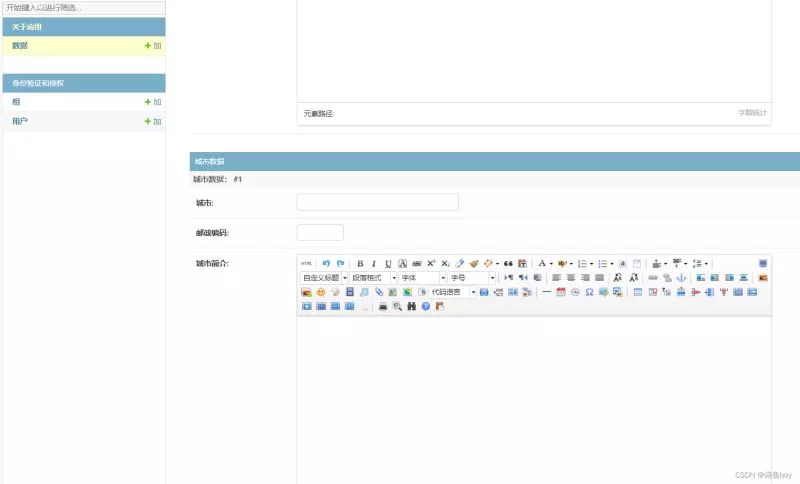
We can browse our interface , One to many models have been covered inside , Rich text files :
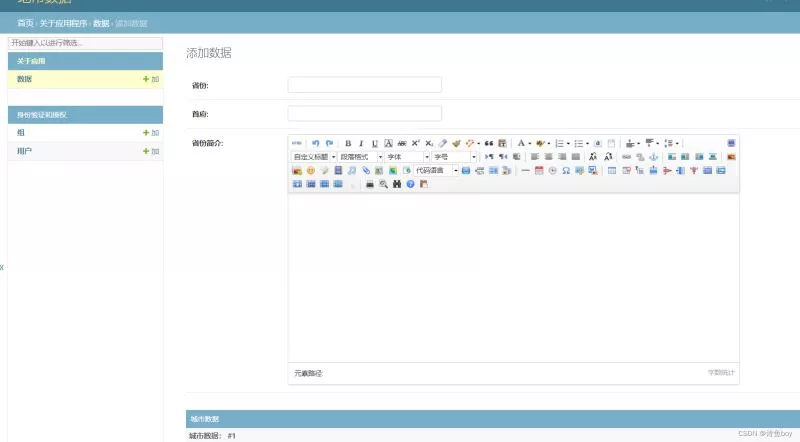
We can input data in the background , Then send it to the corresponding page .
summaryThis is about Django This is the end of the article on the function of urban information query , More about Django Please search the previous articles of the software development network or continue to browse the relevant articles below. I hope you will support the software development network in the future !