0. Preface
1. Environmental Science
1.1 Based on the environment
1.2 Google browser driver
2. The basic flow
2.1 initialization
2.2 Sign in
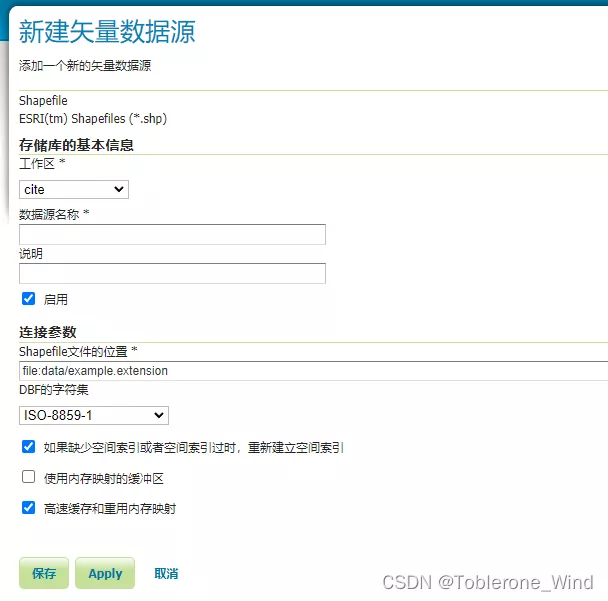
2.3 New data source
2.4 Save data storage
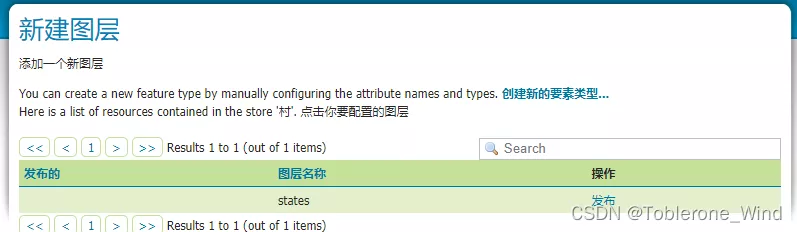
2.5 Publish layers
3. Complete code
0. PrefaceBecause there are many vector layer files , Manual publishing takes time and effort ,python Supported about geoserver package (geoserver-restconfig) And because of disrepair , Cannot be in newer geoserver Normal use in version .
Looked up a lot of information , Refer to the following blog , I simply wrote a code to automatically publish vector files .
The basic flow : Get all under the specified folder .shp file , Release one by one through the process of simulating normal release .
Python+Selenium Realize in Geoserver Batch release Mongo vector data
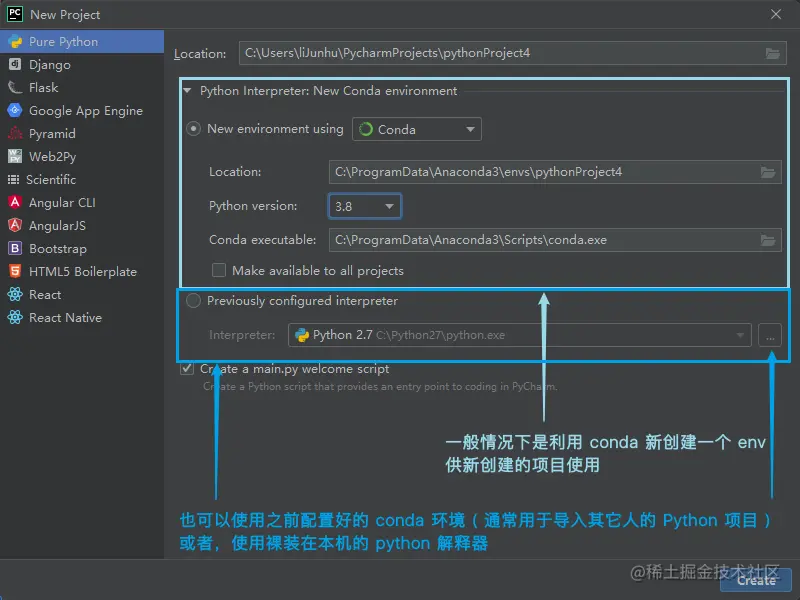
1. Environmental Science 1.1 Based on the environmentFirst of all, your computer should have python Environmental Science 、 Google browser and geoserver2.19 Left right version
Then pass the following instructions on the command line , install Web Automated test tool selenium
pip install selenium1.2 Google browser driver Besides , We also need the corresponding driver of Google browser .
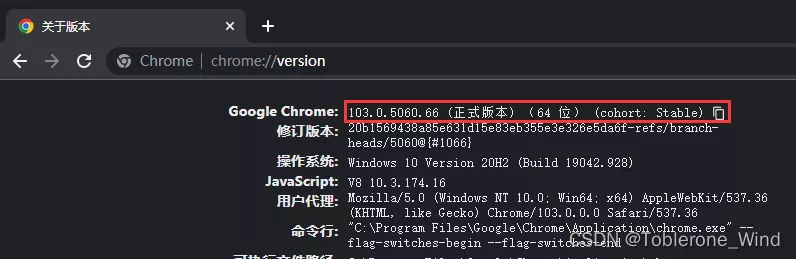
First, you need to check the version of your Google browser , Enter chrome://version/, The first line is the version number
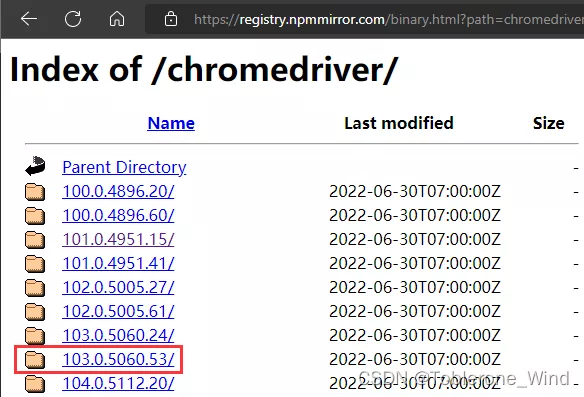
Find the driver with the corresponding version number in this website
The driver that best matches my Google browser here is
download windows Version of the driver
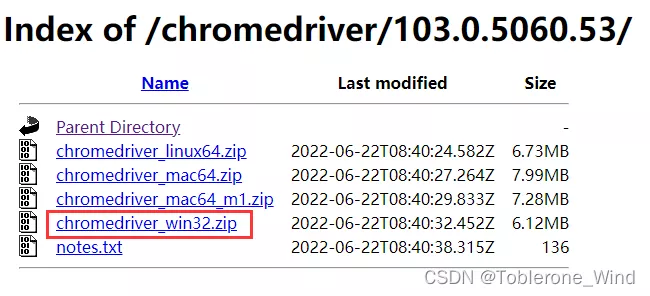
After decompression exe File is placed in main.py The directory where the file is located .
2. The basic flow 2.1 initializationAfter running the code , The program will automatically open a google Browser window , Then enter the geoserver.

Automatically enter user name and password , And click login

Enter the new data source publishing page
http://localhost:8080/geoserver/web/wicket/bookmarkable/org.geoserver.web.data.store.NewDataPage
choice shapefile File format
2.4 Save data storageChoose a workspace , Data source name ,shapefile The location of the file , Set up DBF Character set , Click save
First click publish
Then set the source coordinate system , Target coordinate system , Original boundary and target boundary
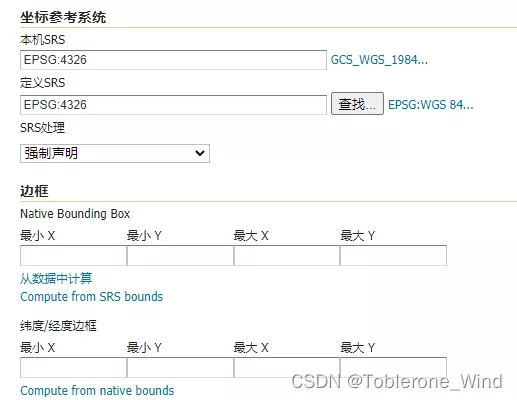
Finally, click Save to finish publishing
3. Complete codemain.py
from time import sleepfrom selenium import webdriverimport os# Sign in def login(): driver.get(baseUrl) driver.find_element_by_id("username").send_keys(username) # Fill in the user name driver.find_element_by_id("password").send_keys(password) # Fill in the password driver.find_element_by_css_selector(".positive").click() sleep(0.8)# Publish a layer service def publish_a_layer(workplace, path, file, defined_srs="EPSG:3857"): ## ------------ Store the data ---------------- # Enter data storage driver.get(baseUrl+"web/wicket/bookmarkable/org.geoserver.web.data.store.NewDataPage") # choice shapefile Format driver.find_element_by_link_text("Shapefile").click() sleep(0.8) # Choose a workspace driver.find_element_by_xpath("//fieldset/div[1]/div/select").send_keys(workplace) # Enter the data source name driver.find_element_by_xpath("//fieldset/div[2]/div/input").send_keys(file) # Clear the original connection parameters driver.find_element_by_css_selector(".longtext").clear() # Input Shapefile The location of the file driver.find_element_by_css_selector(".longtext").send_keys("file:" + path + file + ".shp") # choice DBF Character set for driver.find_element_by_xpath("//fieldset/div[2]/div/select").send_keys("GB2312") # Click save driver.find_element_by_link_text(" preservation ").click() ## ---------------- Publish layers -------------- sleep(0.8) # Click publish driver.find_element_by_xpath("/html/body/div[2]/div/div[2]/div[2]/div/div[2]/div/table/tbody/tr/td[3]/span/a").click() sleep(0.8) # Enter a layer name driver.find_element_by_css_selector("input#name").clear() driver.find_element_by_css_selector("input#name").send_keys(file) # Enter the layer Title driver.find_element_by_css_selector("input#title").clear() driver.find_element_by_css_selector("input#title").send_keys(file) # Enter definition SRS driver.find_element_by_xpath("/html/body/div[2]/div/div[2]/div[2]/form/div[2]/div[2]/div[1]/div/ul/div/li[1]/fieldset/ul/li[2]/span/input").clear() driver.find_element_by_xpath("/html/body/div[2]/div/div[2]/div[2]/form/div[2]/div[2]/div[1]/div/ul/div/li[1]/fieldset/ul/li[2]/span/input").send_keys(defined_srs) # Set boundaries driver.find_element_by_link_text(" Calculate... From the data ").click() driver.find_element_by_link_text("Compute from native bounds").click() driver.find_element_by_id("srsHandling").send_keys("Reproject native to declared") driver.find_element_by_link_text(" Calculate... From the data ").click() driver.find_element_by_link_text("Compute from native bounds").click() sleep(0.8) # Publish layers driver.find_element_by_link_text(" preservation ").click() sleep(1)# lookup dir The file suffix in the directory is suffix The file of def getFiles(dir, suffix): res = [] for root, directory, files in os.walk(dir): # => Current root , Root directory , A file in a directory for filename in files: name, suf = os.path.splitext(filename) # => file name , file extension if suf == suffix: res.append(name) # => Combine a string of strings into a path return res# Configuration parameters username = "admin" # user name password = "geoserver" # password workplace = "test" # Workspace name # geoserver Root address baseUrl = "http://localhost:8080/geoserver/"# The absolute path of the folder where the publishing file is located absolutePath = "D:\\geoserver-2.19.1-bin\\data_dir\\test_res\\"files = getFiles(absolutePath, ".shp")# Launch the browser driver = webdriver.Chrome()login()for file in files: publish_a_layer(workplace, absolutePath, file) The above is based on Python Realization GeoServer Details of batch release of vector files , More about Python GeoServer For the information released by vector files, please pay attention to other relevant articles on software development network !