主題:構建一個基於SpringMVC的HelloWord Web 項目
目的:快速體驗什麼是SpringMVC
方案:
1、創建工程,命名:SpringMVC
<?xml version="1.0" encoding="UTF-8"?>
<beans xmlns="http://www.springframework.org/schema/beans"
xmlns:mvc="http://www.springframework.org/schema/mvc" xmlns:xsi="http://www.w3.org/2001/XMLSchema-instance"
xmlns:context="http://www.springframework.org/schema/context" xmlns:tx="http://www.springframework.org/schema/tx"
xmlns:aop="http://www.springframework.org/schema/aop"
xsi:schemaLocation="http://www.springframework.org/schema/beans
http://www.springframework.org/schema/beans/spring-beans-4.0.xsd
http://www.springframework.org/schema/context
http://www.springframework.org/schema/context/spring-context-4.0.xsd
http://www.springframework.org/schema/tx
http://www.springframework.org/schema/tx/spring-tx-4.0.xsd
http://www.springframework.org/schema/aop
http://www.springframework.org/schema/aop/spring-aop-4.0.xsd
http://www.springframework.org/schema/mvc
http://www.springframework.org/schema/mvc/spring-mvc.xsd">
</beans>
4、在web.xml配置封裝在Spring裡面的servlet--DispatcherServlet前端控制器,並指定spring-mvc.xml文件
<?xml version="1.0" encoding="UTF-8"?>
<web-app xmlns:xsi="http://www.w3.org/2001/XMLSchema-instance" xmlns="http://java.sun.com/xml/ns/javaee" xsi:schemaLocation="http://java.sun.com/xml/ns/javaee http://java.sun.com/xml/ns/javaee/web-app_2_5.xsd" id="WebApp_ID" version="2.5">
  <display-name>SpringMVC</display-name>
  <servlet>
      <servlet-name>SpringMVC</servlet-name>
      <!-- DispathcherServlet 前端控制器 -->
      <servlet-class>org.springframework.web.servlet.DispatcherServlet</servlet-class>
      <init-param>
          <!-- 變量名隨便取 -->
          <param-name>contextConfigLocation</param-name>
          <!-- 指定SpringMVC配置文件名 -->
          <param-value>classpath:spring-mvc.xml</param-value>
      </init-param>
      <!-- load-on-startup等於1,則表示容器啟動就實例化此Servlet -->
    <load-on-startup>1</load-on-startup>
  </servlet>
  <servlet-mapping>
      <!-- 要與上面Servlet的名字對應 -->
      <servlet-name>SpringMVC</servlet-name>
      <!-- 用來匹配客戶端請求 -->
      <url-pattern>*.action</url-pattern>
  </servlet-mapping>
</web-app>
5、在spring-mvc.xml中配置 【HandlerMapping組件】------------------作用------>設置客戶端請求與Controller
【InternalResourceViewResolver組件】--作用------>設置視圖配置
【HelloController】------------------------作用------->測試請求處理
<?xml version="1.0" encoding="UTF-8"?>
<beans xmlns="http://www.springframework.org/schema/beans"
    xmlns:mvc="http://www.springframework.org/schema/mvc" xmlns:xsi="http://www.w3.org/2001/XMLSchema-instance"
    xmlns:context="http://www.springframework.org/schema/context" xmlns:tx="http://www.springframework.org/schema/tx"
    xmlns:aop="http://www.springframework.org/schema/aop"
    xsi:schemaLocation="http://www.springframework.org/schema/beans
               http://www.springframework.org/schema/beans/spring-beans-4.0.xsd
               http://www.springframework.org/schema/context
               http://www.springframework.org/schema/context/spring-context-4.0.xsd
               http://www.springframework.org/schema/tx
               http://www.springframework.org/schema/tx/spring-tx-4.0.xsd
               http://www.springframework.org/schema/aop
               http://www.springframework.org/schema/aop/spring-aop-4.0.xsd
               http://www.springframework.org/schema/mvc
                http://www.springframework.org/schema/mvc/spring-mvc.xsd">

    <!-- 定義客戶端請求映射關系 -->
    <!-- HeanlerMapping是Spring核心組件之一 -->
    <bean id="headlerMapping"
          class="org.springframework.web.servlet.handler.SimpleUrlHandlerMapping">
         <property name="mappings">
             <map>
                 <entry key="/hello.action">
                     <value>helloController</value>
                 </entry>
             </map>
         </property>
    </bean>

    <!-- 增加HelloController的Bean -->
    <bean id="helloController" class="controller.HelloController" />

    <!-- 定義視圖解釋器(Spring核心組件之一) -->
    <bean id="viewResolver"
          class="org.springframework.web.servlet.view.InternalResourceViewResolver">
          <property name="prefix" value="WEB-INF/jsp/"/>
          <property name="suffix" value=".jsp"/>
    </bean>
</beans>
6、編寫HelloController【注意:需要實現Controller接口】
package controller;
import javax.servlet.http.HttpServletRequest;
import javax.servlet.http.HttpServletResponse;
import org.springframework.web.servlet.ModelAndView;
import org.springframework.web.servlet.mvc.Controller;
public class HelloController implements Controller{
@Override
public ModelAndView handleRequest(HttpServletRequest arg0, HttpServletResponse arg1) throws Exception {
ModelAndView mv = new ModelAndView("hello");
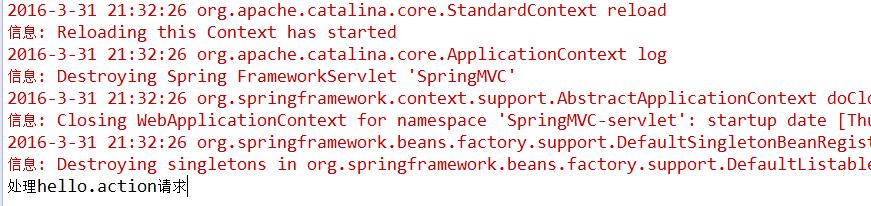
System.out.println("處理hello.action請求");
return mv;
}
}
7、在WEB-INF文件夾下新增"jsp"文件夾,並添加hello.jsp
<%@ page language="java" contentType="text/html; charset=UTF-8"
pageEncoding="UTF-8"%>
<!DOCTYPE html PUBLIC "-//W3C//DTD HTML 4.01 Transitional//EN" "http://www.w3.org/TR/html4/loose.dtd">
<html>
<head>
<meta http-equiv="Content-Type" content="text/html; charset=UTF-8">
<title>Insert title here</title>
</head>
<body>
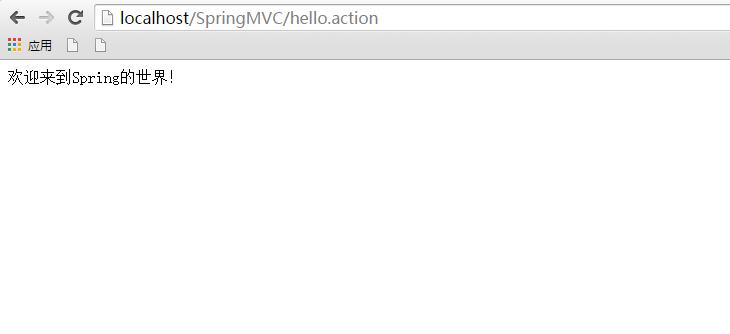
歡迎來到Spring的世界!
</body>
</html>
8、跑起來吧兄弟們~然後訪問http://localhost/SpringMVC/hello.action,效果如下: