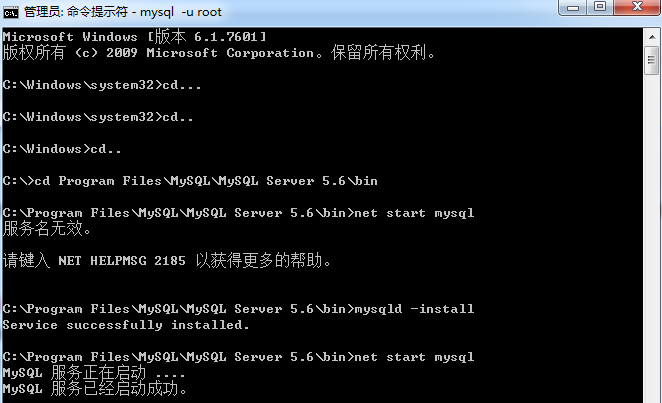
經常會遇到這種情況,在一個不能上網的環境通過MySQL客戶端
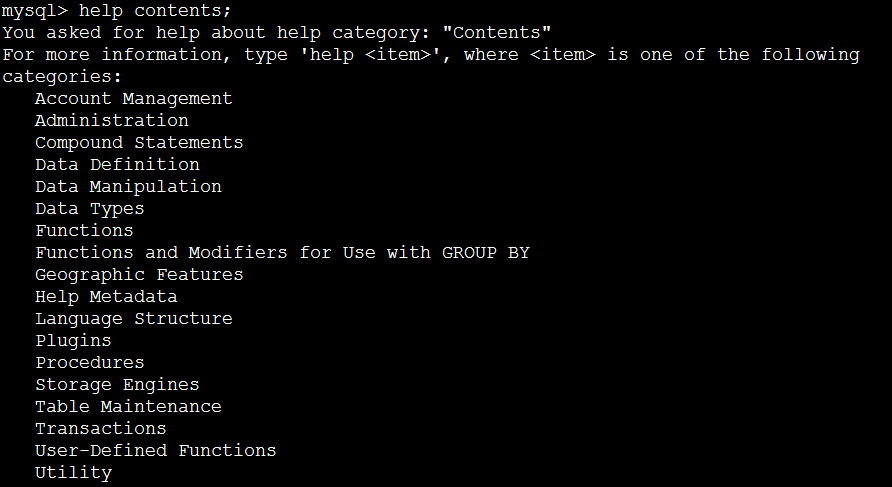
3.3 創建、刪除和選擇數據庫 &
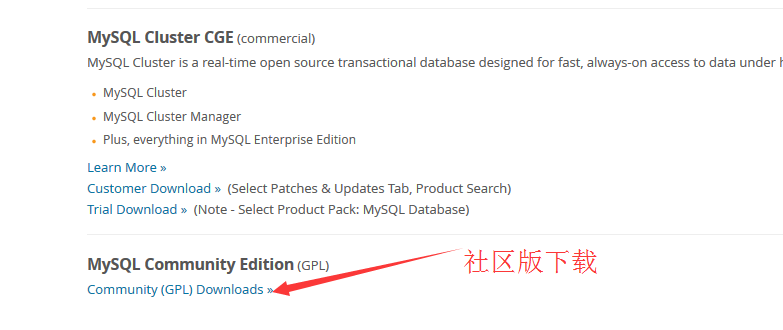
MySQL是由MySQL AB公司開發,後由Oracle公司
在最新的版本中,Windows環境與Linux環境下使
MySQL教程是:基於MySQL的數據庫集群系統的實現。您
1.庫名、表名、字段名必須使用小寫字母,並采
 Centos5.2