1. 軟件獲得
可以從官方網站獲得穩定版本mysql5.1.58。選擇souce code,下載壓縮包安裝文件。
若主機直接連接公網,可在主機上直接使用如下方式獲得軟件包:
wget http://dev.mysql.com/get/Downloads/MySQL-5.1/mysql-5.1.58.tar.gz/from/http://ftp.jaist.ac.jp/pub/mysql/
2. 安裝方法
1) 解壓軟件包
tar xvf mysql-5.1.58.tar.gz
2) 配置mysql用戶
useradd –d /home/mysql mysql
編輯mysql用戶的.bash_profile
# .bash_profile
# Get the aliases and functions
if [ -f ~/.bashrc ]; then
. ~/.bashrc
fi
# User specific environment and startup programs
PATH=$PATH:$HOME/bin:/sbin
export PATH
export PS1="[\u@\h \w ]\$"
3) 配置,編譯,編譯安裝
./configure --prefix=/home/mysql/ \
--with-unix-socket-path=/home/mysql/mysql.sock \
--with-big-tables \
--with-charset=utf8 \
--with-collation=utf8_general_ci \
--with-extra-charsets=gbk,gb2312,utf8 \
--with-client-ldflags=-all-static \
--with-mysqld-ldflags=-all-static \
--with-plugins=partition,innobase,myisammrg \
--with-pthread \
--with-readline \
--without-debug \
--without-isam \
--enable-assembler \
--enable-local-infile \
--enable-thread-safe-client
make
make install
4) 創建MySQL數據庫
創建數據庫之前,先編輯my.cnf文件。my.cnf文件放在MySQL的安裝目錄下面(/home/mysql)。my.cnf 文件內容如下:
[client]
#character-set-server = utf8
port = 3306
socket = /tmp/mysql.sock
[mysqld]
character-set-server = utf8
replicate-ignore-db = mysql
replicate-ignore-db = test
replicate-ignore-db = information_schema
user = mysql
port = 3306
socket = /tmp/mysql.sock
basedir = /home/mysql
datadir = /home/mysql/data
log-error = /home/mysql/log/error.log
pid-file = /home/mysql/mysql.pid
open_files_limit = 10240
back_log = 600
max_connections = 5000
max_connect_errors = 6000
table_cache = 614
external-locking = FALSE
max_allowed_packet = 32M
sort_buffer_size = 1M
join_buffer_size = 1M
thread_cache_size = 300
#thread_concurrency = 8
query_cache_size = 512M
query_cache_limit = 2M
query_cache_min_res_unit = 2k
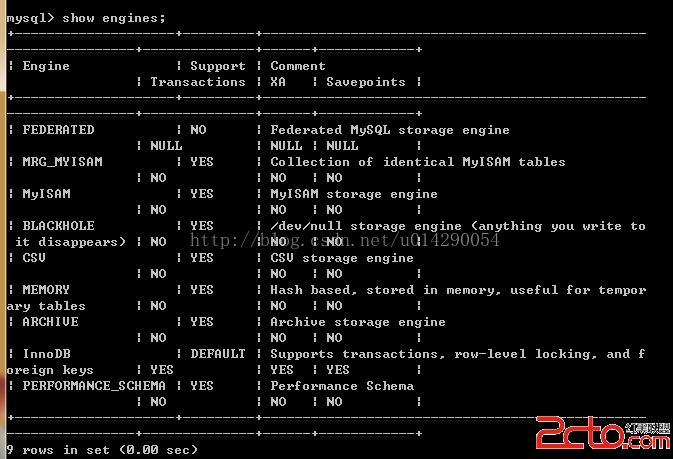
default-storage-engine = MyISAM
thread_stack = 192K
transaction_isolation = READ-COMMITTED
tmp_table_size = 246M
max_heap_table_size = 246M
long_query_time = 3
log-slave-updates
log-bin = /home/mysql/log/binlog
binlog_cache_size = 4M
binlog_format = MIXED
max_binlog_cache_size = 8M
max_binlog_size = 1G
relay-log-index = /home/mysql/log/relaylog
relay-log-info-file = /home/mysql/log/relaylog
relay-log = /home/mysql/log/relaylog
expire_logs_days = 30
key_buffer_size = 256M
read_buffer_size = 1M
read_rnd_buffer_size = 16M
bulk_insert_buffer_size = 64M
myisam_sort_buffer_size = 128M
myisam_max_sort_file_size = 10G
myisam_repair_threads = 1
myisam_recover
interactive_timeout = 120
wait_timeout = 120
skip-name-resolve
#master-connect-retry = 10
slave-skip-errors = 1032,1062,126,1114,1146,1048,1396
#master-host = 192.168.1.2
#master-user = username
#master-password = password
#master-port = 3306
server-id = 1
innodb_additional_mem_pool_size = 16M
innodb_buffer_pool_size = 512M
innodb_data_file_path = ibdata1:256M:autoextend
innodb_file_io_threads = 4
innodb_thread_concurrency = 8
innodb_flush_log_at_trx_commit = 2
innodb_log_buffer_size = 16M
innodb_log_file_size = 128M
innodb_log_files_in_group = 3
innodb_max_dirty_pages_pct = 90
innodb_lock_wait_timeout = 120
innodb_file_per_table = 0
#log-slow-queries = /home/mysql/log/slow.log
#long_query_time = 10
[mysqldump]
quick
max_allowed_packet = 32M
創建相關目錄:
mkdir -p /home/mysql/data/
mkdir -p /home/mysql/log/
創建數據庫命令如下:
/home/mysql/bin/mysql_install_db \
--defaults-file=/home/mysql/my.cnf \
--basedir=/home/mysql \
--datadir=/home/mysql/data \
--user=mysql
5) 配置MySQL為系統service
cp /home/mysql/my.cnf /etc/
cp /usr/local/web/mysql/share/mysql/mysql.server /etc/rc.d/init.d/mysql
chmod +x /etc/rc.d/init.d/mysql
chkconfig --add mysql
6) MySQL啟動
service mysql start
7) 修改MySQL root 密碼
/home/mysql/bin/mysqladmin -u root password 'mysql'
修改mysql root的密碼為mysql
8) MySQL關閉
service mysql stop
本文出自 “leom_lee” 博客