1、MyEclipse10
2、JDK 1.7.0
3、apache-tomcat-6.0.13
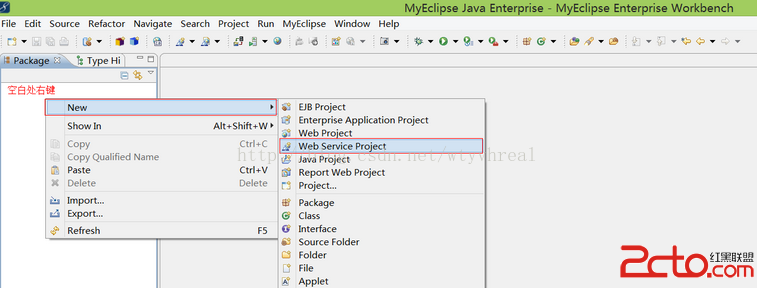
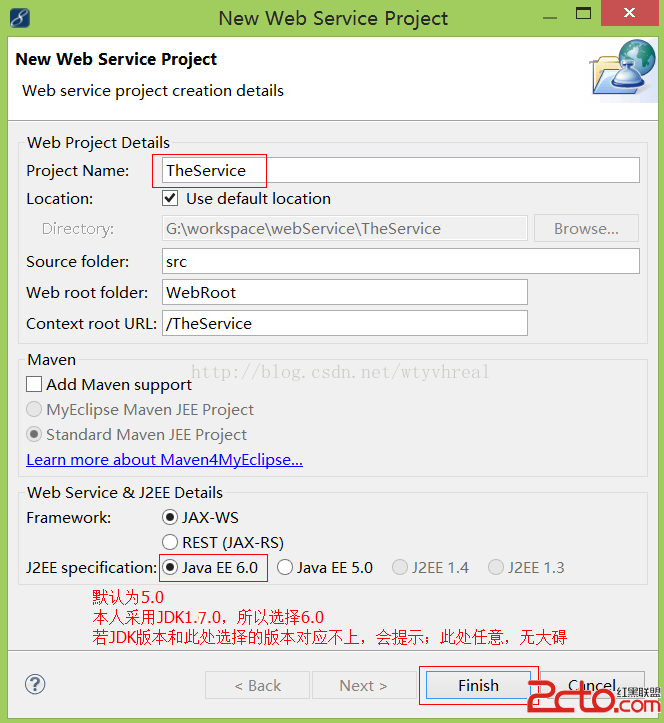
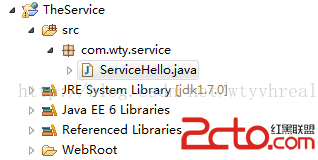
1、創建【Web Service Project】,命名為【TheService】。
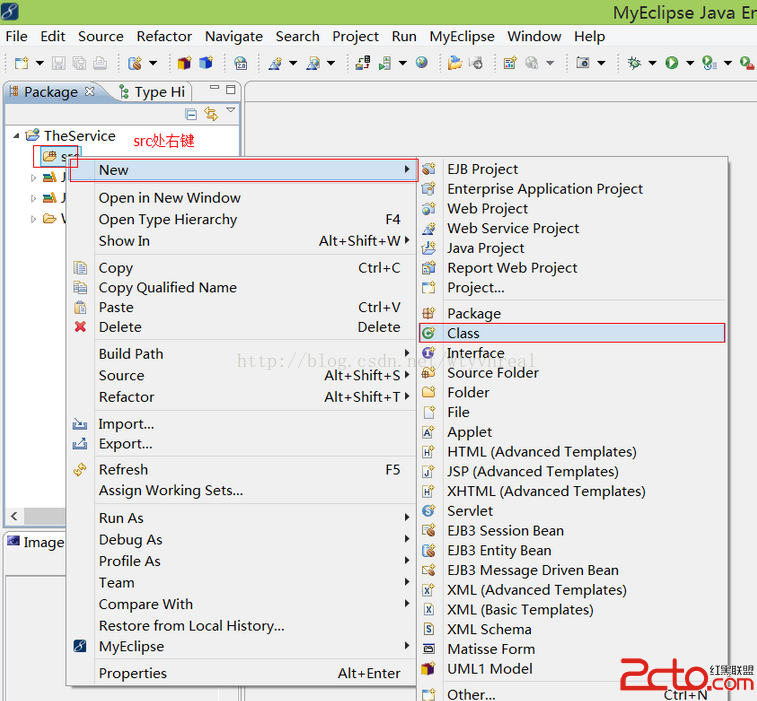
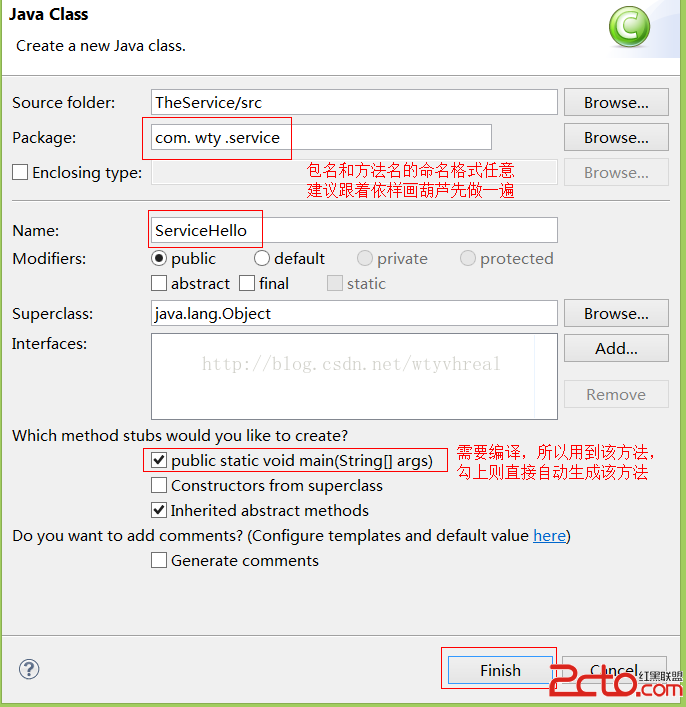
2、創建【Class】類,命名為【ServiceHello】,位於【com.wty.service】包下。
3、編寫供客戶端調用的方法,即編譯方法代碼。
package com.wty.service;

import javax.jws.WebService;//包別引用錯了
import javax.xml.ws.Endpoint;

import redis.clients.jedis.Jedis;
import redis.clients.jedis.Transaction;

@WebService //注解別忘記加了
public class ServiceHello {

	/**
	 * 下面這些方法為客戶端調用的方法,方法名任意命令即可
	 */

	public String getValue(String name){
		return "我叫:"+name;
	}

	private Jedis jedis;// 非切片客戶端連接

	public void startRedis() {
		jedis = new Jedis("127.0.0.1", 6379);
	}

	/**
	 * String讀寫操作
	 *
	 * @param key
	 * @return
	 */
	public String get(String key) {
		String getStr = jedis.get(key);
		return getStr;
	}

	public String set(String key, String value) {
		String setStr = jedis.set(key, value);
		return setStr;
	}

	/**
	 * hash讀寫操作
	 *
	 * @param hash
	 * @param key
	 * @return
	 */
	public String hash_get(String key, String field) {
		String getStr = jedis.hget(key, field);
		return getStr;
	}

	public Long hash_set(String key, String field, String value) {
		Long setStr = jedis.hset(key, field, value);
		return setStr;
	}

	/**
	 * hincrby增值操作
	 *
	 * @param key
	 * @param field
	 * @param value
	 * @return
	 */
	public Long hincre(String key, String field, int value) {
		Long incrStr = jedis.hincrBy(key, field, value);
		return incrStr;
	}

	/**
	 * multi事務操作
	 *
	 * @return
	 */
	public Transaction multi() {
		Transaction tranOpera = jedis.multi();
		return tranOpera;
	}

	/**
	 * 清0操作
	 * @return
	 */
	public String flushDB() {
		String flushOpera = jedis.flushDB();
		return flushOpera;
	}

	/**
	 * 選擇數據庫
	 * @param index
	 * @return
	 */
	public String selectDB(int index) {
		String selectOpera = jedis.select(index);
		return selectOpera;
	}


	public static void main(String[] args) {
		// 下面這句很重要,用於發布服務端,建議用8080端口,因為tomcat默認為8080,
		Endpoint.publish("http://219.245.72.20:8080/Service/ServiceHello", new ServiceHello());
		System.out.println("service success!");
	}

}
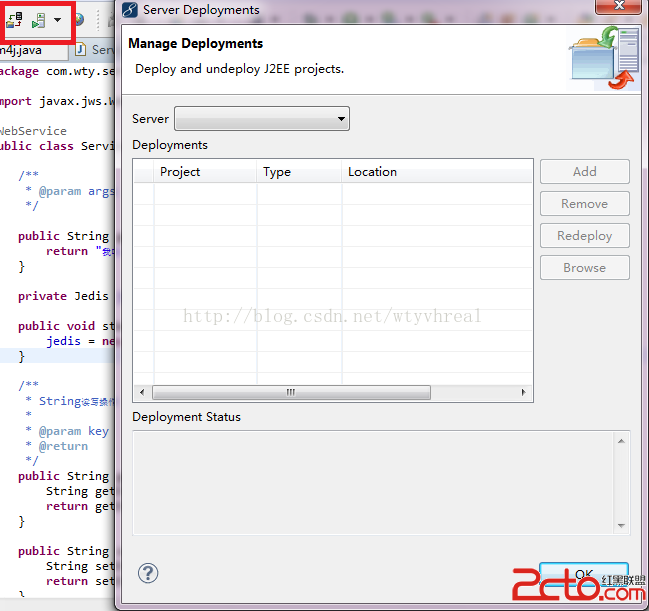
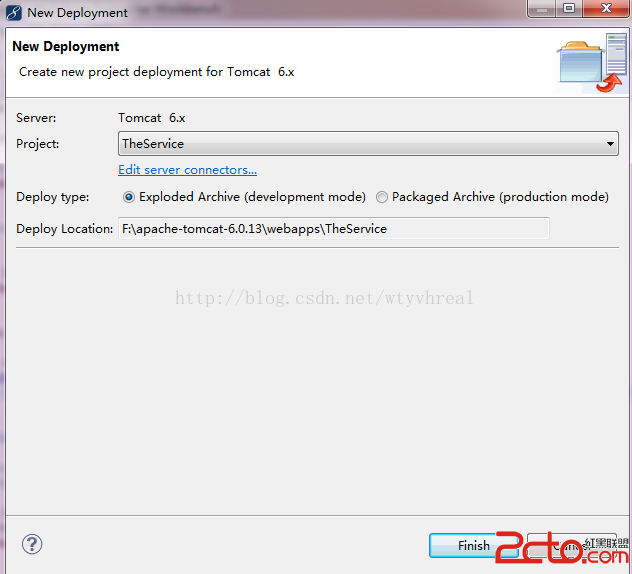
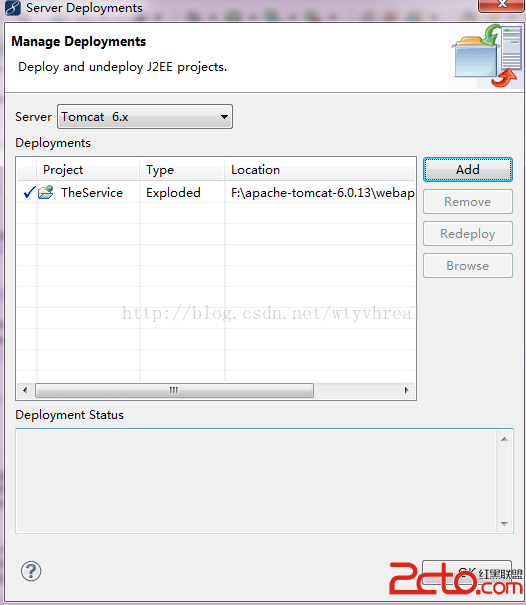
4、進行tomcat部署
如果只在本機測試,就不用部署到tomcat中了,直接編譯服務端程序即可。部署到tomcat中是為了讓非本機訪問webService。
5、掛起tomcat,並測試是否成功啟動tomcat
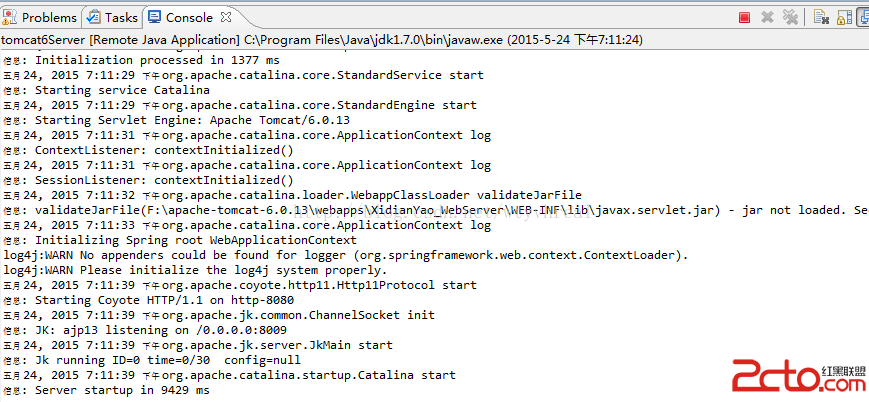
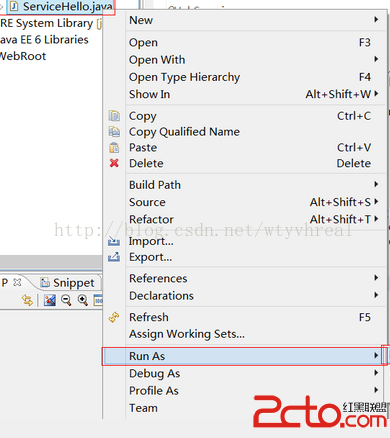
6、進行服務端工程編譯
說明:編譯失敗的話,請將該項目引用的jdk設置更高版本
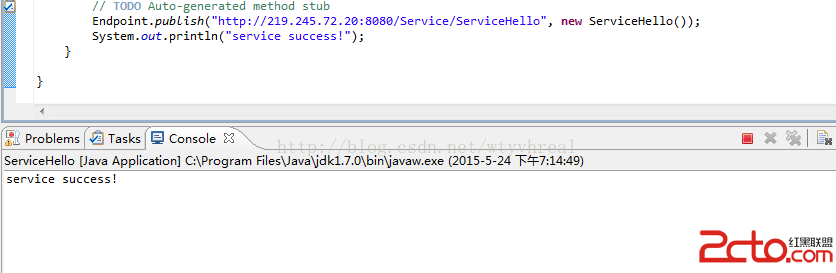
編譯成功。
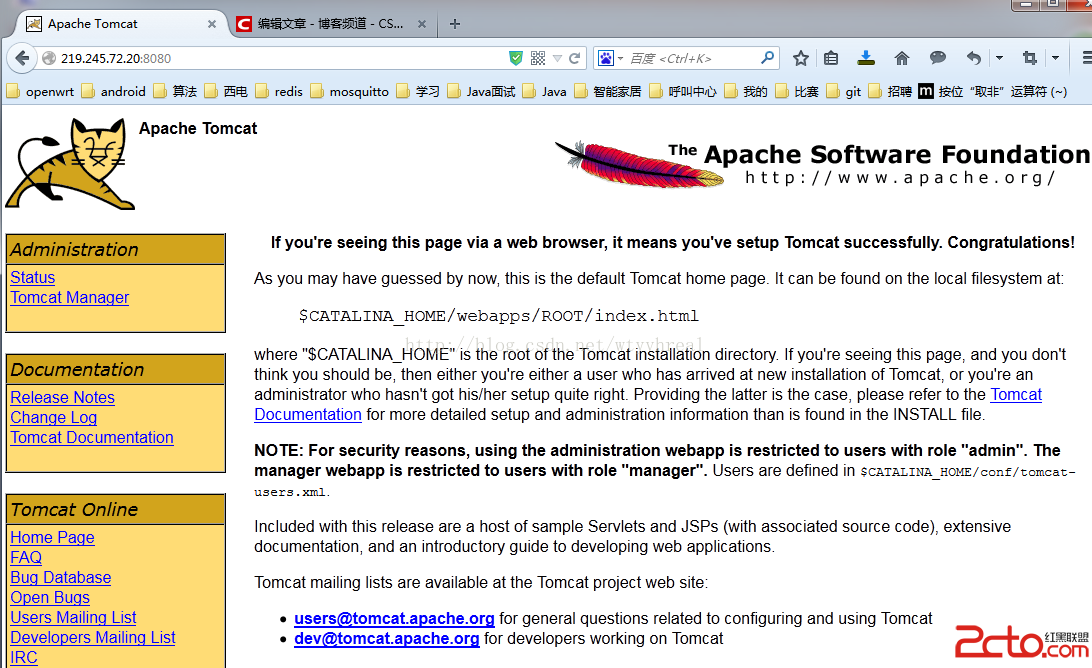
7、測試結果
測試地址:http://219.245.72.20:8080/Service/ServiceHello?wsdl

客戶端負責調用剛建立的webService,誰要調用,在誰的機子上建立。
1、創建【Web Service Project】,命名為【TheClient】。
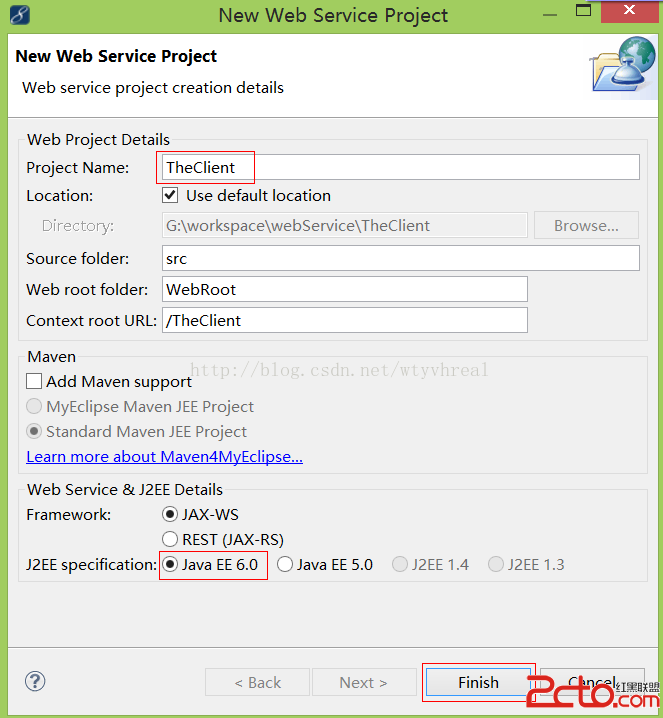

此時TheClient工程為空。
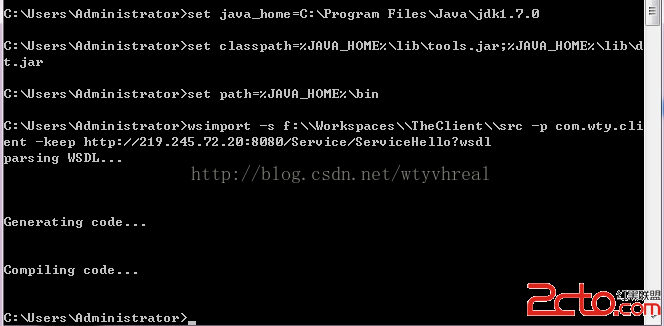
2、命令提示窗口執行生成命令。
格式:wsimport -s "src目錄" -p “生成類所在包名” -keep “wsdl發布地址”
示例:
wsimport -s f:\\Workspaces\\TheClient\\src -p com.wty.client -keep http://219.245.72.20:8080/Service/ServiceHello?wsdl
說明:
1)"src目錄"地址不可含空格
2)“wsdl發布地址”不要漏了“?wsdl”

解決如下:
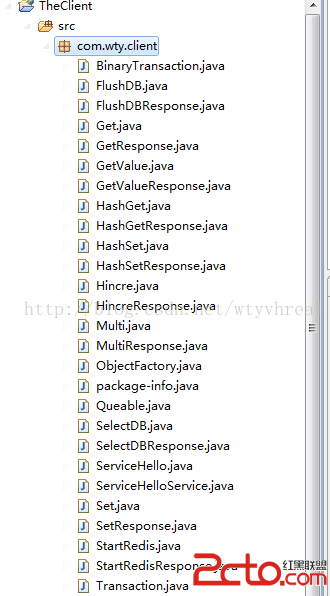
3、刷新TheClient項目,檢查自動生成類(其中帶有Response後綴的java文件就是服務端的方法)
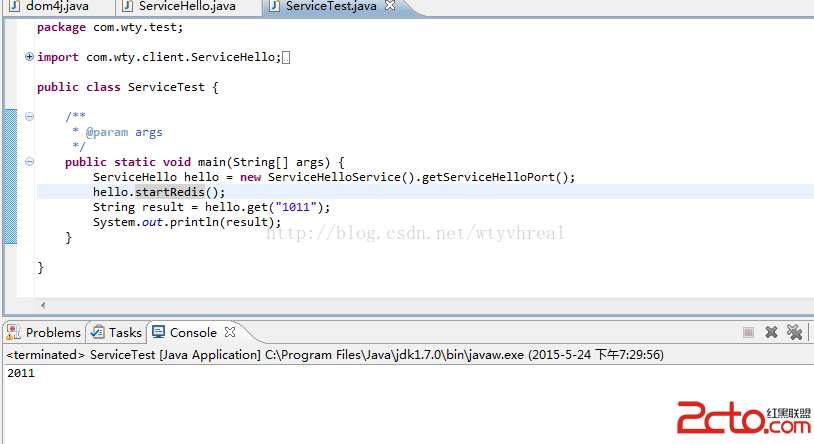
1、創建【Class】類,命名為【ServiceTest】,位於【com.wty.test】包下。

2、編寫測試方法,調用服務端方法,並打印返回的結果。
package com.wty.test;

import com.wty.client.ServiceHello;
import com.wty.client.ServiceHelloService;

public class ServiceTest {

	/**
	 * @param args
	 */
	public static void main(String[] args) {
		ServiceHello hello = new ServiceHelloService().getServiceHelloPort();
		hello.startRedis();
		String result = hello.get("1011");
		System.out.println(result);
	}

}
由於調用服務端的讀寫Redis服務器的方法,比如get("1011")方法,
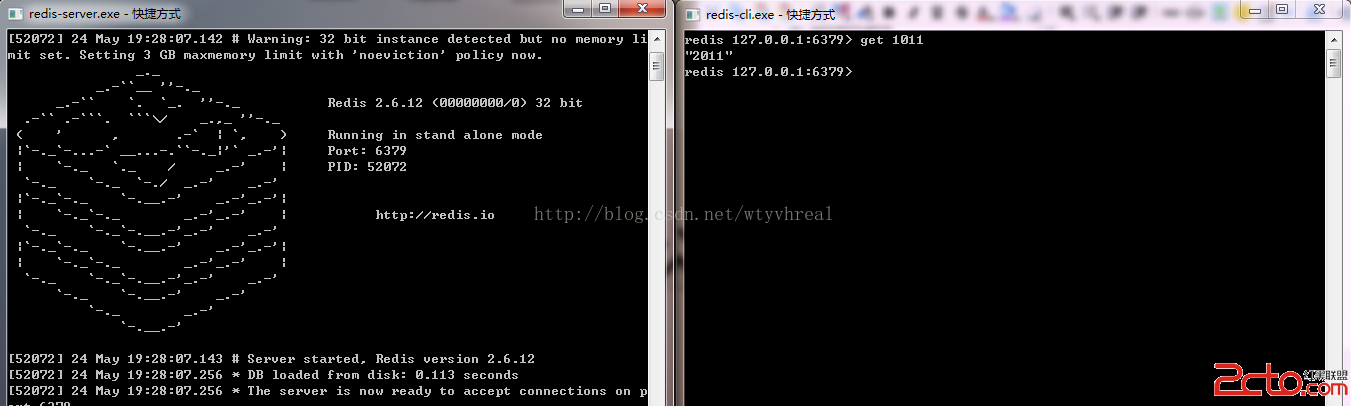
這裡記得要開Redis服務器
只要在一個局域網裡,其他機子也可以訪問調用上述webService的任何一個方法。