Spring Web Flow 2.0 就是 Spring Web MVC 的一個擴展,如果粗略一些來講,所謂 flow 就相當於 Spring Web MVC 中一種特殊的 controller ,這種 controller 可通過 XML 文件加以配置,因此在使用 Spring Web Flow 2.0 前須先對 Spring Web MVC進行配置,步驟如下:
創建 Web 應用的目錄結構
在 /WEB-INF/lib 下導入相關類庫
在 Web 應用部署描述符文件 web.xml 中聲明 DispatcherServlet 並指定配置文件
添加 DispatcherServlet 映射
創建 web-application-config.xml 文件
創建 webmvc-config.xml 文件
創建 index.jsp
創建 Web 應用的目錄結構
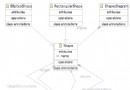
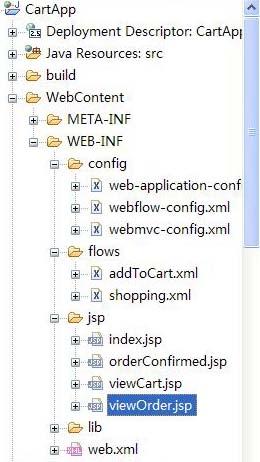
本示例應用將采用 eclipse Dynamic Web Project 向導默認生成的目錄結構,在 WEB-INF 目錄下添加 config 和 flows 子目錄,其中 config 子目錄用來存放各種配置文件, flows 子目錄下存放 Spring Web Flow 的定義文件。最後目錄如圖3所示:
圖 2 目錄結構
在 /WEB-INF/lib 下導入相關類庫
只需將以下幾個 jar 包導入 /WEB-INF/lib 目錄下就可以了:
commons-logging.jar
jstl.jar
standard.jar
spring-webmvc.jar
spring.jar
聲明 DispatcherServlet 並指定配置文件
為使用 Spring Web MVC ,須在 web.xml 中聲明 DispatcherServlet ,見清單3:
清單 3 聲明 DispatcherServlet 和指定配置文件
<servlet>

  <servlet-name>CartServlet</servlet-name>

  <servlet-class>

  org.springframework.web.servlet.DispatcherServlet

  </servlet-class>

  <init-param>

   <param-name>contextConfigLocation</param-name>

   <param-value>

   /WEB-INF/config/web-application-config.xml

   </param-value>

  </init-param>

  <load-on-startup>1</load-on-startup>

</servlet>
添加 DispatcherServlet 映射
要讓 DispatcherServlet 處理所有以 /spring/ 開頭的請求,見清單 4:
清單 4 web.xml 中的 DispatcherServlet映射
<servlet-mapping>

<servlet-name>CartServlet</servlet-name>

<url-pattern>/spring/*</url-pattern>

</servlet-mapping>
創建 web-application-config.xml
開發基於 Spring Web Flow 的應用往往會有大量的配置,這些配置全放在一個文件中是不合適的。本示例參考 Spring Web Flow 2.0 自帶示例,將不同功能的配置文件分開。其中 web-application-config.xml 用於配置與 Web 應用全局相關的內容, Spring Web MVC 的相關配置放在 webmvc-config.xml 中,教程後面要添加的 Spring Web Flow 的配置則放在 webflow-config.xml 中。在 web-application-config.xml 中用 import 元素導入其他的配置文件。 web-application-config.xml的內容見清單5:
清單 5 web-application-config.xml
<?xml version="1.0" encoding="utf-8"?>

<beans

  xmlns="http://www.springframework.org/schema/beans"

  xmlns:xsi="http://www.w3.org/2001/XMLSchema-instance"

  xmlns:context="http://www.springframework.org/schema/context"

  xsi:schemaLocation="http://www.springframework.org/schema/beans

   http://www.springframework.org/schema/beans/spring-beans-2.5.xsd

   http://www.springframework.org/schema/context

   http://www.springframework.org/schema/context/spring-context-2.5.xsd">

   <!-- 搜索 samples.webflow 包裡的 @Component 注解,並將其部署到容器中 -->

   <context:component-scan base-package="samples.webflow" />

   <!-- 啟用基於注解的配置 -->

   <context:annotation-config />

   <import resource="webmvc-config.xml"/>

</beans>
加入注解功能是出於最後運行 Web Flow 示例的需要,在這裡只要知道注解功能已被啟用就可以了。
創建 webmvc-config.xml
webmvc-config.xml 主要用於配置 Spring Web MVC 。所要做的就是添加一個 view resolver (視圖解析器),用於將視圖名解析成真實的視圖資源。另外,再配置好 URL 請求的 handler (處理器),用於將 URL 請求定向到某個控制器,在本例中,用到的是 UrlFilenameViewController。
清單 6 webmvc-config.xml
<?xml version="1.0" encoding="UTF-8"?>

<beans

  xmlns="http://www.springframework.org/schema/beans"

  xmlns:xsi="http://www.w3.org/2001/XMLSchema-instance"

  xsi:schemaLocation="

   http://www.springframework.org/schema/beans

   http://www.springframework.org/schema/beans/spring-beans.xsd">

   <bean id="viewResolver"

    class="org.springframework.web.servlet.view.InternalResourceViewResolver">

    <property name="viewClass"

    value="org.springframework.web.servlet.view.JstlView"/>

    <property name="prefix" value="/WEB-INF/jsp/"/>

    <property name="suffix" value=".jsp"/>

   </bean>

   <bean id="viewMappings"

    class="org.springframework.web.servlet.handler.SimpleUrlHandlerMapping">

    <property name="defaultHandler">

    <!-- UrlFilenameViewController 會將 "/index" 這樣的請求映射成名為 "index" 的視圖 -->

    <bean class="org.springframework.web.servlet.mvc.UrlFilenameViewController" />

   </property>

  </bean>

</beans>
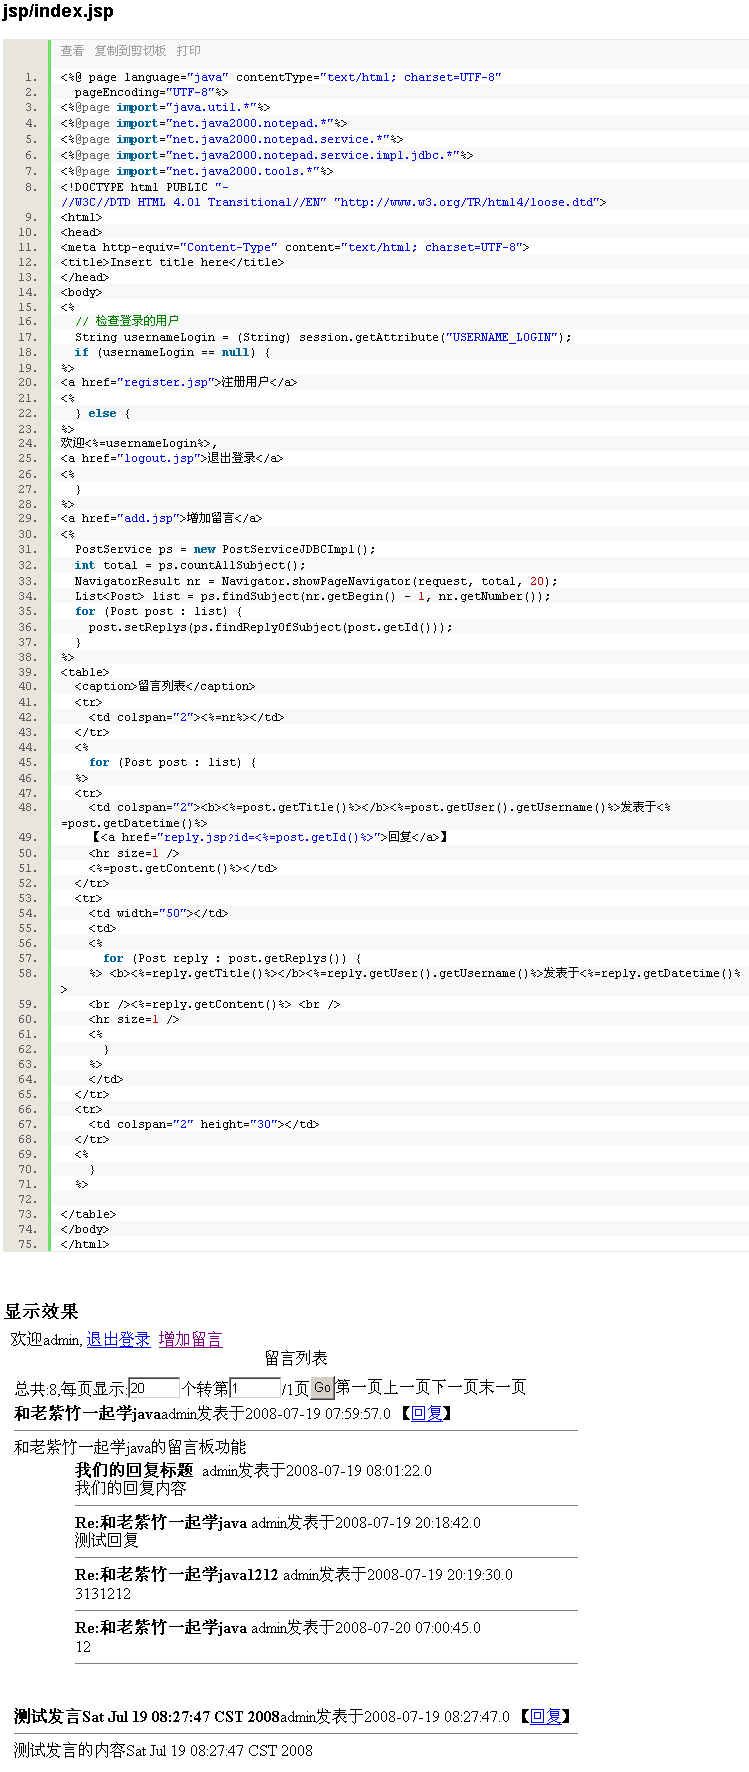
創建 index.jsp
現在的 index.jsp 只是顯示一行文字。
清單 7 index.jsp
<?xml version="1.0" encoding="utf-8" ?>

<!DOCTYPE html PUBLIC "-//W3C//DTD XHTML 1.0 Transitional//EN"

  "http://www.w3.org/TR/xhtml1/DTD/xhtml1-transitional.dtd">

<html xmlns="http://www.w3.org/1999/xhtml">

  <head>

   <meta http-equiv="Content-Type" content="text/html; charset=utf-8" />

   <title>Cart Application</title>

  </head>

  <body>

   <h1>Hello!</h1>

  </body>

</html>
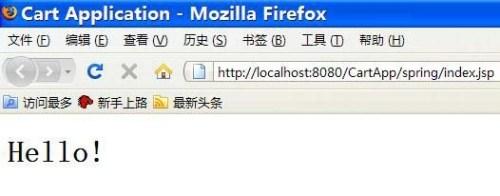
運行應用程序
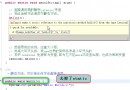
將應用程序發布到 Tomcat 容器,再通過 http://localhost:8080/CartApp/spring/index.jsp 訪問 index.jsp 頁面(應用程序所在文件夾名是 CartApp ),測試 Spring Web MVC 配置是否正確。如果一切正常,可得到如下頁面:
圖 3 顯示結果