Web項目中的Transformation使用起來非常方便,特別是本地與服務器情況不一致時調試下以及webdeploy的配合使用。
步驟:
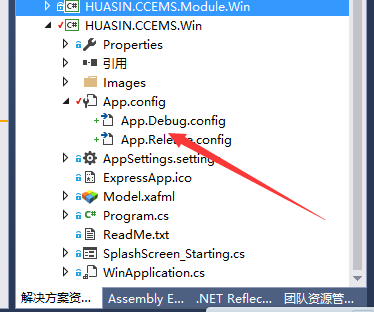
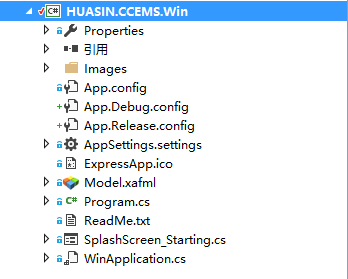
1. 在項目中新建App.Debug.Config及App.Realse.Config文件
粘貼以下代碼到新建的Config文件中
<?xml version="1.0" encoding="utf-8"?>

<!-- 有關使用 web.config 轉換的詳細信息,請訪問 http://go.microsoft.com/fwlink/?LinkId=125889 -->

<configuration xmlns:xdt="http://schemas.microsoft.com/XML-Document-Transform">
  <!--
    在下例中,“SetAttributes”轉換將更改
    “connectionString”的值,以僅在“Match”定位器
    找到值為“MyDB”的特性“name”時使用“ReleaseSQLServer”。

    <connectionStrings>
      <add name="MyDB"
        connectionString="Data Source=ReleaseSQLServer;Initial Catalog=MyReleaseDB;Integrated Security=True"
        xdt:Transform="SetAttributes" xdt:Locator="Match(name)"/>
    </connectionStrings>
  -->
  <system.web>
    <!--

      在下例中,“Replace”轉換將替換
      web.config 文件的整個 <customErrors> 節。
      請注意,由於
      在 <system.web> 節點下僅有一個 customErrors 節,因此不需要使用“xdt:Locator”特性。

      <customErrors defaultRedirect="GenericError.htm"
        mode="RemoteOnly" xdt:Transform="Replace">
        <error statusCode="500" redirect="InternalError.htm"/>
      </customErrors>
    -->
  </system.web>
</configuration>
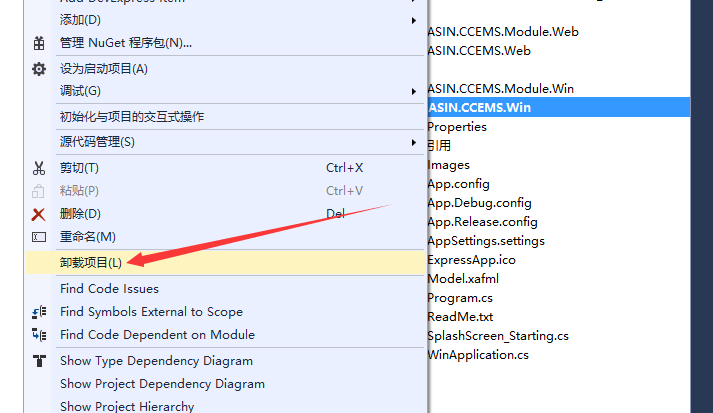
2. 右鍵項目→卸載項目,再次右鍵項目→編輯項目
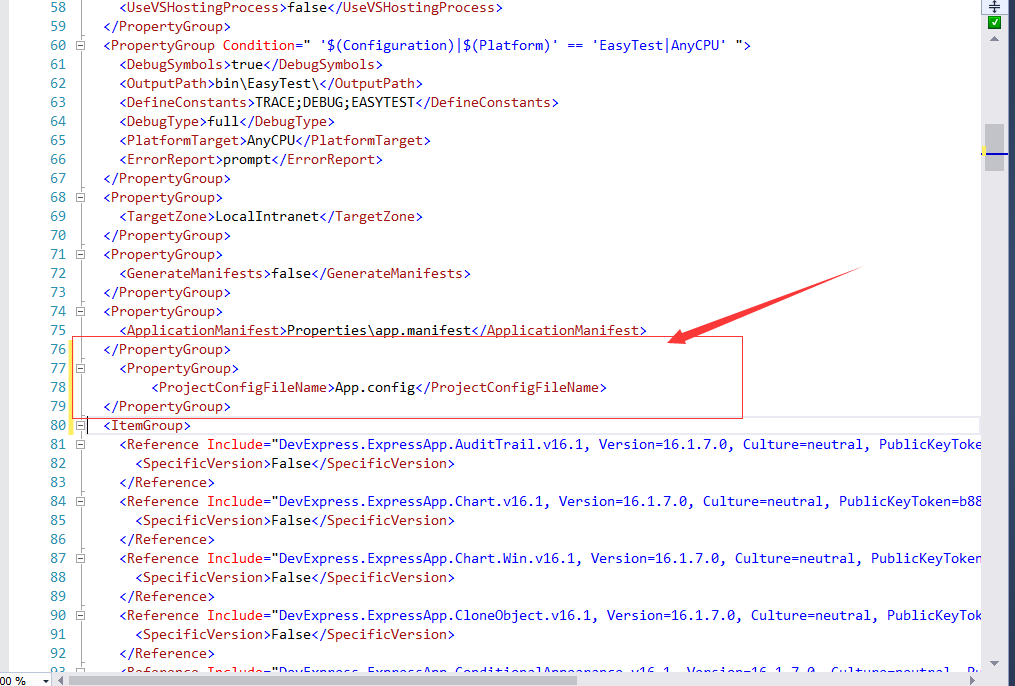
3. 在XML中找到最後一個ProjectGroup節點,粘貼以下代碼
<PropertyGroup>
  <ProjectConfigFileName>App.config</ProjectConfigFileName>
</PropertyGroup>
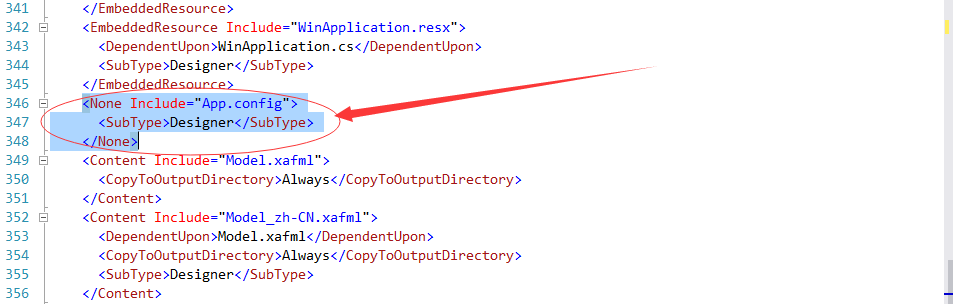
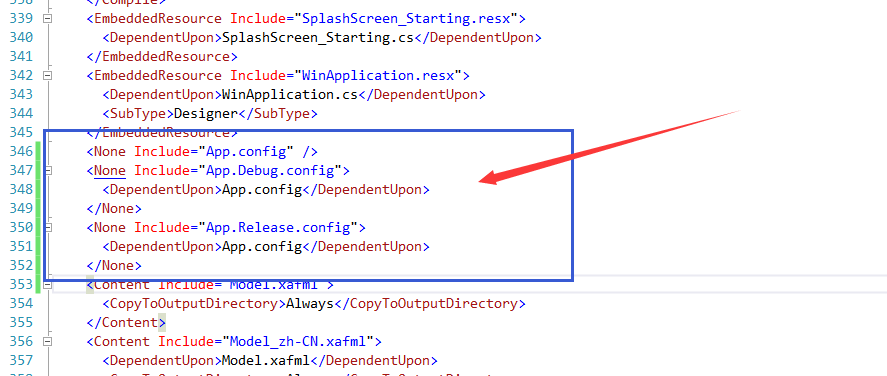
4. 找到ItemGroup節點,找到以下代碼
  <ItemGroup>
    <None Include="App.config" />
  </ItemGroup>
替換為
  <ItemGroup>
    <None Include="App.config" />
    <None Include="App.Debug.config">
      <DependentUpon>App.config</DependentUpon>
    </None>
    <None Include="App.Release.config">
      <DependentUpon>App.config</DependentUpon>
    </None>
  </ItemGroup>
5. 找到以下節點(一般在最下方)
<Import Project="$(MSBuildToolsPath)\Microsoft.CSharp.targets" />
在下方增加以下內容
  <Import Project="$(MSBuildExtensionsPath)\Microsoft\VisualStudio\v10.0\Web\Microsoft.Web.Publishing.targets" />
  <Target Name="AfterBuild">
    <TransformXml Source="@(AppConfigWithTargetPath)" Transform="$(ProjectConfigTransformFileName)" Destination="@(AppConfigWithTargetPath->'$(OutDir)%(TargetPath)')" />
  </Target>
6. 保存,重新載入項目,查看效果