use PIL, A powerful python Image processing library . Mainly used Image.
Terminal download command :
pip install pillow
How beautiful the Huangpu River I photographed on the Oriental Pearl TV Tower is ! But thinking of this, I recall the unbearable feeling of painting landscapes in my childhood , I thought I must write a program to help me finish my art homework .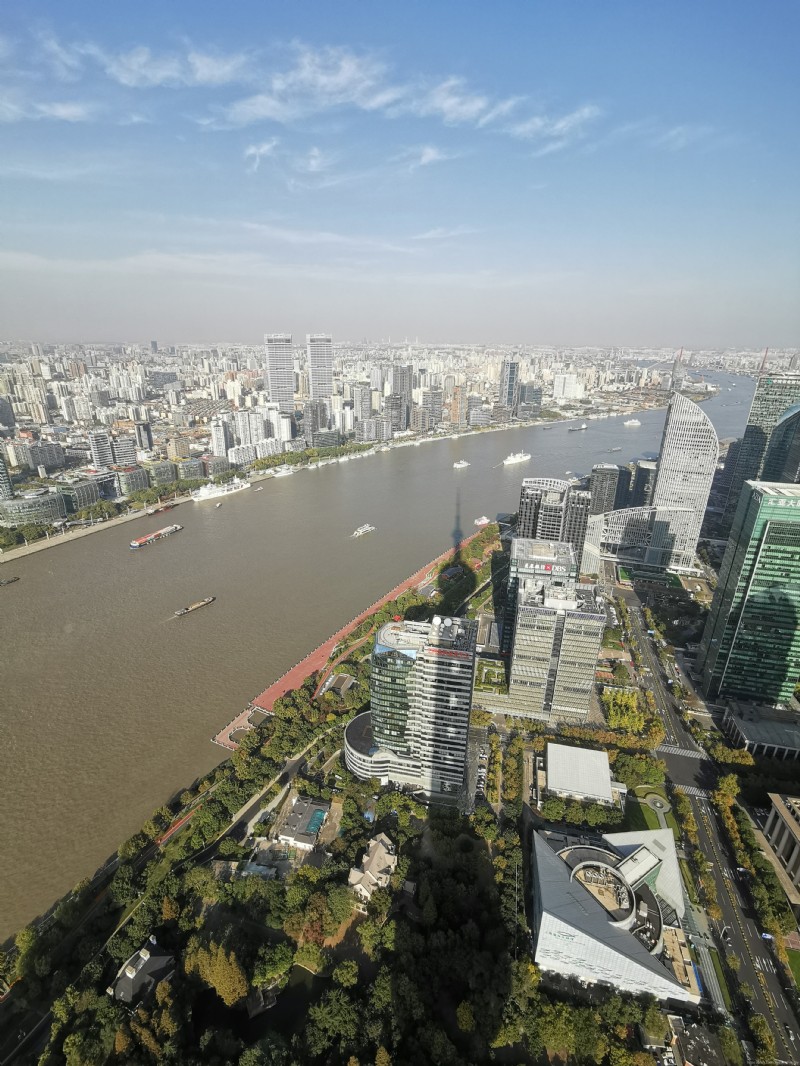
The simplest step , It is to turn color pictures into black-and-white pictures .
from PIL import Image # Import PIL library
d = input("Img Directory:") # Enter the image path to process
img = Image.open(d).convert('LA') # Deal directly with
img.save('greyscale.png') # Save the picture
What about? ? Is it simple ?
I used the Huangpu River I photographed on the Oriental Pearl TV Tower , Here is the effect :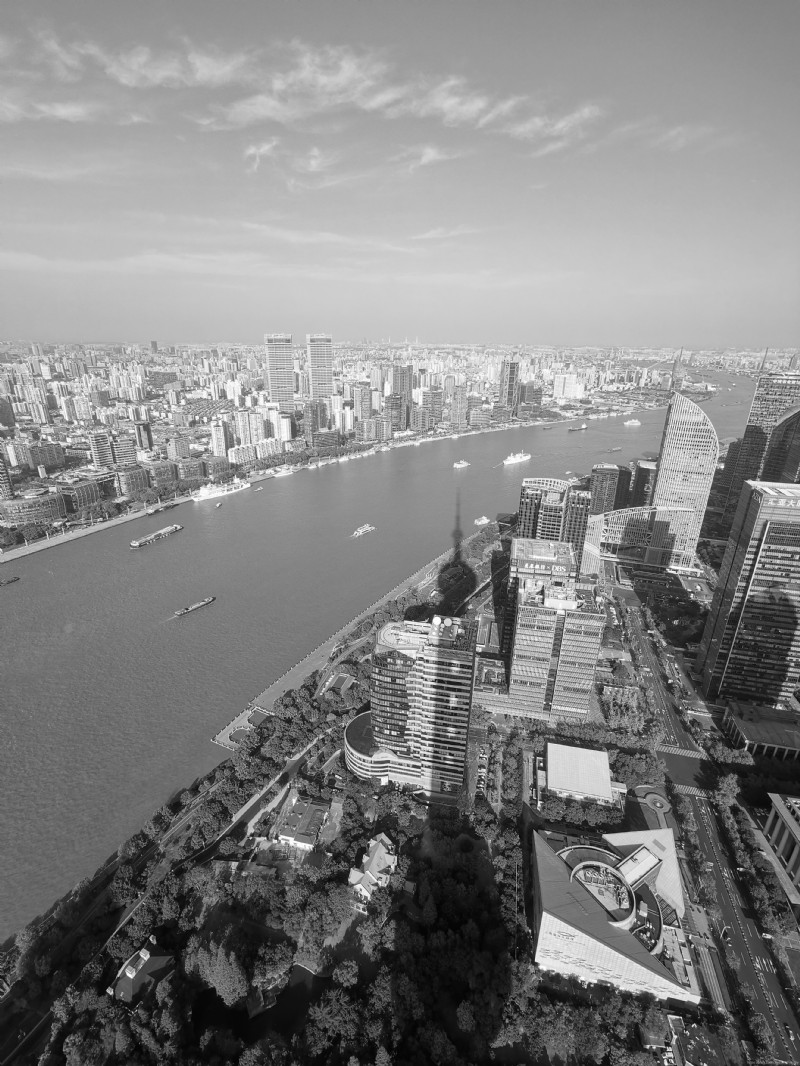
I can simply turn black and white , Try a harder turn ascii Character painting . The code is as follows :
from PIL import Image # Import PIL
# Generate ascii The width and height of the graph . It is suggested that the scale is similar to the original drawing .
WIDTH = 300
HEIGHT = 200
ascii_char = list("[email protected]%8&WM#*oahkbdpqwmZO0QLCJUYXzcvunxrjft/\|()1{}[]?-_+~<>i!lI;:,\"^`'. ") # character DPI(Dots Per Inch, Dots per inch ) Sort from high to low
# Convert a color image into a gray image , And then 256 Grayscale mapping to 70 On characters
def get_char(r, g, b, alpha=256): #R red G green B blue A transparency
if alpha == 0: # Blank pixels return spaces
return ' '
length = len(ascii_char) #
gray = int(r*0.299 + g*0.587 + b*0.114) # Calculate grayscale ,3:6:1 It's more reliable
unit = (256.0+1)/length
return ascii_char[int(gray/unit)]# Different grayscale corresponds to different characters
d = input("Img Directory:") # Enter the image path
img = Image.open(d) # Open file
img = img.resize((WIDTH, HEIGHT), Image.NEAREST) # Become smaller and easier to handle
txt = "" # Temporarily store character drawing information
for i in range(HEIGHT): # Go through every pixel
for j in range(WIDTH):
txt += get_char(*img.getpixel((j, i))) # get DPI The closest character
txt += '\n' # Write a new line after writing
with open("ascii_picture.txt",'w') as f: # writes txt Stored in the file
f.write(txt)
Pay attention to the font mono space, such as python IDLE default monaco typeface , Don't use other formats ! Otherwise, it will be messy
Bloggers are lazy and don't write code to automatically modify the width and height , Friends can use their brains to modify
I'm also lazy in calculating grayscale , Direct algebraic evaluation , But there are many other better and more accurate algorithms
Those of you who are interested can take a look Gamma Correction algorithm , It will be more accurate to convert into physical optical power !
The renderings are as follows :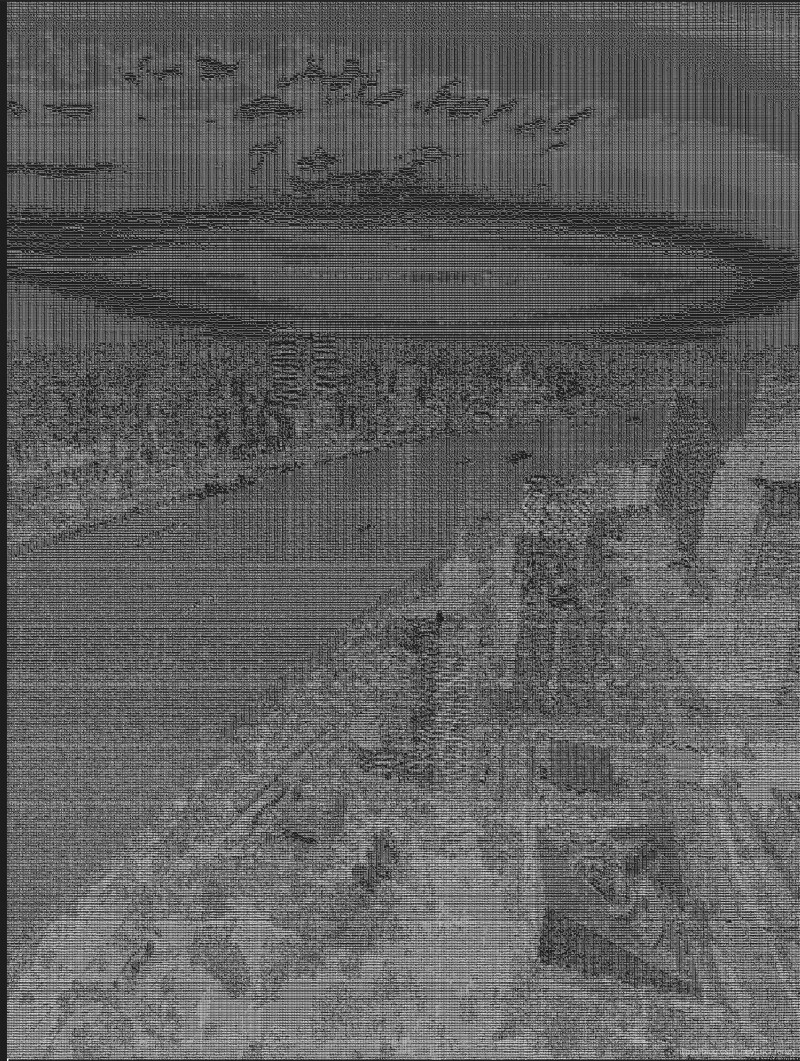
This is my screenshot , Because it is too dense, there are moire stripes .300x200 It's still a little outrageous , You can use a smaller one . But the restoration is still in place !
At this point ,python The image processing function looks more powerful . The code is as follows :
from PIL import Image # Import PIL
d = input("Img Directory:") # Enter the image path
img = Image.open(d) # Open the picture
img_all = " Sketch " + d # Where to store the generated files
new = Image.new("L", img.size, 255) # Create new documents , The size is the same as the original file
width, height = img.size # Don't be lazy , Get picture size
img = img.convert("L") # It's grayscale , Actually PIL It also uses a simple algorithm
Pen_size = int(input('Pensize:')) # Brush size
Color_diff = int(input('Color diffusion variable:')) # Color difference diffuser
# Simply put, it's probably ps Color fade mode in ……
# The function is to keep the boundaries of color blocks with large color differences
for i in range(Pen_size + 1, width - Pen_size - 1):
for j in range(Pen_size + 1, height - Pen_size - 1):
originalColor = 255
lcolor = sum([img.getpixel((i - r, j)) for r in range(Pen_size)]) // Pen_size
rcolor = sum([img.getpixel((i + r, j)) for r in range(Pen_size)]) // Pen_size
if abs(lcolor - rcolor) > Color_diff:
originalColor -= (255 - img.getpixel((i, j))) // 4
new.putpixel((i, j), originalColor)
ucolor = sum([img.getpixel((i, j - r)) for r in range(Pen_size)]) // Pen_size
dcolor = sum([img.getpixel((i, j + r)) for r in range(Pen_size)]) // Pen_size
if abs(ucolor - dcolor) > Color_diff:
originalColor -= (255 - img.getpixel((i, j))) // 4
new.putpixel((i, j), originalColor)
acolor = sum([img.getpixel((i - r, j - r)) for r in range(Pen_size)]) // Pen_size
bcolor = sum([img.getpixel((i + r, j + r)) for r in range(Pen_size)]) // Pen_size
if abs(acolor - bcolor) > Color_diff:
originalColor -= (255 - img.getpixel((i, j))) // 4
new.putpixel((i, j), originalColor)
qcolor = sum([img.getpixel((i + r, j - r)) for r in range(Pen_size)]) // Pen_size
wcolor = sum([img.getpixel((i - r, j + r)) for r in range(Pen_size)]) // Pen_size
if abs(qcolor - wcolor) > Color_diff:
originalColor -= (255 - img.getpixel((i, j))) // 4
new.putpixel((i, j), originalColor)
new.save(img_all) # Save the picture
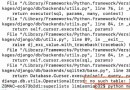
my MacBook Air i5 1.6GHz I don't know how long the chip has been crying , There is still no way to deal with the original picture ……
Tested under , Deal with one 256x256 The picture of is only a few seconds . Friends can lower the resolution of the picture before processing
The brush size I chose is 5, The color difference diffuser is also 5, It looks good .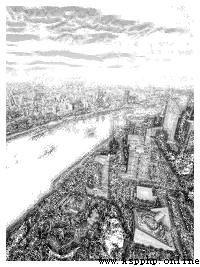
Okay , Now you can show off your painting skills with other friends !
RGB There are many kinds of gray conversion algorithms , You can search relevant algorithms , See if you can accurately restore gray-scale images to color images . I tried pillow Our algorithm turns gray into color , It is found that the restored pictures are still unacceptable to humans
When choosing brush size and color diffuser, you can try the effects of different values by yourself !
You can add a code to automatically adjust the size of the picture when sketching , This problem is for you to solve
In fact, the algorithm of sketching can be greatly improved , For example, adding a random function makes the strokes more natural , Or simply change an algorithm to make it faster . There are many related resources online , I won't go back to
 Python data visualization Seaborn (III) -- exploring the relationship between variables
python Data visualization seab
 [214 Valentines day] a low-key, luxurious and meaningful Python program, the correct posture for apes to sprinkle dog food (with source code)
Catalog One . Effect de