Not familiar with linux For people who use third-party tools for rapid deployment is a good choice !
1、 Open the necessary ports in the background security group managed by the server supplier .
Domestic ECS blocks all ports , If you want to use it, you need to open the port in the security group in the background of the server provider . Alibaba cloud is more common 、 Tencent cloud 、 Baidu cloud, etc . Most server vendors don't need to do this . The ports we need to open are generally :80、443、21、22、3306、8888, I won't introduce the specific uses of these ports one by one , but 8888 The port is mainly used to access the pagoda .
2、 download Xshell Software .
Xshell Software is mainly used to login Linux Server's , The method is simple to use , Baidu download yourself Ok. After we download and install , Just log in to the server .
3、 Create on the root directory of the system WWW Catalog .
Terminal input command :
mkdir /www
This directory is mainly used to store pagoda panels and websites ( project ) Data . If the server has multiple data disks , It is recommended to hang the disk on /www Under the table of contents .
After installing the pagoda panel www There will be the following files in the directory :
4、 Install the pagoda panel
We directly input the following command from the terminal to install the pagoda panel :
yum install -y wget && wget -O install.sh http://download.bt.cn/install/install_6.0.sh && sh install.shFor more information, please visit the address below : pagoda Linux Panel installation tutorial - 2021 year 12 month 28 Daily update - 7.8.0 Official version - Linux panel - Pagoda panel Forum
The installation process is simple , You may enter a “y” Don't introduce too much after confirmation . Probably last 3~5 At this time, we can make some tea , Have some tea , Just wait . After the installation is successful, you will see the following similar information :
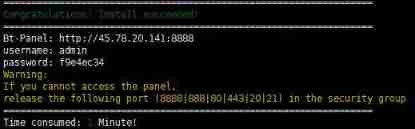
This is the login address of the pagoda panel 、 User name and login password , You need to save this copy .
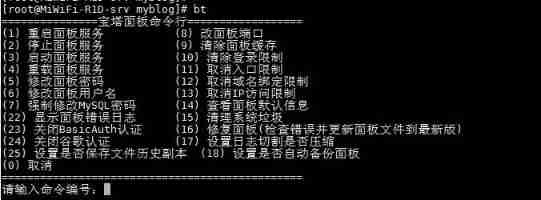
More about other operations of the pagoda , It can be input directly at the terminal :bt, Enter and get the following options :
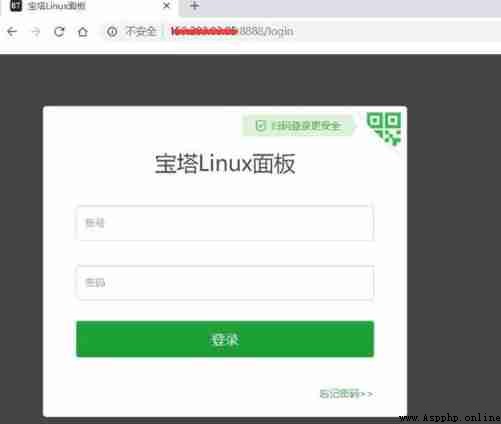
We visit the address saved before in the browser , That address is used to log in to the pagoda panel , Manage the tower panel .
5、 Install commonly used WEB Service components .
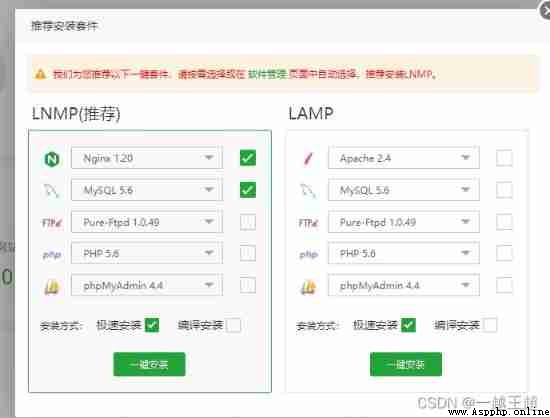
After logging in successfully, we can see the following interface :
There's only Nginx Must be installed , If you're using Mysql database , that Mysql Check it, too ( Attention Django3.0 Later versions no longer support Mysql5.5 edition ), For others, you can decide whether to install... According to your own needs . If you want to install others later , It can also be installed in software management . Attention : Click the triangle symbol behind the software name to select the software version . Novices suggest default . After choosing , Click one button to install . Then continue to drink tea and wait .
After clicking one click installation, the following interface will appear, indicating that the selected software is being installed .
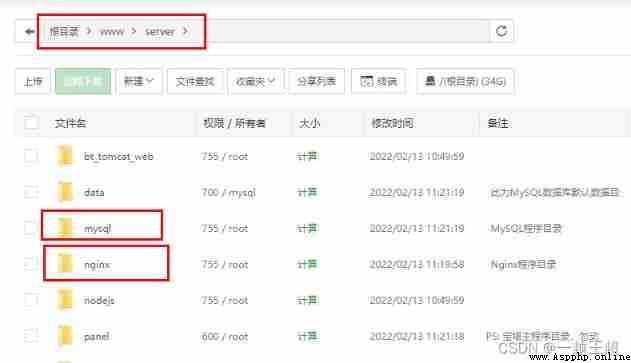
After the software is installed , It can be found in the directory /www/server Check the installed software
test nginx visit : Browser input ip Can access nginx, The file accessed is :/www/server/nginx/html, The contents are as follows
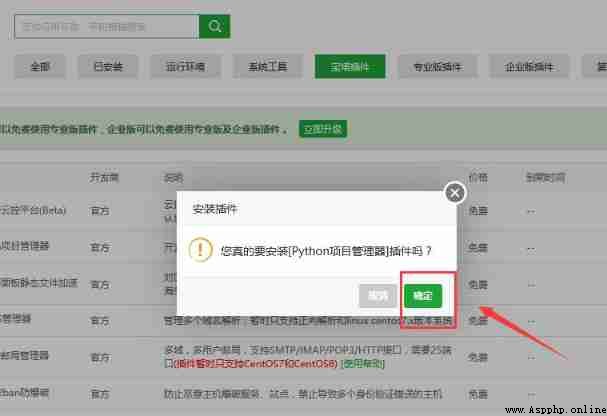
6、 install Python Project management plug in
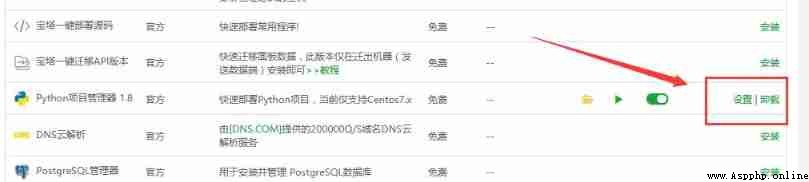
After this installation is successful , We're on the left ‘ Software store ’ Interior selection ‘ Pagoda plugin ’, find ‘Python project management ’ Install this plug-in .
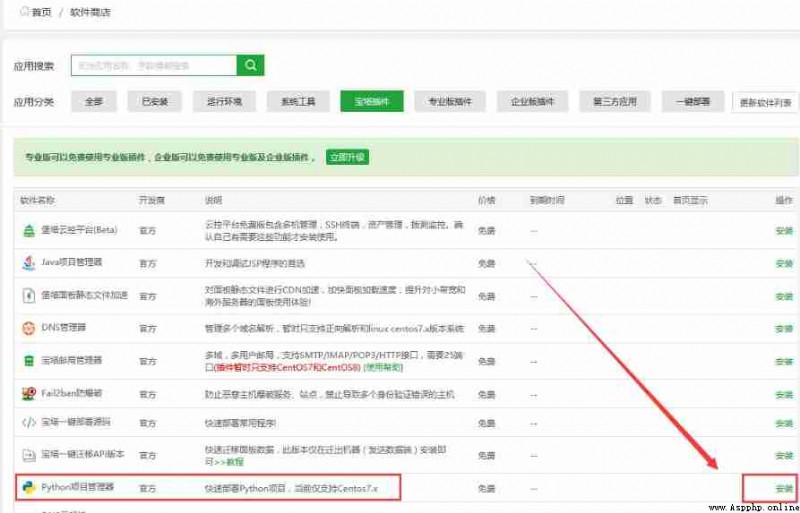
( Be careful : The latest pagoda version has been updated , When installing the project manager, you will be asked to choose the version to install , Recommended election 1.9 Of .)
7、 Required to install the project Python edition .
After successful installation , We click settings .
Then the following interface appears :
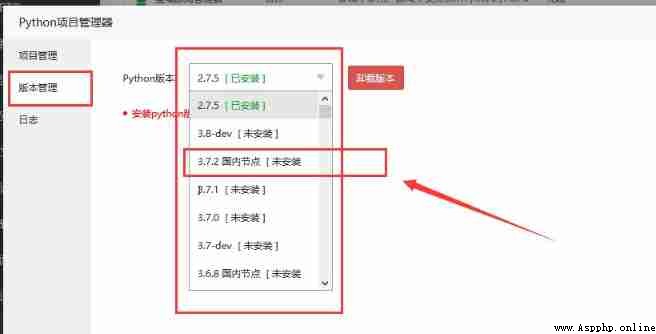
We install what we need in version management Python edition . Here I use 3.7.2 For example , Domestic nodes are selected , The installation of domestic nodes will be faster . It will be installed successfully in a moment .
8、 Add project site
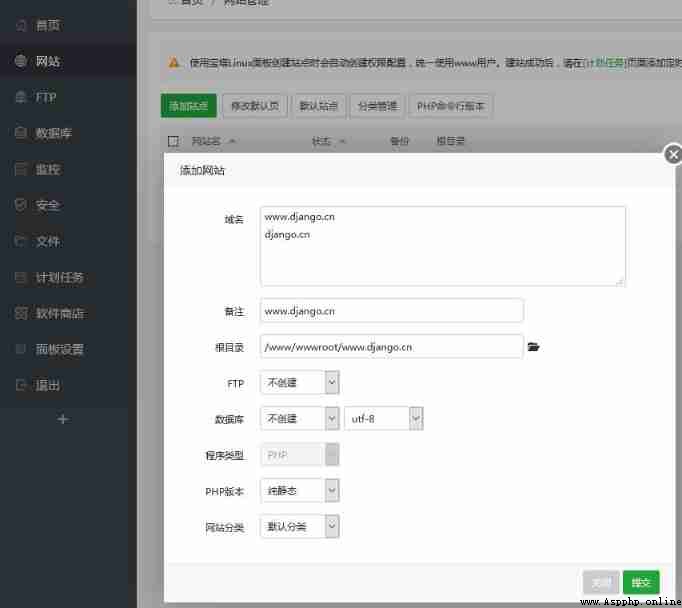
Fill in your own domain name at the domain name Office , There is no domain name to fill in the server IP Address .
9、 Upload Django Project source code .
Attention : Before packaging the project source code , First, use the following command in the local environment to export the environment dependency package to requirements.txt In the document , And store this file in the project directory , This step is very important , Please remember to operate .
Export command :
pip freeze > requirements.txt
After this step , We will upload the project source code to the server through the following steps .
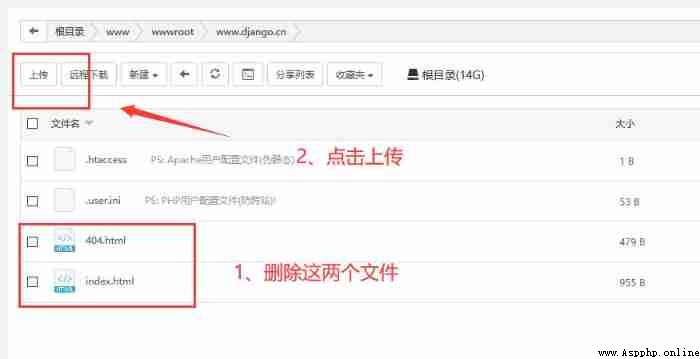

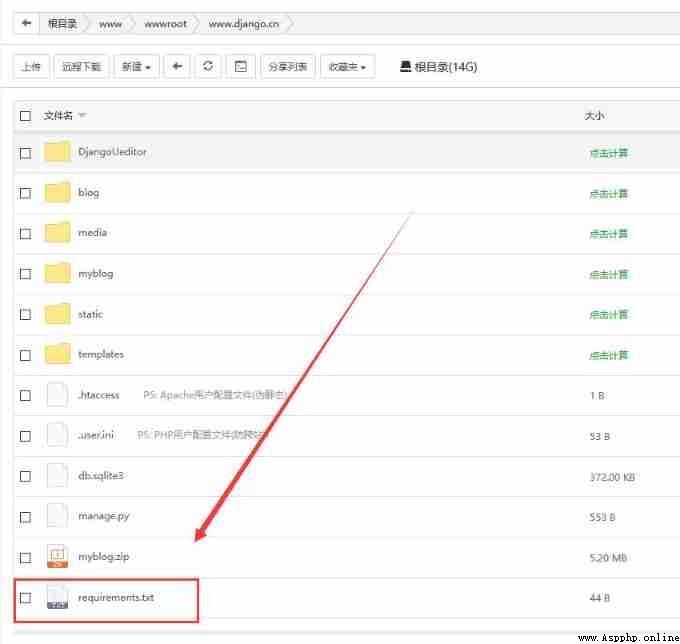
Unzip project

After decompressing successfully , Just like below . Pay attention to the path , Remember to unzip the source code into the root directory . And then check , Is there any requirements.txt This file .
10、 add to uwsgi The configuration file uwsgi.ini
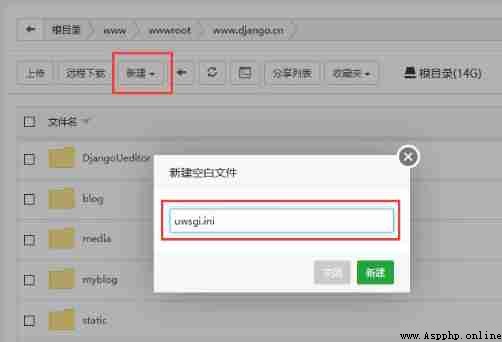
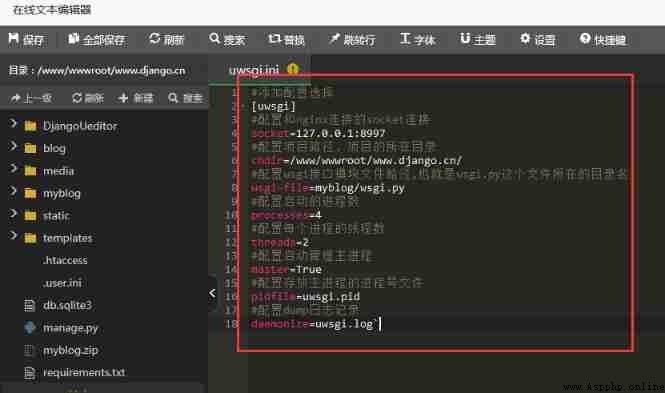
Attention : Create a new blank file , The file named uwsgi.ini. After the creation is successful, enter the following code , Then save :
# Add configuration options
[uwsgi]
# Configuration and nginx Connected socket Connect
socket=127.0.0.1:8997
# Configure project path , Where the project is located
chdir=/www/wwwroot/www.django.cn/
# To configure wsgi Interface module file path , That is to say wsgi.py The directory where this file is located
wsgi-file=myblog/wsgi.py
# Configure the number of processes started
processes=4
# Configure the number of threads per process
threads=2
# Configure to start the management main process
master=True
# Configure the process number file to store the main process
pidfile=uwsgi.pid
# To configure dump logging
daemonize=uwsgi.log`
Inside this , What we need to pay attention to most is the project path and wsgi.py directory .
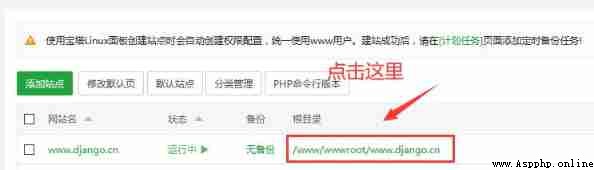
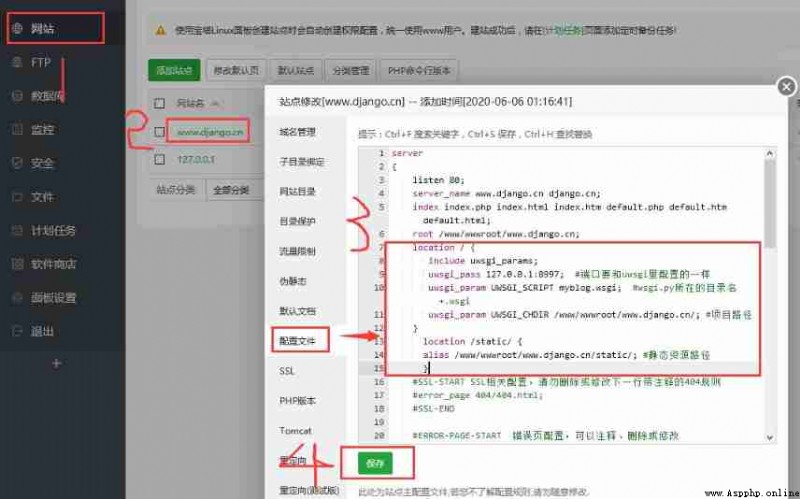
11、 Modify website configuration
The website on the left , Then click on the website name , Find... In the pop-up window ' The configuration file ', Then enter the following code in the configuration file :
    location / {
       include uwsgi_params;
       uwsgi_pass 127.0.0.1:8997;  # Port to and uwsgi It's the same as the one in
       uwsgi_param UWSGI_SCRIPT myblog.wsgi;  #wsgi.py Directory name +.wsgi
       uwsgi_param UWSGI_CHDIR /www/wwwroot/www.django.cn/; # Project path
    }
      location /static/ {
      alias /www/wwwroot/www.django.cn/static/; # Static resource path
      }
The port inside 、 The path should be consistent with uwsgi.ini The same in .
12、Python Add a project to the project management plug-in
Find it in the software store around Python Project management plug in , Then click Settings , Add the project . The options are simple , Just fill in according to the actual situation .
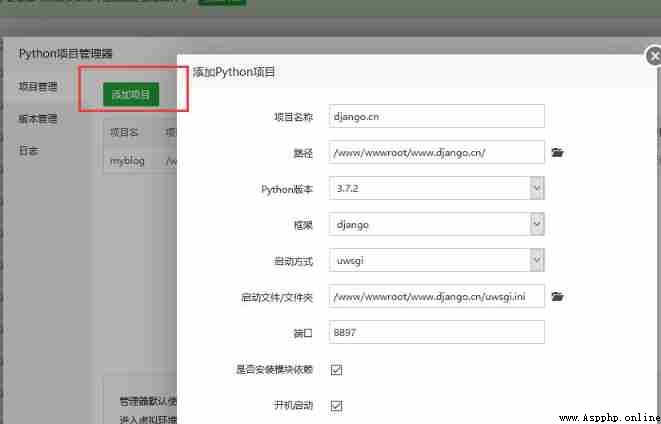
It's worth saying that port , Port to and uwsgi.ini The port inside is consistent . If there are multiple projects , Different ports should be filled in for different items . Fill in the port casually , As long as it does not conflict with other commonly used software ports .

Attention :
Use Python After the project management plug-in successfully creates a new project , Will be automatically in the project j Create a virtual environment in the source directory , The virtual environment directory is generally based on the project name _venv Form named .
How to enter the virtual environment :
Enter at the command line source Project path / Project name _venv/bin/activate Such as :
source /www/wwwroot/myblog/myblog_venv/bin/activate
By default, the project manager uses pip Installation project root directory requirements.txt Module in , This is why I emphasized putting the environment dependency package file in the project directory before , If other modules need to be installed, please manually enter the virtual environment to install .
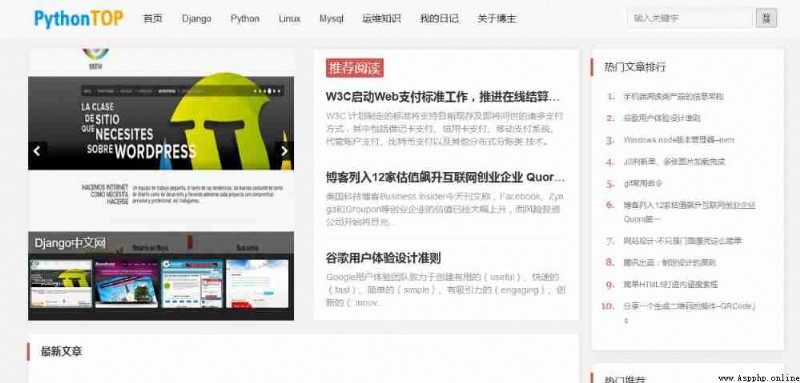
After the above configuration is completed , Basically, the deployment has been completed . We visit our domain name in the browser , You can view the website .
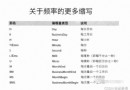
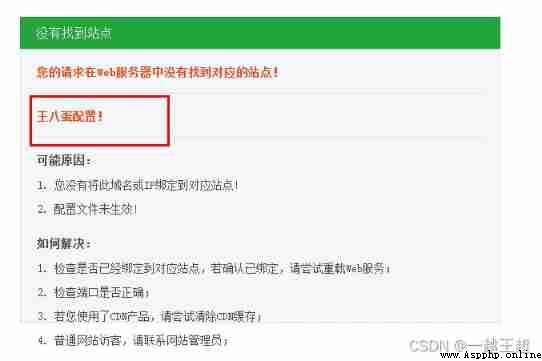
14、 Solve the management background style loss
If the background style is lost , Pictured :
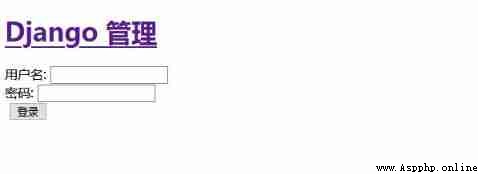
terms of settlement :
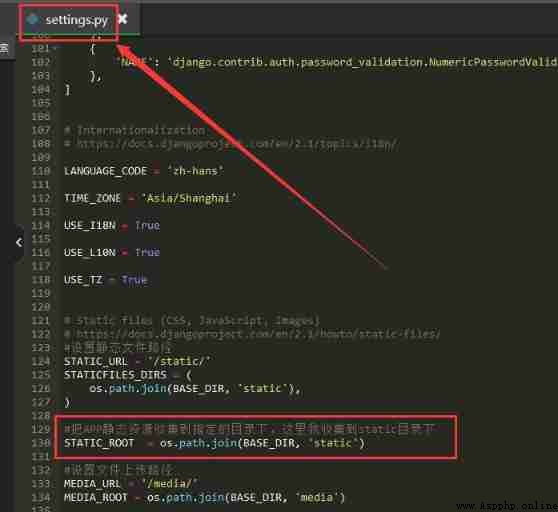
In the pagoda panel , Click the website path to enter the project path , find settins.py file , We add the static resource collection path at the end
# hold APP Collect static resources into the specified directory , Here I collect static Under the table of contents
STATIC_ROOT  = os.path.join(BASE_DIR, 'static')
After the SSH The terminal enters the project virtual environment :
source /www/wwwroot/myblog/myblog_venv/bin/activate
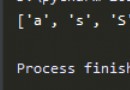
After successfully entering the virtual environment, the following marks will appear :
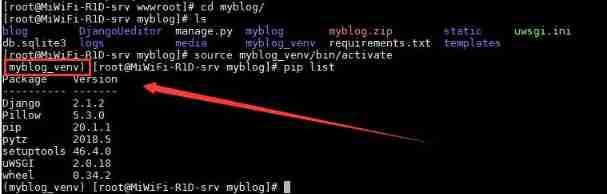
The project name... Appears _venv This sign , It means that you have successfully entered the virtual environment .
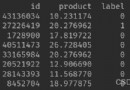
Then we use the following command to collect static files :
python manage.py collectstatic
Here's the picture :
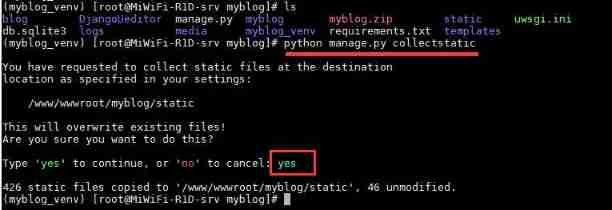
After successful collection , Refresh the background page , The style will return to normal .
This concludes the tutorial .
Problem sorting :
1、 The access display appears Internal Server Error Such wrong words , It may be the reason why the program doesn't work properly . Please enter the virtual environment , Use python manage.py runserver Command to run the project , See whether the project can operate normally , If you can't run normally, just follow the error prompt . The program can run normally. Restart the project with the project manager and you can access it normally .
2、 If appear :Django Operation tips :SQLite 3.8.3 or later is required (found 3.7.17) Such a mistake , Please follow this article . About django.db.utils.NotSupportedError: deterministic=True requires SQLite 3.8.3 The wrong way to deal with it -Django,Django Chinese net !
3、 If there is an error in withdrawing cash when establishing the project in step 12 , Please put “ Whether to install the module depends on ” Remove this option , After the project is established, enter the virtual environment to manually install the dependent modules .( The error prompt is similar to the message at the back of the post .)
Others can refer to :