I've been learning for so long Python, Yours Python Is the installation method correct ?
Today I'll show you what is Python The right way to install , The tutorial is placed below , Like it, like it .

Python answer Q Group :660193417####
You can install Anaconda To install python
Anaconda Refers to an open source Python Release version , It contains conda、Python etc. 180 Multiple science packs and their dependencies . In this way, you can no longer install many libraries by yourself , Save time .
Baidu search anaconda Mirror image , The first one is
Here's how it works :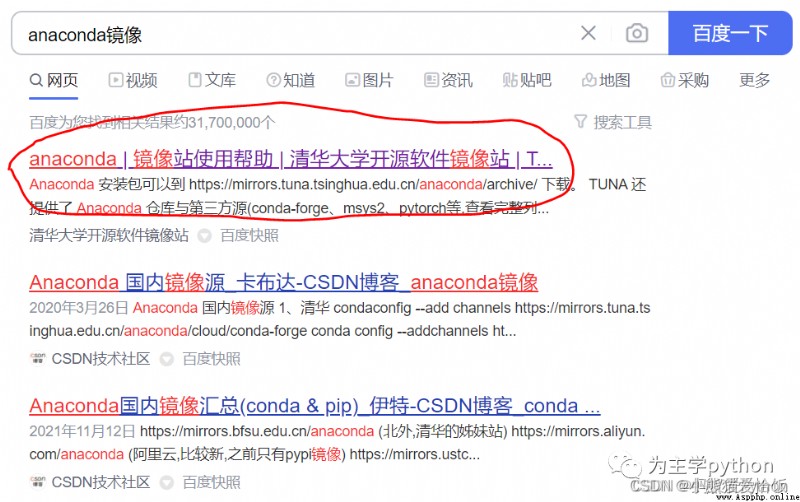
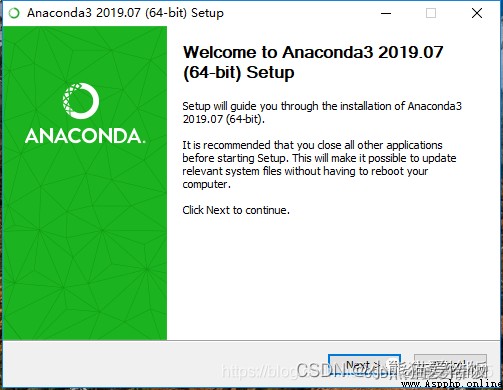
Then click the installation package folder , Turn to the newer version , Find a suitable version of your operating system to download .

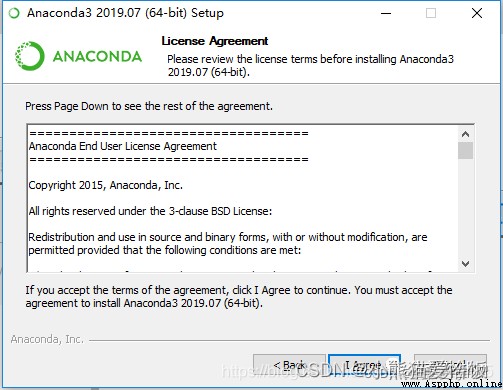
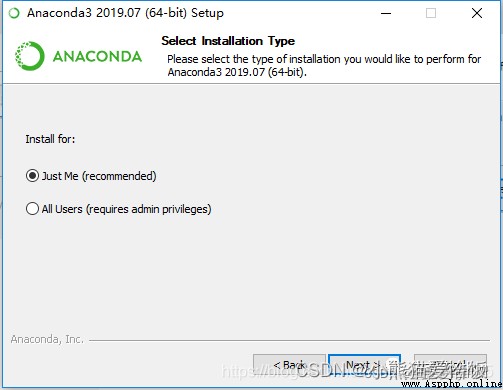
After downloading, it is actually installed by a fool , Pay attention to two places :


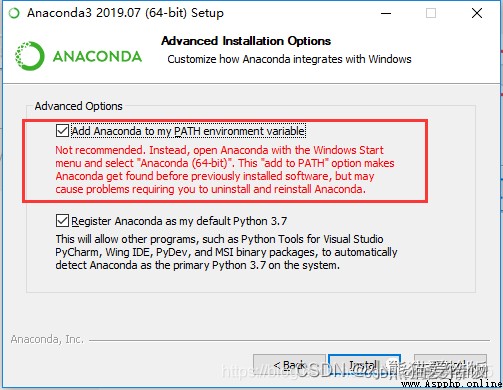
This step is more important , Be sure to check the first one , Add environment variables , Otherwise, you need to add it manually after installation , And then click Install
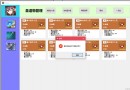
Then don't worry , When it is installed , Never mind what pops up in the middle , Finally, click Finish
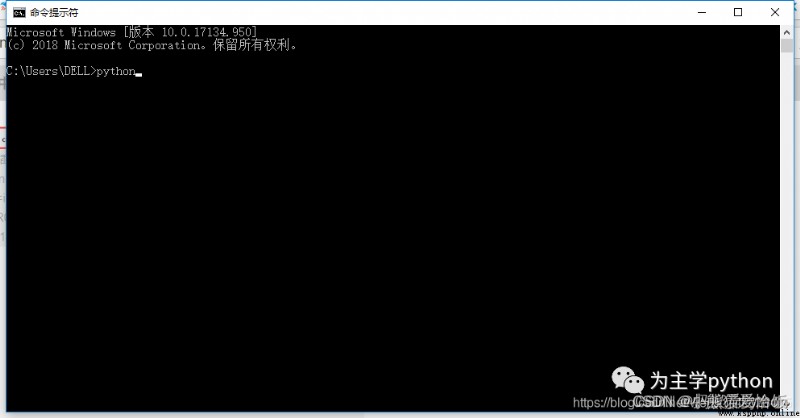
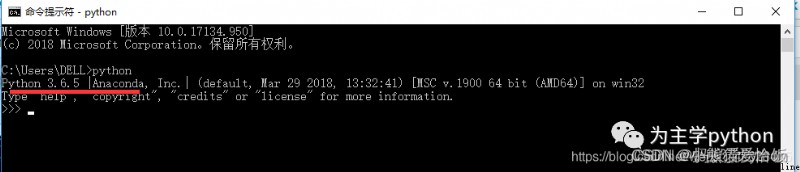
Once installed , open cmd, Input "python", enter , You can see python Version of , Now python Just install it
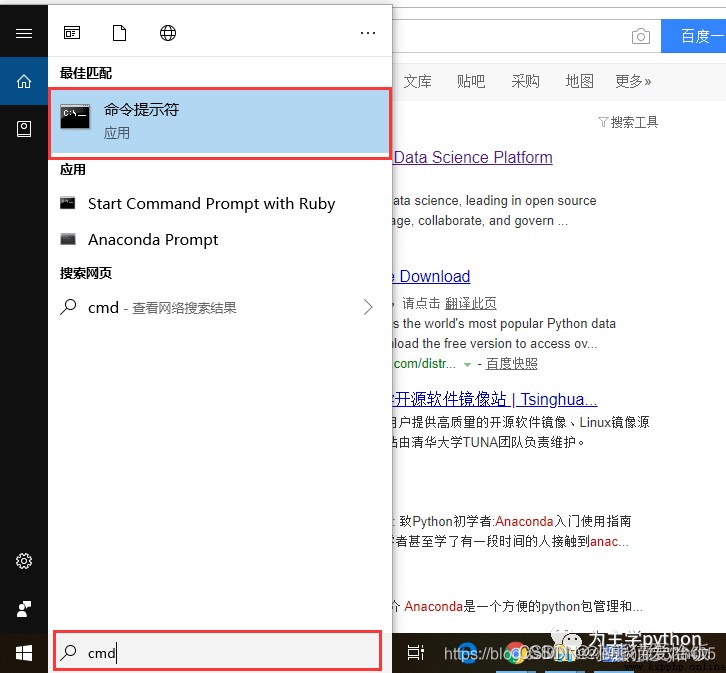
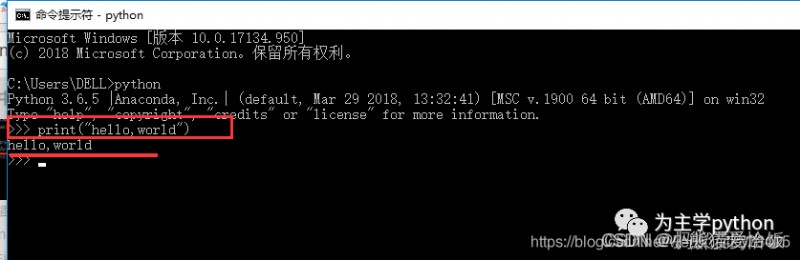
Now that we have reached this stage , No hello,world It's not good , We type after the next three arrows print(“hello,world”) Then press enter to confirm
At this time, an "hello,world".

Give Way python pip Use domestic image
• Temporary use :
Can be used in pip When adding parameters -i https://pypi.tuna.tsinghua.edu.cn/simple
for example :pip install -i https://pypi.tuna.tsinghua.edu.cn/simple pyspider, In this way, you can install the image from Tsinghua pyspider library .
• Permanent modification , Once and for all :
windows Next , Directly in user Create a pip Catalog , Create a new file pip.ini.( for example :C:\Users\WQP\pip\pip.ini)
The contents are as follows :
[global]
index-url = https://pypi.tuna.tsinghua.edu.cn/simple
[install]
trusted-host=https://pypi.tuna.tsinghua.edu.cn
Jupyter notebook Is a very powerful interactive editing interpreter , It can be used as a development document , Include code 、 Explanatory text 、 Code run results . When you're building a project prototype ,Jupyter Notebooks It's really easy to use , Because your code is written in a separate unit and executed separately . This allows the user to test specific blocks of code in the project , Instead of executing the code from the beginning of the script .
In layman's terms ,Jupyter notebook Is a very powerful interpreter that can run code , At present, I use Jpuyter notebook.
start-up jupyter notebook
We installed anaconda It has been installed at the same time Jupyter, We use a command window to open Jupyter notebook.
Create a new folder , Used to store python Script , Enter folder , Hold down shift, Right click , choice “ Open command window here ” perhaps “ Open here powershell window ”, Input jupyter notebook
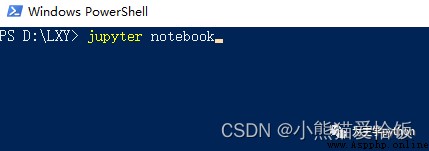
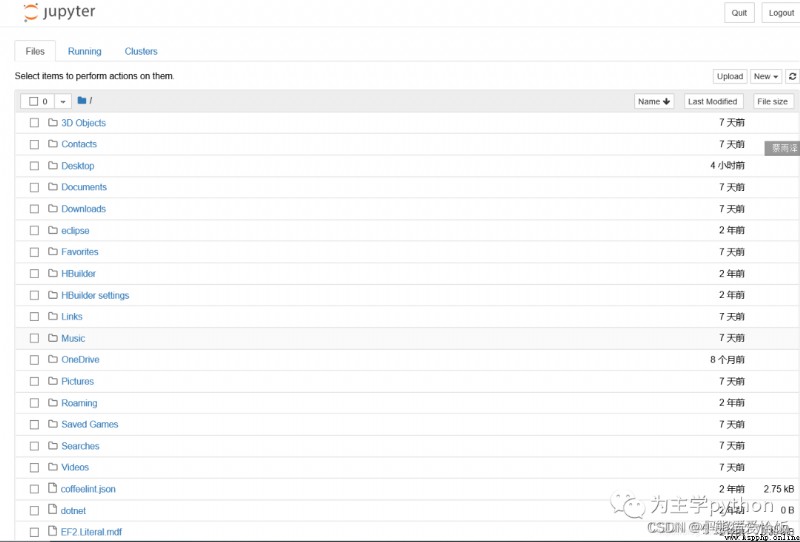
Click enter , You can open a file called... From the default browser home Of web page .( Never close the command window )
Sometimes different windows may pop up , You need to enter a passwords for token
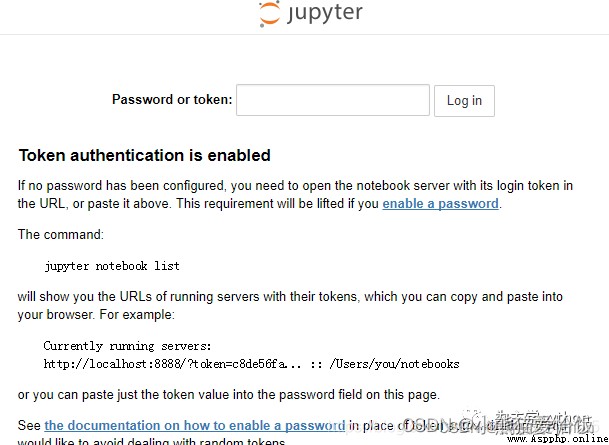
This opens the command window , There is such a string of characters
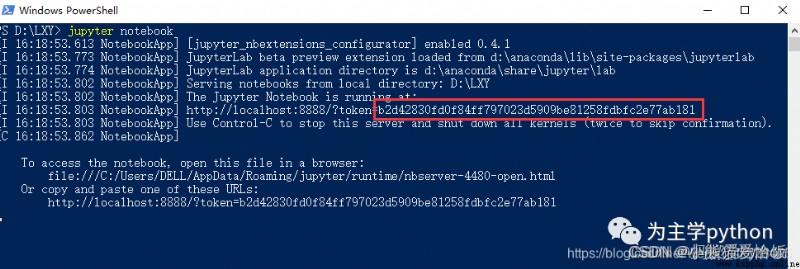
hold ”token=“ The following characters are copied to passwords for token The input box of , Click on login, You can go to the previous page .
But each computer has a different interface after it is opened , If you look closely, you will find , Some of the folders shown here are folders under the computer user directory , Why is that ? That's because jupyter notebook There is always a default directory at startup , In general , Use the user's default directory .
How to view the default directory , Or what should I do if I want to change the default directory ?
actually ,jupyter Some of the default settings are set in a default configuration file , We can view and modify the contents of the configuration file
(1) View the configuration file
stay cmd Use the following command in :jupyter-notebook --generate-config
(base) C:\Users\lenovo>jupyter-notebook --generate-config
Writing default config to: C:\Users\lenovo\.jupyter\jupyter_notebook_config.py
It can be seen that my default configuration file is in :C:\Users\lenovo.jupyter\jupyter_notebook_config.py in , Now let's look at the information of the configuration file . Get the following :
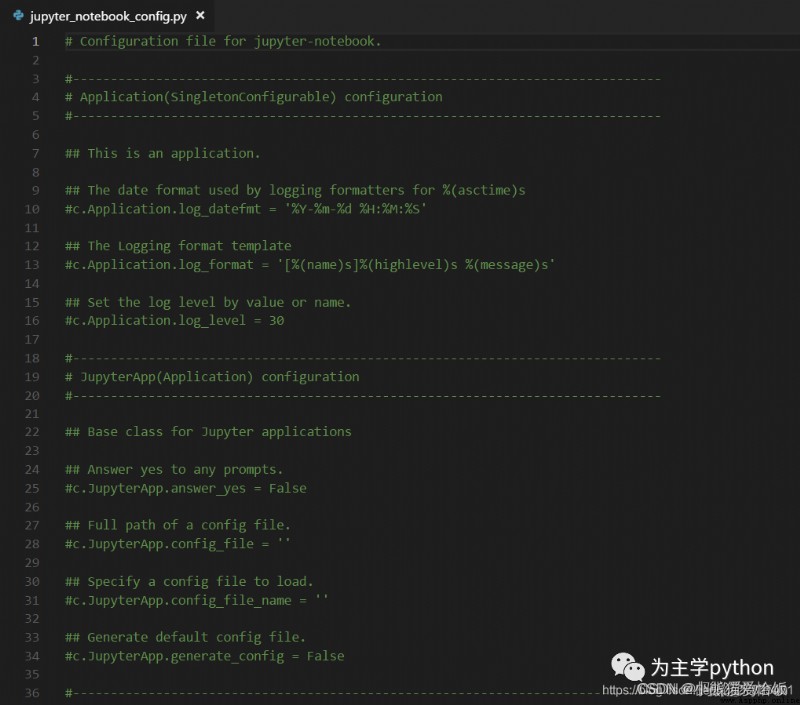
Open and find , This should essentially be a python Of py file , But in fact, they all use well numbers # At the beginning , Doesn't that mean it's all comments ? You can say that , But in fact, observation will find that , Some start with two pound signs ##, This is the annotation text , And those with a pound sign # The beginning is actually the default configuration information , That's what we're going to modify . Of course, this file is very long , I won't explain what each configuration information means one by one , I'll just talk about how to customize the default directory .
We use the editor , Search for directory Locate in the following position :
##The directory to use for notebooks and kernels.
#c.NotebookApp.notebook_dir = ''
This sentence is to set up jupyter Of , It can be seen that the default value is not , Now, for example, we want to assign it to our own directory , For example, I want it to be assigned to F On the plate myjupyter Folder , Then modify as follows :
##The directory to use for notebooks and kernels.
c.NotebookApp.notebook_dir = 'F:\myjupyter'
Save the modified file and close ! Then open it again , Find the following information , From the following information, we can see such a sentence :
Serving notebooks from local directory: F:\myjupyter
This indicates that the modification was successful .
(base) C:\Users\lenovo>jupyter-notebook
[I 14:17:57.432 NotebookApp] JupyterLab beta preview extension loaded from D:\ProgramData\Anaconda3\lib\site-packages\jupyterlab
[I 14:17:57.432 NotebookApp] JupyterLab application directory is D:\ProgramData\Anaconda3\share\jupyter\lab
[I 14:18:00.231 NotebookApp] Serving notebooks from local directory: F:\myjupyter
[I 14:18:00.232 NotebookApp] 0 active kernels
[I 14:18:00.232 NotebookApp] The Jupyter Notebook is running at:
[I 14:18:00.232 NotebookApp] http://localhost:8888/?token=ad2aa0097b0687bbd8b5b11909101533630e781e7c28753b
[I 14:18:00.232 NotebookApp] Use Control-C to stop this server and shut down all kernels (twice to skip confirmation).
[C 14:18:00.234 NotebookApp]
Copy/paste this URL into your browser when you connect for the first time,
to login with a token:
http://localhost:8888/?token=ad2aa0097b0687bbd8b5b11909101533630e781e7c28753b&token=ad2aa0097b0687bbd8b5b11909101533630e781e7c28753b
[I 14:18:00.786 NotebookApp] Accepting one-time-token-authenticated connection from ::1
besides , These operations above , It is recommended to use anaconda Self contained Anaconda Promp To operate , Because it provides very good environmental management functions , And in the system itself cmd In the operation , It may be due to some related reasons such as environment variable setting , You don't succeed . For example, I have installed... In multiple environments jupyter, however cmd The environment variable in points to A, What we may modify is B Configuration file for , This way cmd start-up jupyter The discovery remains unchanged .

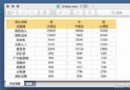
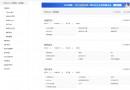
Now open , Then we found that web The interface becomes as follows :
Create a new file
Click in the upper right corner of the open interface New, At this point, you can create any one you want to edit Notebook type
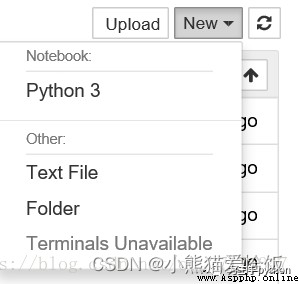
Click on Python establish Python notebook, Web Programming

1 Command mode
Enter : Switch to edit mode
Shift-Enter : Run this unit , Select the next unit
Ctrl-Enter : Run this unit
Alt-Enter : Run this unit , Insert a new cell under it
Y : Unit goes to code state
M : Unit transferred to markdown state
R : Unit transferred to raw state
1 : Set up 1 Level title
2 : Set up 2 Level title
3 : Set up 3 Level title
4 : Set up 4 Level title
5 : Set up 5 Level title
6 : Set up 6 Level title
Up : Select the upper cell
K : Select the upper cell
Down : Select the cell below
J : Select the cell below
Shift-K : Enlarge and select the upper cell
Shift-J : Enlarge and select the lower cell
A : Insert a new cell above
B : Insert a new unit below
X : Cut the selected cell
C : Copy the selected cell
Shift-V : Paste to the top unit
V : Paste to the lower unit
Z : Restore the last deleted unit
D,D : Delete the selected cell
Shift-M : Merge selected cells
Ctrl-S : File on file
S : File on file
L : Convert line number
O : Conversion output
Shift-O : Conversion output scrolling
Esc : Close page
Q : Close page
H : Show shortcut help
I,I : interrupt Notebook kernel
0,0 : restart Notebook kernel
Shift : Ignore
Shift-Space : Scroll up
Space : Scroll down
2 Edit mode
Tab : Code completion or indentation
Shift-Tab : Tips
Ctrl-] : Indent
Ctrl-[ : Undo indent
Ctrl-A : Future generations
Ctrl-Z : Restore
Ctrl-Shift-Z : Do it again
Ctrl-Y : Do it again
Ctrl-Home : Jump to the beginning of the unit
Ctrl-Up : Jump to the beginning of the unit
Ctrl-End : Jump to the end of the unit
Ctrl-Down : Jump to the end of the unit
Ctrl-Left : Jump to the left with a prefix
Ctrl-Right : Jump to a prefix on the right
Ctrl-Backspace : Delete the previous word
Ctrl-Delete : Delete the next word
Esc : Enter command mode
Ctrl-M : Enter command mode
Shift-Enter : Run this unit , Select the next unit
Ctrl-Enter : Run this unit
Alt-Enter : Run this unit , Insert a unit below
Ctrl-Shift– : Split unit
Ctrl-Shift-Subtract : Split unit
Ctrl-S : File on file
Shift : Ignore
Up : Move the cursor up or forward to the previous unit
Down : Move the cursor down or forward to the next unit
5 export
Jupyter notebook Support to export multiple format files
HTML
Markdown
ReST
PDF(Through LaTex)
Raw Python
Python and Jupyter notebook The installation tutorial of is on the top , And I shared some Python How to use shortcut keys , In this way, we can improve our work efficiency in our daily life . Remember the praise. , This chapter ends here .