Python With the ease of grammar , The simplicity of the code and the richness of the class library , Won the love of many developers . Let's take a look at , Use no more than 10 What interesting functions can line of code achieve
Baidu PaddlePaddle paddlepaddle It is Baidu's open source deep learning tool , It's powerful , Based on this tool, we can realize interesting and useful functions
Before use , We must install it first
pip install paddlepaddle -i https://mirror.baidu.com/pypi/simple
pip install paddlehub -i https://mirror.baidu.com/pypi/simple
After installation , Let's experience some interesting projects
Batch obtain the pictures in the specified directory , And then through paddlehub Batch matting of trained models
import os
import paddlehub as hub
#  Load model
humanseg = hub.Module(name='deeplabv3p_xception65_humanseg')
path = './heben/'    #  File directory
#  Get file list
files = [path + i for i in os.listdir(path)]
#  Cutout
results = humanseg.segmentation(data={'image': files})
for result in results:
    print(result)
Output: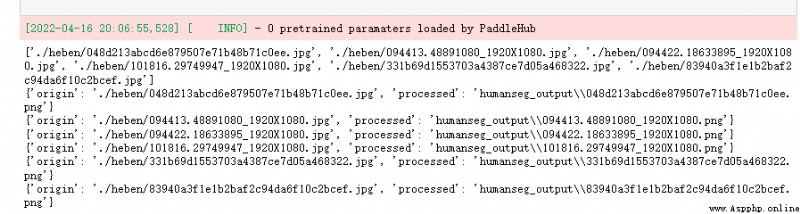
We can see , The processed pictures are automatically saved in the directory humanseg_output below
We can compare the difference between the pictures before and after processing

On the whole , The matting effect is still very good !
Be careful : If the executed code does not generate the corresponding out Folder , You can reinstall the model manually and try again
hub install deeplabv3p_xception65_humanseg==1.0.0The propeller also has strong natural language processing ability , It is also very prominent in dealing with word emotion recognition
senta = hub.Module(name='senta_lstm')        #  Load model
sentence = [    #  Prepare statements to recognize
    ' How are you beautiful ', ' You are so ugly ', ' He was so sad ', ' I'm not happy. ', ' What kind of game is this , What rubbish ', ' This game is so fun ',
]
results = senta.sentiment_classify(data={'text':sentence})    #  Emotion recognition
#  Output identification results
for result in results:
    print(result)
Output:
It can be seen that , The recognition of words and emotions is still very accurate , Of course, we have less corpus here , In large corpus 、 In a more complex language environment , How the flying slurry performs remains to be verified
In today's society, face recognition can be seen everywhere , Today, when the epidemic is rampant , Masks also seem to be a necessary condition for our daily appearance , The flying plasma tool also adds the mask recognition function , Let's see
#  Load model
module = hub.Module(name='pyramidbox_lite_mobile_mask')
#  Picture list
image_list = ['face2.jpg']
#  Get Picture Dictionary
input_dict = {'image':image_list}
#  Check whether the mask is worn
module.face_detection(data=input_dict)
face.jpg as follows 
Output:
[{'data': [{'label': 'NO MASK',
'confidence': 0.9995137453079224,
'top': 478,
'bottom': 775,
'left': 1894,
'right': 2126},
{'label': 'NO MASK',
'confidence': 0.9903278946876526,
'top': 512,
'bottom': 810,
'left': 1754,
'right': 1998},
{'label': 'NO MASK',
'confidence': 0.9997405409812927,
'top': 697,
'bottom': 985,
'left': 1857,
'right': 2131},
{'label': 'NO MASK',
'confidence': 0.943692147731781,
'top': 575,
'bottom': 888,
'left': 1954,
'right': 2216}],
'path': 'face2.jpg'}]
It can be seen that , It has been determined that more than 99% Probability , The picture is not wearing a mask
Face key point detection is a key step in the field of face recognition and analysis , It is such as automatic face recognition 、 Expression analysis 、 The premise and breakthrough of other face related problems such as 3D face reconstruction and 3D animation
We take the following picture as the picture to be tested 
The code is as follows
face_landmark = hub.Module(name="face_landmark_localization")
image = 'face.jpg'
result = face_landmark.keypoint_detection(images=[cv2.imread(image)],visualization=True)
print(result)
Output: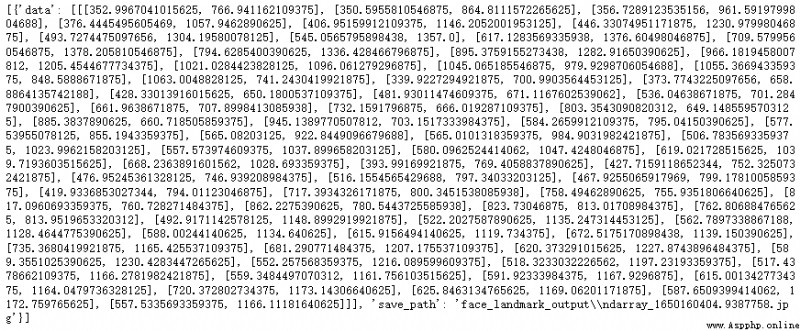
You can see that the key points of the face have been marked , And automatically store the detected pictures in face_landmark_output Under the table of contents 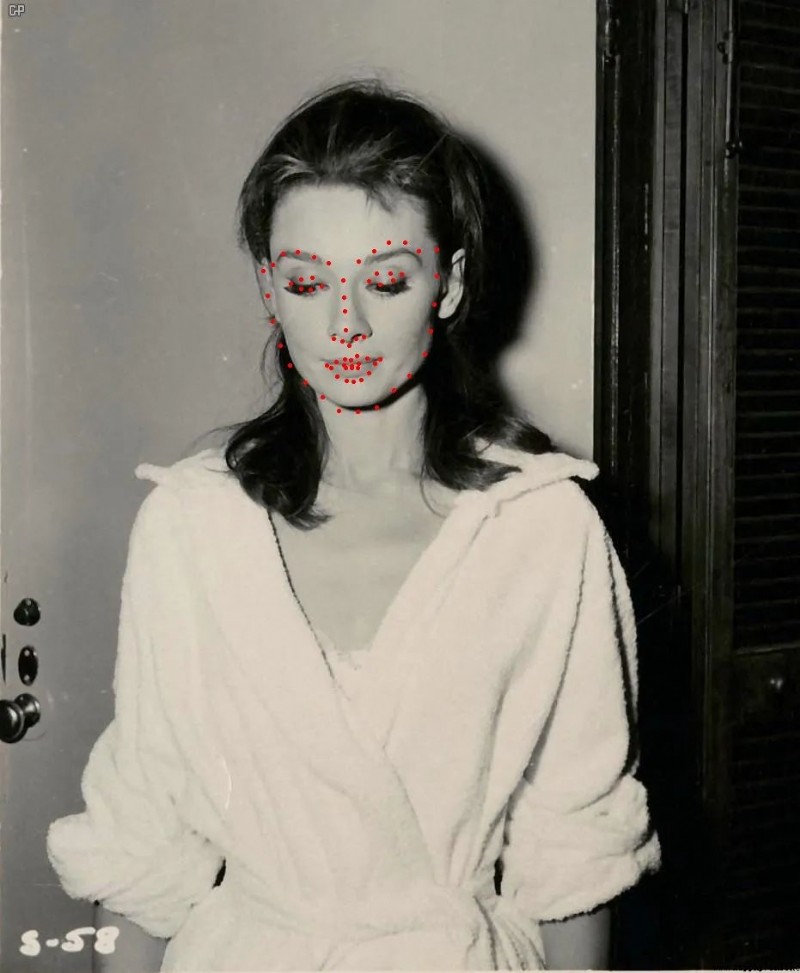
OpenCV As the most famous computer vision tool , Based on it, we can also do many interesting things First of all, let's install OpenCV library
pip install opencv-pythonIn modern society , Who doesn't have one or two cat owners , Cold cats are often loved by people !
We are also used to face recognition , Today, let's see how cat face recognition works through a few lines of code
First, we go to the installation directory to extract the anchor chain identification XML classifier , The specific contents are as follows
C:\Python3\Lib\site-packages\cv2\data
You can see that there are many classifiers 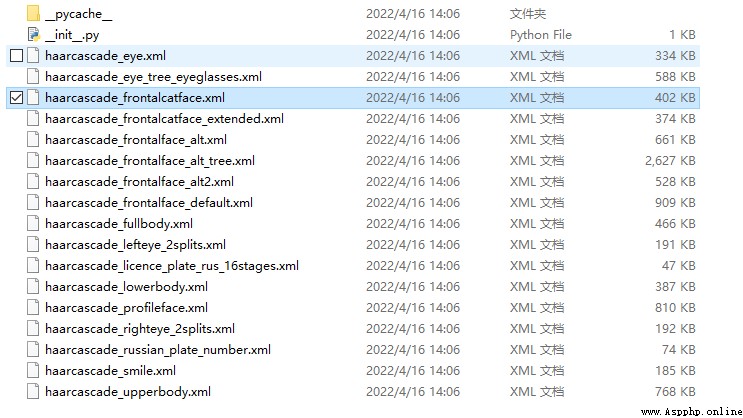
We copy haarcascade_frontalcatface.xml Just go to your own project
#  Image path to be detected
ImagePath = './cat/cat.jpg'
#  Read the picture
image = cv2.imread(ImagePath)
#  Convert the image to grayscale
gray = cv2.cvtColor(image, cv2.COLOR_BGR2GRAY)
#  Detect the cat face in the picture
#  Get the parameter data of the trained cat face , Perform a cat face test
face_cascade = cv2.CascadeClassifier(r'./haarcascade_frontalcatface.xml')
faces = face_cascade.detectMultiScale(gray,scaleFactor=1.15,minNeighbors=5,minSize=(3, 3))
search_info = "Find %d face."%len(faces) if len(faces) <= 1 else "Find %d faces."%len(faces)
#  Draw a rectangular area of the cat's face ( Red border )
for (x, y, w, h) in faces:
    cv2.rectangle(image, (x,y), (x+w,y+h), (0,0,255), 2)
#  display picture
# cv2.imshow('Find faces!', image)
# cv2.waitKey(0)
cv2.imwrite("./cat/cat2.jpg", image)
Output: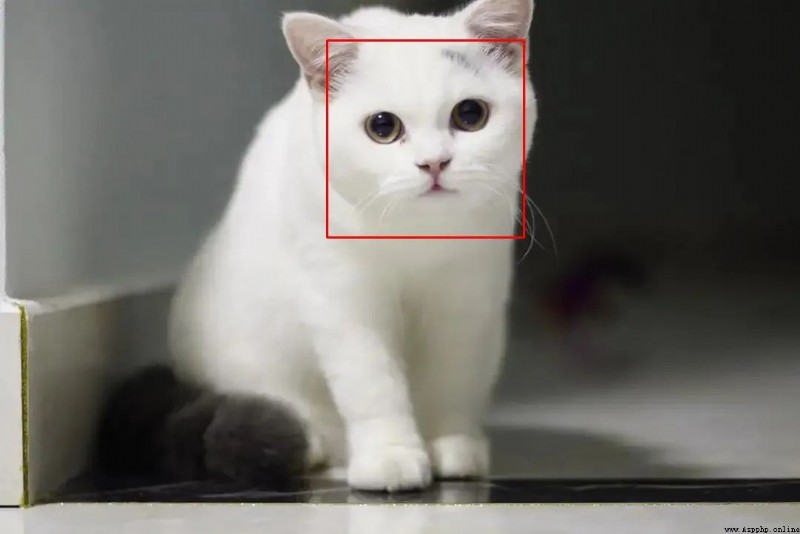
We write a code to obtain real-time dynamic video stream , Get the face information in real time
detector = cv2.CascadeClassifier('haarcascade_frontalface_default.xml')
cap = cv2.VideoCapture(0)
while True:
    ret, img = cap.read()
    gray = cv2.cvtColor(img, cv2.COLOR_BGR2GRAY)
    faces = detector.detectMultiScale(gray, 1.3, 5)
    for (x, y, w, h) in faces:
        cv2.rectangle(img, (x, y), (x + w, y + h), (255, 0, 0), 2)
    cv2.imshow('frame', img)
    if cv2.waitKey(1) & 0xFF == ord('q'):
        break
cap.release()
cv2.destroyAllWindows()
Note that the classifier used here is haarcascade_frontalface_default.xml, Don't use it wrong
Output:
Try it on your own computer ~
In many cases , Especially when chatting online , If you lose anything, you can't lose doutu , The following code can quickly generate the dynamic diagram , In the fight with friends , The confidence of winning has increased again
import imageio
image_list = ['image/1.jpg','image/2.jpg', 'image/3.jpg', 'image/4.jpg']
gif_name = "dongtu.gif"
duration = 1
frames = []
for image_name in image_list:
    frames.append(imageio.imread(image_name))
imageio.mimsave(gif_name, frames, "GIF", duration=duration)
Output:
QR code is so important in our life , Collection and payment 、 Quick access to the website , Access to various statistics and so on , Now let's quickly generate an interesting two-dimensional code of motion graph
The pictures we use are as follows 
The code is as follows
from MyQR import myqr
url = "https://xxx.xxx.xxx"
myqr.run(words=url,version=3,
         picture="4.gif",colorized=True,save_name="luobodazahui.gif",
         save_dir="./")
Output: There's a surprise on the sweep ~
Maybe a lot of people don't know , adopt Python A few lines of simple code , We can quickly implement a simple ftp The server , In this way, there is no need to worry about file transfer in the LAN !
The code is very simple , Direct operation Python Self contained http The server can
python -m http.server 8090Output:
Next, let's visit the local IP + port 8090
Very powerful , It's simple , useful !
Character painting is a combination of a series of characters , We can think of characters as larger pixels , A character can represent a color , The more types of characters , The more colors you can show , The picture will also be more layered
We only need a few lines of code , You can complete the production of character painting
The pictures we use are as follows 
The code is as follows
IMG = "3.jpg"
WIDTH = 80
HEIGHT = 40
OUTPUT = "./ascii/ascii.txt"
ascii_char = list("[email protected]%8&WM#*oahkbdpqwmZO0QLCJUYXzcvunxrjft/\|()1{}[]?-_+~<>i!lI;:,\"^`'. ")
#  take 256 Grayscale maps to 70 On characters
def get_char(r,g,b,alpha = 256):
    if alpha == 0:
        return ' '
    length = len(ascii_char)
    gray = int(0.2126 * r + 0.7152 * g + 0.0722 * b)
    unit = (256.0 + 1)/length
    return ascii_char[int(gray/unit)]
im = Image.open(IMG)
im = im.resize((WIDTH,HEIGHT), Image.NEAREST)
txt = ""
for i in range(HEIGHT):
    for j in range(WIDTH):
        txt += get_char(*im.getpixel((j,i)))
    txt += '\n'
print(txt)
# Character drawing output to file
with open(OUTPUT,'w') as f:
    f.write(txt)
Output: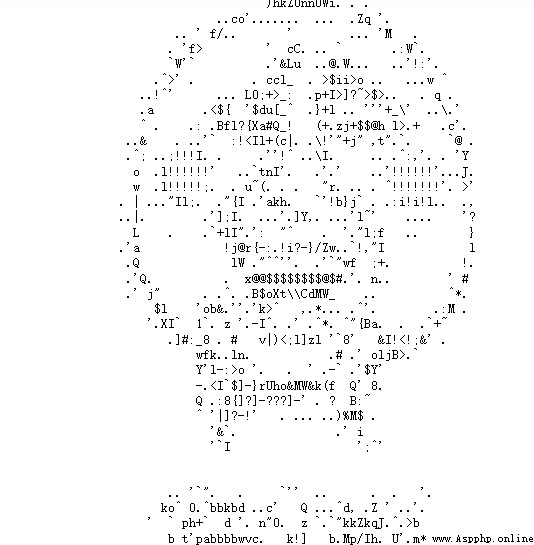
Okay , That's what we're sharing today , If you like , Just click on it. Fabulous Well ~
Recommended reading
python Realize automatic login of campus network
Powerful and easy to use ! New generation reptile weapon Playwright Introduction to
Python How to get " Video file " Size and duration of ?
Super full !Python Read file method