Task description
Related knowledge
Programming requirements
Test instructions
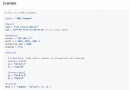
Code
Task descriptionOur mission : utilize PyEcharts Draw a basic funnel diagram .
Related knowledgeIn order to complete this mission , You need to master :
1. Python Basic syntax
2. PyEcharts Relevant contents of funnel diagram
Import chart type
It is similar to the operation of calendar chart , At the beginning of the file, we should first import the required packages , As shown in the code in the editor on the right .
The statement to import the funnel chart is
from pyecharts.charts import FunnelTo facilitate the construction of data , We also imported PyEcharts Virtual packets provided , As shown below :
from pyecharts.faker import FakerStructural data
adopt PyEcharts Virtual packets provided Faker, We can construct a two-dimensional List:
data = [list(z) for z in zip(Faker.choose(), Faker.values())]among ,Faker In bag choose Method randomly selects a set of properties , and values Method generates random data values .
Familiarize yourself with the title configuration options
In the previous level, we have been familiar with PyEcharts Process of drawing , Therefore, this section mainly introduces the configuration options related to the title :
class TitleOpts(# Main title text , Support use \n Line break .title: Optional[str] = None,# Main title jump URL link title_link: Optional[str] = None,# Main title jump link mode # The default value is : blank# Optional parameters : 'self', 'blank'# 'self' The current window opens ; 'blank' New window open title_target: Optional[str] = None,# Subtitle text , Support use \n Line break .subtitle: Optional[str] = None,# Subtitle jump URL link subtitle_link: Optional[str] = None,# Subtitle jump link mode # The default value is : blank# Optional parameters : 'self', 'blank'# 'self' The current window opens ; 'blank' New window open subtitle_target: Optional[str] = None,# title Distance of the component from the left side of the container .# left Can be something like 20 Such a specific pixel value , It can be like '20%' This is the percentage relative to the height and width of the container ,# It can also be 'left', 'center', 'right'.# If left The value of is 'left', 'center', 'right', The components are automatically aligned according to the corresponding position .pos_left: Optional[str] = None,# title The distance of the component from the right side of the container .# right Can be something like 20 Such a specific pixel value , It can be like '20%' This is the percentage relative to the height and width of the container .pos_right: Optional[str] = None,# title The distance of the component from the upper side of the container .# top Can be something like 20 Such a specific pixel value , It can be like '20%' This is the percentage relative to the height and width of the container ,# It can also be 'top', 'middle', 'bottom'.# If top The value of is 'top', 'middle', 'bottom', The components are automatically aligned according to the corresponding position .pos_top: Optional[str] = None,# title The distance of the component from the lower side of the container .# bottom Can be something like 20 Such a specific pixel value , It can be like '20%' This is the percentage relative to the height and width of the container .pos_bottom: Optional[str] = None,# The inside margin of the title , Company px, The default inner margin of each direction is 5, Accept the array to set the upper right and lower left margins .# // Set the inside margin to 5# padding: 5# // Set the top and bottom margins to 5, The inner margin on the left and right is 10# padding: [5, 10]# // Set the inner margins in four directions respectively # padding: [# 5, // On # 10, // Right # 5, // Next # 10, // Left # ]padding: Union[Sequence, Numeric] = 5,# The space between headings and subheadings .item_gap: Numeric = 10,# Main title font style configuration item , Reference resources `series_options.TextStyleOpts`title_textstyle_opts: Union[TextStyleOpts, dict, None] = None,# Subtitle font style configuration item , Reference resources `series_options.TextStyleOpts`subtitle_textstyle_opts: Union[TextStyleOpts, dict, None] = None,)As shown above , The title is mainly divided into two modules: main title and subtitle , The configuration method is similar . More commonly used are setting text 、 Set hyperlink 、 Set position and other options . The above font style configuration is similar to other font style configurations , We will introduce in detail in the follow-up training .
The title configuration belongs to the global configuration item , It can be done by set_global_opts Method setting .
Programming requirementsAccording to the above , Add code to the editor on the right , Draw a funnel diagram of the given data , requirement :
The series name is set to “ goods ”;
Pass the given data into the funnel diagram ;
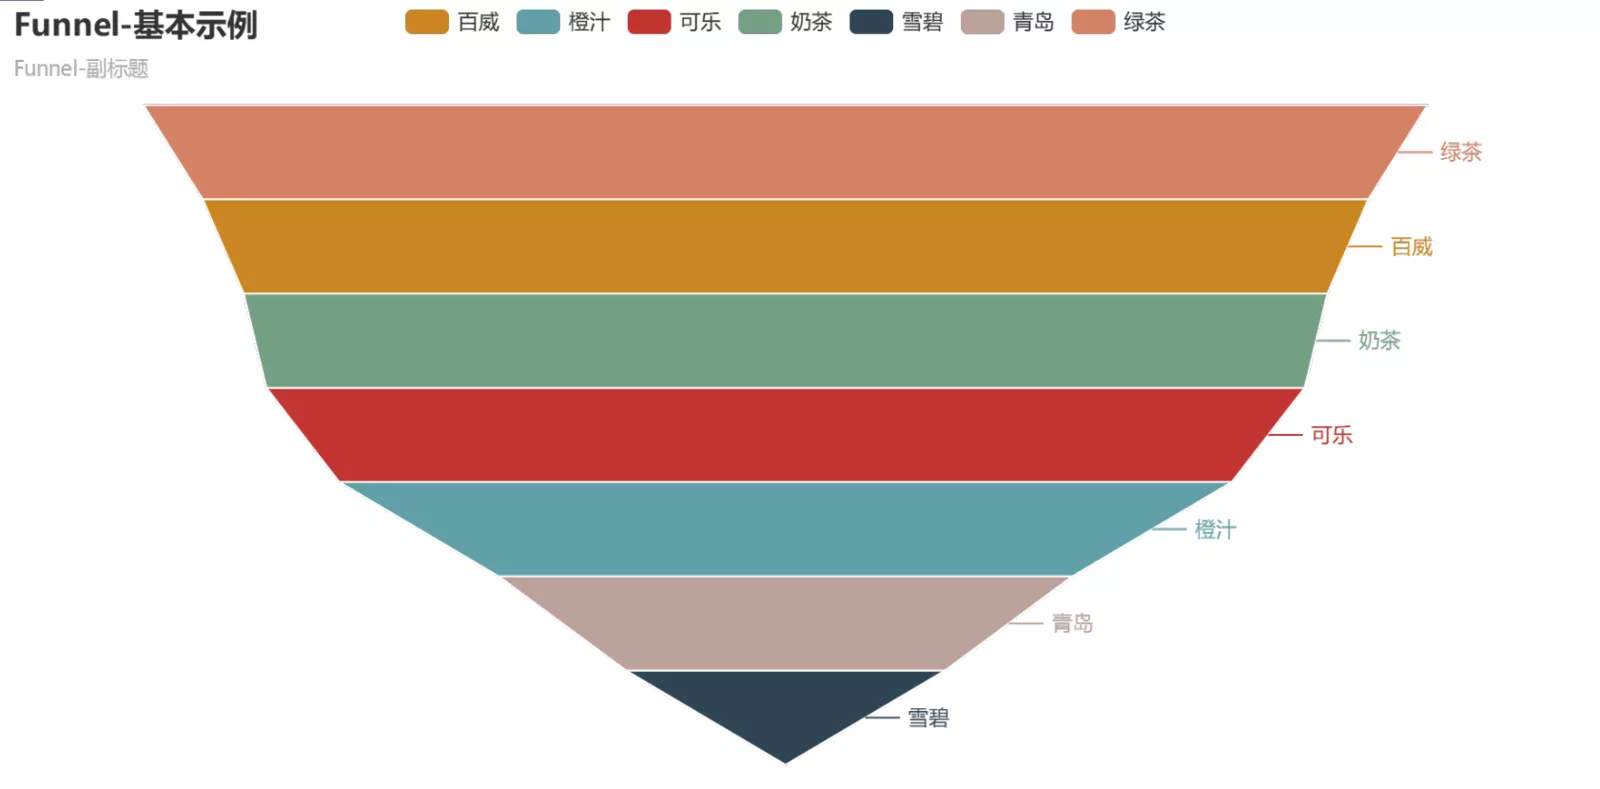
Set the funnel chart title to “Funnel- Basic example ”;
Add a subtitle to the funnel , Name it “Funnel- Subtitle ”.
Test instructionsThe platform will run the code you write to draw , And compare it with the expected picture . The expected results are as follows :
Tips :
The set series name and add data section can be abbreviated as :
...
.add(" name ", data)
...
Start your mission , wish you success !
Codefrom PreTest import *from pyecharts import options as optsfrom pyecharts.render import make_snapshotfrom snapshot_phantomjs import snapshotfrom pyecharts.charts import Funnelfrom pyecharts.faker import Fakerdata = [ list(z) for z in zip(Faker.choose(), Faker.values())]def funnel_chart() -> Funnel: # ********* Begin *********# funnel = ( Funnel() .add(" goods ", data) .set_global_opts(title_opts=opts.TitleOpts(title="Funnel- Basic example ",subtitle="Funnel- Subtitle ")) ) # ********** End **********# return funnelmake_snapshot(snapshot, funnel_chart().render("Result/render.html"), 'StudentAnswer/student_answer.png') # Output pictures make_snapshot(snapshot, funnel_base(data).render(), "StandardAnswer/task1/standard_answer_1.png")
The above is the detailed explanation Python+Pyecharts Implementation of the funnel drawing details , More about Python Pyecharts For funnel chart information, please pay attention to other relevant articles on the software development network !