一、整合IBMHTTPServer與WASND
我們應用已經在集群環境中發布成功了,下面我們來使用我們的IHS來集成我們的WASND吧,必盡在實際應用中我們對外只有 一個網址即:http://localhost/cbbs,至於它背後有幾個AppServer對用戶來說應該是“透明”的。
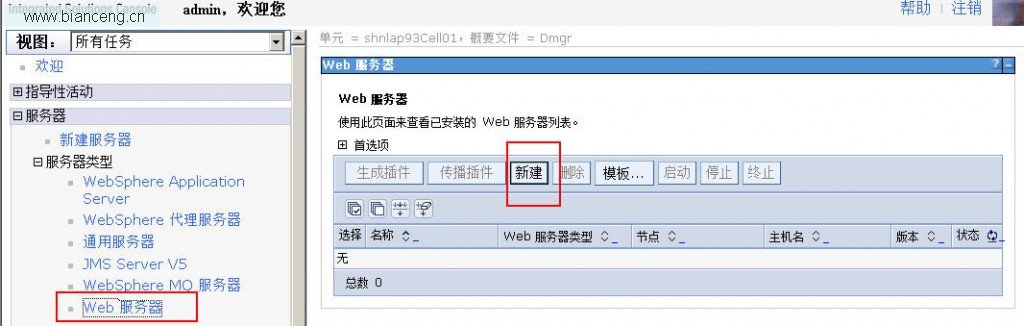
通過服務器->服務器類型->web服務器,我們在右邊的操作面板中點[新建]
我們把我們這個web server命名為demoweb。
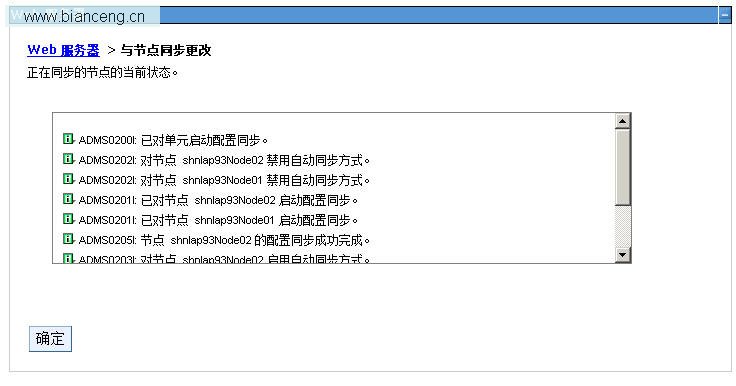
把它安裝在節點:shnlap93Node01上吧(沒關系,隨便裝哪個節點都可以,它會同步另一個節點的配置的)。
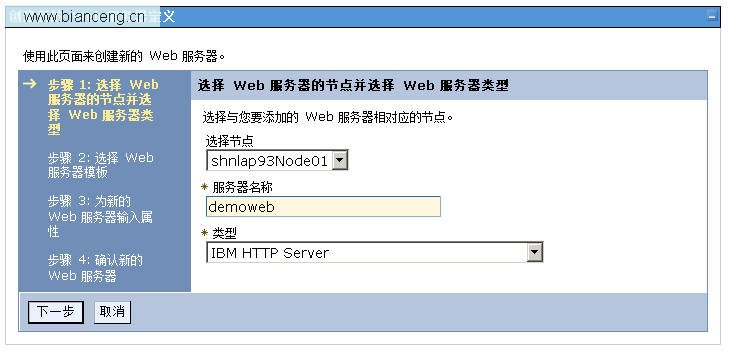
下一步

下一步下一步直到完成,別忘了點“保存”。

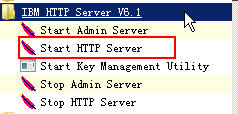
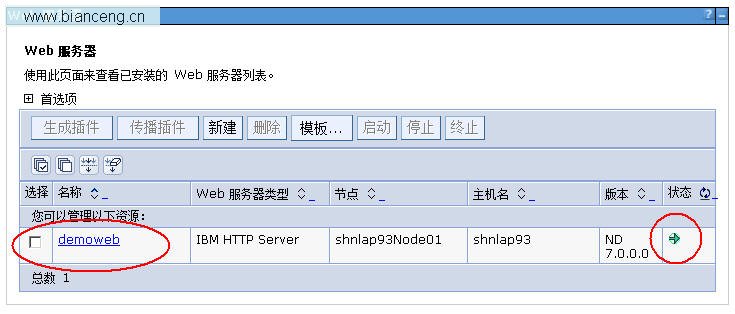
然後我們得到下面這個Web Server,請啟動這個Web Server,怎麼啟動還記麼?系統菜單欄中去啟動它吧!!!
這是我們剛才建立的一個Web Server。
確保我們的企業級應用程序布署的作用域即Target正確。
應用程序->應用程序類型->WebSphere企業應用程序
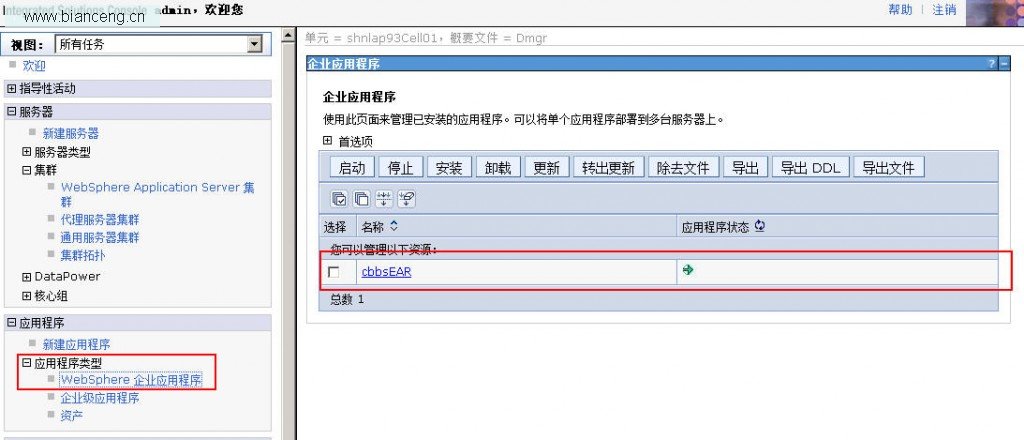
用鼠標單擊我們剛才布署的這個應用
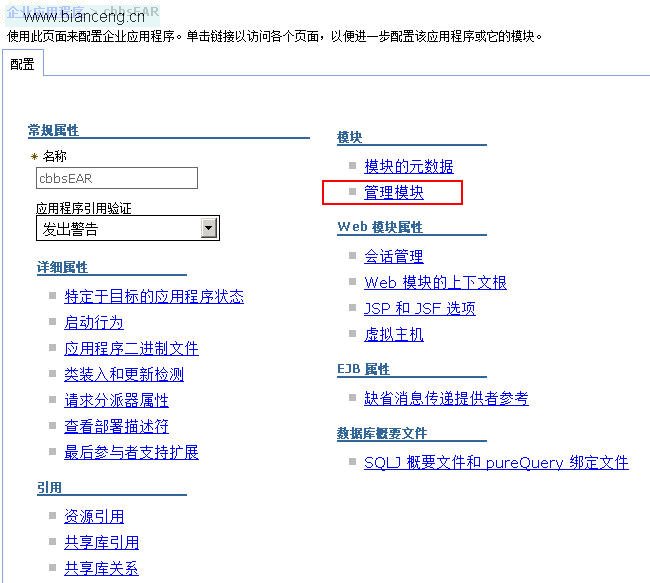
進入這個“管理模塊”
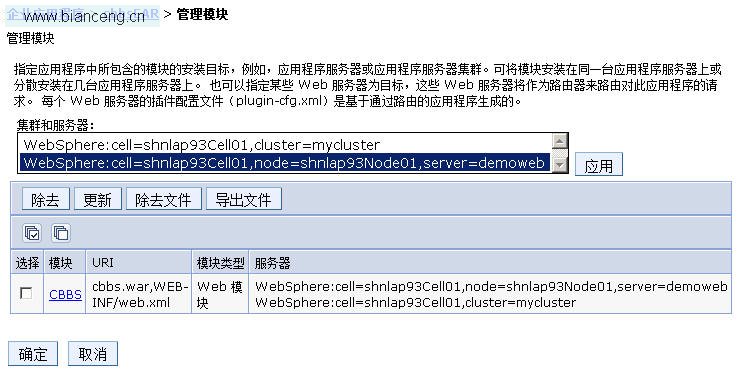
確保我們的作用域中含有集群,在此我們這個集群為mycluster,要不然,你後一步生成的IHS的plugin的作用域只能夠用來 連接單個WebSphere節點與IHS,而不是整個集群+IHS的配置。
然後我們選中這個demoweb點[生成插件],點一下這個[傳播插件]
我們可以看到在D:\deployment\HTTPServer\Plugins\config目錄下多了一個目錄叫demoweb目錄。
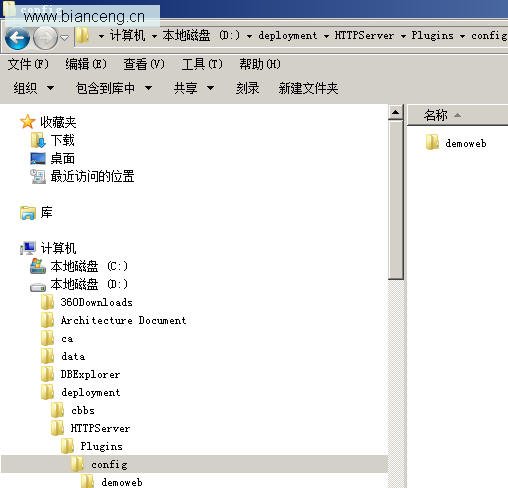
把這個demoweb目錄拷貝到我們的IBMHTTPServer的安裝目錄下去,如果有提示覆蓋請選擇“是,全部”。
如:
我們的HTTPServer是裝在D:\IBM\HTTPServer\
那麼我們就把:
D:\deployment\HTTPServer\Plugins\config\下的內容全部覆蓋式拷貝到
D:\IBM\HTTPServer\Plugins\config目錄內。
然後我們用純文本編輯器打開D:\IBM\HTTPServer\Plugins\config\demoweb\plugin-cfg.xml文件。
第一步:
把所有的d:\deployment\HTTPServer的字樣換成我們的真實的HTTPServer安裝的目錄,因為我們的HTTPServer可能與我們的 WAS是安裝在兩台不同的機器上的。
如果你在生成plugins時使用的IHS的路徑和我們的HTTPServer所在的路徑是一致的,那麼你大可跳過這一步 。
如我們這邊就需要:
把所有的d:\ deployment\HTTPServe替換成D:\IBM\HTTPServer。
第二步:
在D:\IBM\HTTPServer\Plugins\config\demoweb\plugin-cfg.xml文件內找到下面這一行:
<UriGroup Name="default_host_mycluster_URIs">
往下看,我們可以看到如下這些行:
<Uri AffinityCookie="JSESSIONID" AffinityURLIdentifier="jsessionid" Name="/cbbs/*"/>
</UriGroup>
我們把先把下面這段注釋掉,因為我們想讓所有的/cbbs下動態的內容給我們的WebSphere去解釋,所有的靜態html內容給我 們的IHS解析,而不是像它默認這樣,所有的動態靜態全交給了WebSphere去解析,這不是我們想要的。因此我們把這一行注釋掉 。
<!--
<Uri AffinityCookie="JSESSIONID" AffinityURLIdentifier="jsessionid" Name="/cbbs/*"/>
-->
然後我們在這一行下再增加如下幾行:
<Uri AffinityCookie="JSESSIONID" AffinityURLIdentifier="jsessionid" Name="/cbbs/WEB-INF/*"/>
<Uri AffinityCookie="JSESSIONID" AffinityURLIdentifier="jsessionid" Name="/cbbs/*.action"/>
<Uri AffinityCookie="JSESSIONID" AffinityURLIdentifier="jsessionid" Name="/cbbs/servlet/*"/>
<Uri AffinityCookie="JSESSIONID" AffinityURLIdentifier="jsessionid" Name="/cbbs/*.jsp"/>
<Uri AffinityCookie="JSESSIONID" AffinityURLIdentifier="jsessionid" Name="/cbbs/*fckeditor/editor/filemanager/connectors/*.*"/>
<Uri AffinityCookie="JSESSIONID" AffinityURLIdentifier="jsessionid" Name="/cbbs/fckeditor/editor/filemanager/connectors/*"/>
這個plugin.xml很像“(第十六天)IBM Websphere與IBM HttpServer的集成”中的那個plugin文件,對 吧?
區別在於這邊的幾行語句,這個就是IBM HttpServer與WASND結合時的plugin描述語句。
<ServerCluster CloneSeparatorChange="false" GetDWLMTable="false" IgnoreAffinityRequests="true"
LoadBalance="Round Robin" Name="mycluster" PostBufferSize="64" PostSizeLimit="-1"
RemoveSpecialHeaders="true" RetryInterval="60">
<Server CloneID="1756mq3p8" ConnectTimeout="5" ExtendedHandshake="false" LoadBalanceWeight="2"
MaxConnections="-1" Name="shnlap93Node01_server1" ServerIOTimeout="60"
WaitForContinue="false">
<Transport Hostname="shnlap93" Port="9080" Protocol="http"/>
<Transport Hostname="shnlap93" Port="9443" Protocol="https">
<Property Name="keyring" Value="D:\IBM\HTTPServer\Plugins\config\demoweb\plugin- key.kdb"/>
<Property Name="stashfile" Value="D:\IBM\HTTPServer\Plugins\config\demoweb\plugin-key.sth"/>
</Transport>
</Server>
<Server CloneID="1756mq6cs" ConnectTimeout="5" ExtendedHandshake="false" LoadBalanceWeight="2"
MaxConnections="-1" Name="shnlap93Node02_server1" ServerIOTimeout="60"
WaitForContinue="false">
<Transport Hostname="shnlap93" Port="9081" Protocol="http"/>
<Transport Hostname="shnlap93" Port="9444" Protocol="https">
<Property Name="keyring" Value="D:\IBM\HTTPServer\Plugins\config\demoweb\plugin-key.kdb"/>
<Property Name="stashfile" Value="D:\IBM\HTTPServer\Plugins\config\demoweb\plugin-key.sth"/>
</Transport>
</Server>
<PrimaryServers>
<Server Name="shnlap93Node01_server1"/>
<Server Name="shnlap93Node02_server1"/>
</PrimaryServers>
</ServerCluster>
第三步:
打開D:\IBM\HTTPServer\conf目錄下的httpd.conf文件,最後幾行確保是以下內容:
LoadModule was_ap20_module "d:\IBM\HTTPServer\Plugins\bin\mod_was_ap20_http.dll"
WebSpherePluginConfig "d:\IBM\HTTPServer\Plugins\config\demoweb\plugin- cfg.xml"
<VirtualHost *:80>
ServerName shnlap93
ServerAlias shnlap93
ServerAdmin admin@shnlap93
DocumentRoot d:/www
DirectoryIndex index.htm index.html index.jsp
<Directory "D:/www/cbbs">
Options None
AllowOverride None
Order allow,deny
Allow from all
</Directory>
</VirtualHost>
第四步:
保存我們修改的httpd.conf文件,保存我們修改的plugins文件,重啟我們的IBM HTTPServer。
如果一切無誤,那麼我們先來書寫一個index.htm文件,並把它放在我們的d:\www\cbbs目錄下,其內容如下:
<html>
<head>
<META HTTP-EQUIV="Refresh" CONTENT="1;URL=http://shnlap93/cbbs/index.jsp">
<meta http-equiv="Content-Type" content="text/html; charset=utf-8" />
<title>loading</title>
<body>
Loading…
</body>
</html>
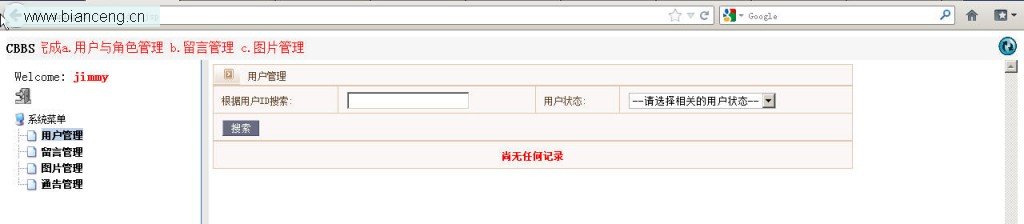
然後我們打開一個IE,輸入: http://localhost/cbbs/,得到我們的應用的登錄界面,輸入相關的用戶名與密碼登錄後,進 行一些操作,一切無誤:

然後我們再打開一個firefox,輸入: http://localhost/cbbs/,得到我們的應用的登錄界面,輸入另一個用戶名與密碼登錄 後,進行一些操作,一切無誤:
我們看:
D:\IBM\WebSphere\AppServer\profiles\AppSrv01\logs\server1目錄下的SystemOut.log文件

再看:
D:\IBM\WebSphere\AppServer\profiles\AppSrv02\logs\server1目錄下的SystemOut.log文件

這說明我們我們通過兩個不同的浏覽器使用兩個用戶在訪問集群環境時:
一個用戶名被分流到的AppSrv01中去;
另一個用戶在登錄時則被分流到了AppSrv02中去;
WebSphere的集群+IBM HTTPServer集成成功,結束今天的教程。
查看全套教程:http://www.bianceng.cn/Programming/project/201302/35466.htm