簡單介紹一下spring,一方面帶新手入入門,一方面自己也重溫一下
第一個小工廠先暫時不用maven,下一個會用maven來來配置
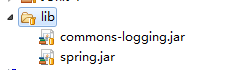
jar包只需要一個,spring版本為2.5(暫時為2.5,後續更新,基本核心都是一樣的),引入spring.jar到lib,如下:
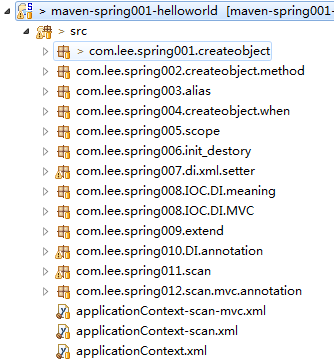
在src下新建applicationContext.xml文件,結果如下:
內容如下:
<?xml version="1.0" encoding="UTF-8"?>
<beans xmlns="http://www.springframework.org/schema/beans"
       xmlns:xsi="http://www.w3.org/2001/XMLSchema-instance"
       xmlns:context="http://www.springframework.org/schema/context"
       xsi:schemaLocation="http://www.springframework.org/schema/beans
           http://www.springframework.org/schema/beans/spring-beans-2.5.xsd
           http://www.springframework.org/schema/context
           http://www.springframework.org/schema/context/spring-context-2.5.xsd">

    <!-- 把一個類放入到spring容器中,該類就稱為bean -->
    <!-- 描述一個類 id 唯一標示 class 類名 -->
    <bean id="helloWorld" class="com.lee.spring001.createobject.HelloWorld"></bean>

</beans>
在com.lee.spring001.createobject包下新建類HelloWorld.java :
package com.lee.spring001.createobject;

public class HelloWorld {

    public HelloWorld() {
        System.out.println("HelloWorld...");
    }

    /**
     *
     */
    public void hello() {
        System.out.println("Hello world!");
    }
}
測試:
 1 package com.lee.spring001.createobject;
 2
 3 import org.junit.Test;
 4 import org.springframework.context.ApplicationContext;
 5 import org.springframework.context.support.ClassPathXmlApplicationContext;
 6
 7 public class HelloWorldTest {
 8
 9     @Test
10     public void testHelloWorld() {
11
12         ApplicationContext context = new ClassPathXmlApplicationContext("applicationContext.xml");
13
15         HelloWorld hello = (HelloWorld)context.getBean("helloWorld");
16         hello.hello();
17     }
18 }
這樣運行junit,成功
github地址:https://github.com/leechenxiang/maven-spring001-helloworld