我果然對於linux下的開發還很菜啊,繼續記
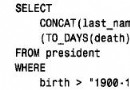
2.4 表達式求值和類型轉換 MySQL允許編
摘要:MySQL數據庫作為一種網絡數據庫性能十分出色,但其
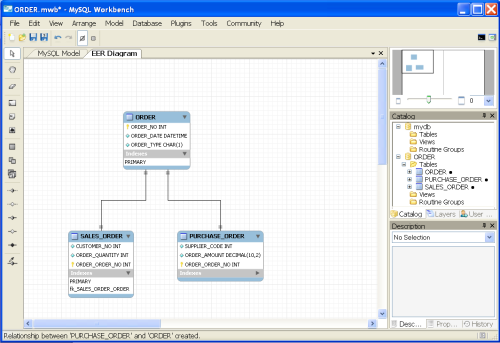
MySQLWorkbench 是 MySQL AB 最近釋放
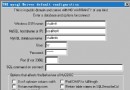
MySQL-Proxy處在MySQL數據庫客戶和服務端
Windows下的安裝與配置MySQL詳細步驟思路,分享給大