之前整過CentOS,整了Ubuntu才發現,Ubuntu簡單多了~~不知道性能相比又如何。
以Ubtuntu 14.04為例,記錄一下搭建流程。
安裝時先不要插網線,不然會DHCP,後續配置起來也麻煩
自動分區貌似有:/、swap、efiswap、/boot(200MB)
實際兩個區就足夠了:swap為內存的1~2倍大小,剩余皆為/
裝完後一般遠程連接,需要配置ip地址,以下是多ip配置。(安裝時會以向導形式配好一個IP,修改時只要復制粘貼就可以)
vi /etc/network/interfaces配置信息:
 # The primary network interface
 auto em0
 iface em0 inet static
         address 192.168.1.1
         netmask 255.255.252.0
         network 192.168.1.0
         broadcast 192.168.1.255
         gateway 192.168.8.254
         # dns-* options are implemented by the resolvconf package, if installed
         dns-nameservers 8.8.8.8 8.8.8.9
         # dns-search 163.com

 # The second network interface
 auto em1
 iface em1 inet static
         address 192.168.1.2
         netmask 255.255.252.0
         network 192.168.1.0
重啟網卡(貌似不一定生效,reboot肯定可以)
/etc/init.d/networking restart默認安裝後vi /etc/ssh/sshd_config,修改配置文件。
安全起見,可以建立允許列表:
sshd: 192.168.1. , 192.168.0. : allowsshd : ALL先更新源,用以Trusty Tahr (14.04)為例,其他版本看配置生成器
deb http://mirrors.ustc.edu.cn/ubuntu/ trusty main restricted universe multiverse
deb http://mirrors.ustc.edu.cn/ubuntu/ trusty-security main restricted universe multiverse
deb http://mirrors.ustc.edu.cn/ubuntu/ trusty-updates main restricted universe multiverse
deb http://mirrors.ustc.edu.cn/ubuntu/ trusty-proposed main restricted universe multiverse
deb http://mirrors.ustc.edu.cn/ubuntu/ trusty-backports main restricted universe multiverse
deb-src http://mirrors.ustc.edu.cn/ubuntu/ trusty main restricted universe multiverse
deb-src http://mirrors.ustc.edu.cn/ubuntu/ trusty-security main restricted universe multiverse
deb-src http://mirrors.ustc.edu.cn/ubuntu/ trusty-updates main restricted universe multiverse
deb-src http://mirrors.ustc.edu.cn/ubuntu/ trusty-proposed main restricted universe multiverse
deb-src http://mirrors.ustc.edu.cn/ubuntu/ trusty-backports main restricted universe multiverse
再更新apt-get
apt-get update
sudo apt-get upgrade
然後更新系統並重啟
sudo apt-get install updatesmbpasswd -a somebody然後會提示你輸入密碼,這是訪問網上鄰居文件夾的密碼。
3. 修改配置文件:
cp /etc/samba/smb.conf /etc/samba/smb.conf.bak
vi /etc/samba/smb.conf
在其後增加共享目錄:
[share]
    path = /home/somebody/samba_share
      available = yes
      browseable = yes
      public = no
writable = yes/etc/init.d/samba restart apt-get install apache2 裝好後訪問http://localhost就可以看到“It Works!”
apache2配置文件在/etc/apache2/apache2.conf,web目錄在/var/www/html
默認用戶是www-data,定義在./envvars文件中
其他配置文件在:./sites-enabled/*.conf
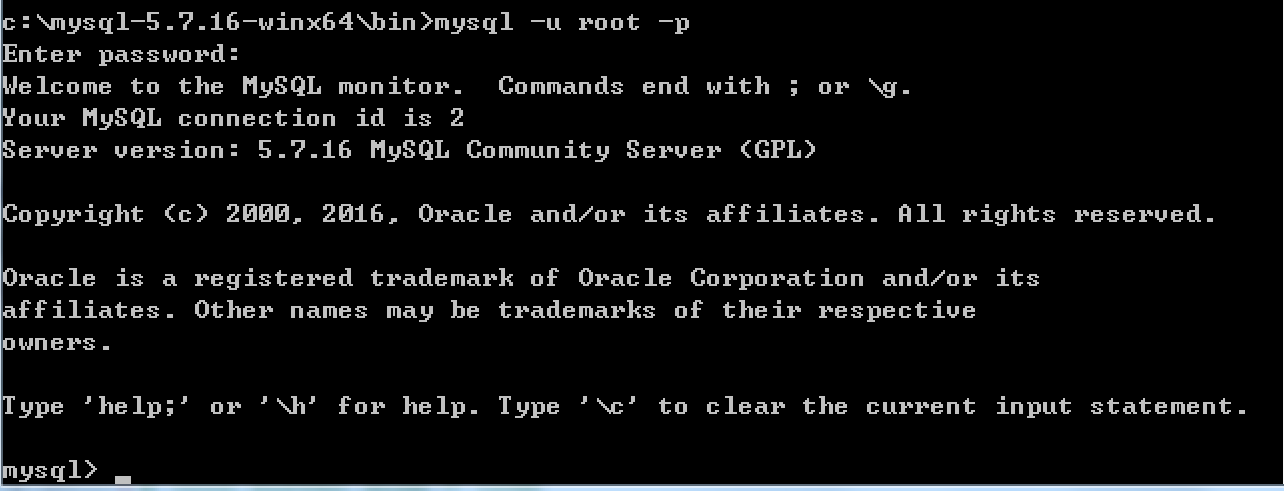
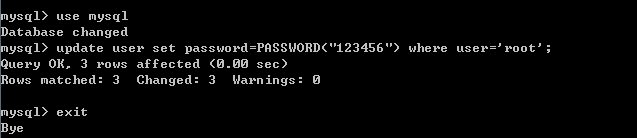
apt-get install mysql-server mysql-client安裝過程需要設置root的密碼。Ubuntu下,MySQL的配置信息在/etc/mysql目錄
MySQL默認的字符集是latin1:

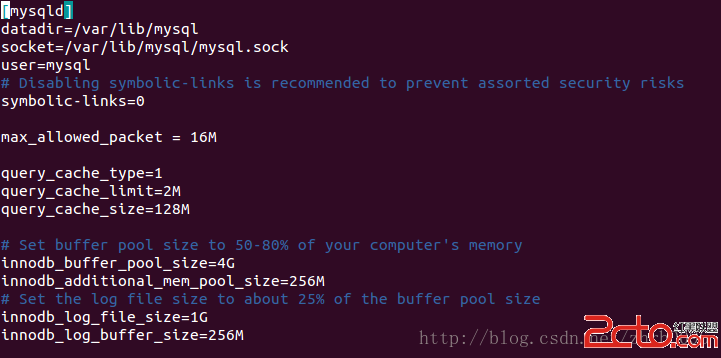
為了避免中文可能帶來的亂碼問題,將默認字符集改成utf-8,具體可以參考這篇文章,修改 /etc/mysql/my.cnf 文件,在相應位置添加:
[client]
default-character-set=utf8

[mysql]
default-character-set=utf8

[mysqld]
collation-server = utf8_unicode_ci
init-connect='SET NAMES utf8'
character-set-server = utf8
修改後是這樣的:
apt-get install php5 libapache2-mod-php5 php5-mysql php5-curl php5-gd php5-intl php-pear php5-imagick php5-imap php5-mcrypt php5-memcache php5-ming php5-ps php5-pspell php5-recode php5-snmp php5-sqlite php5-tidy php5-xmlrpc php5-xslOK! It Works!