Project Introduction
Access control management system based on face recognition
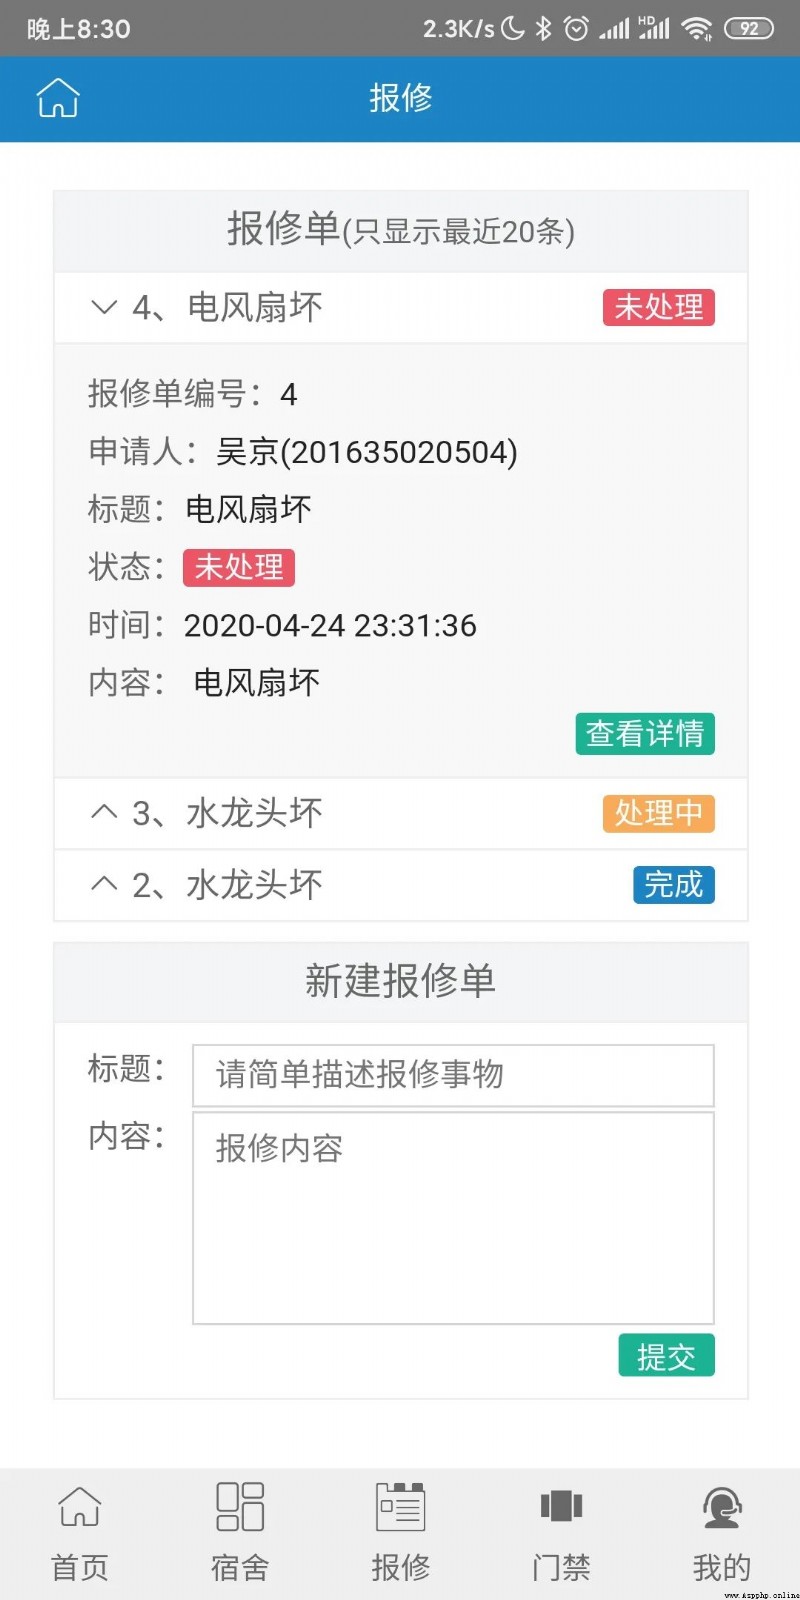
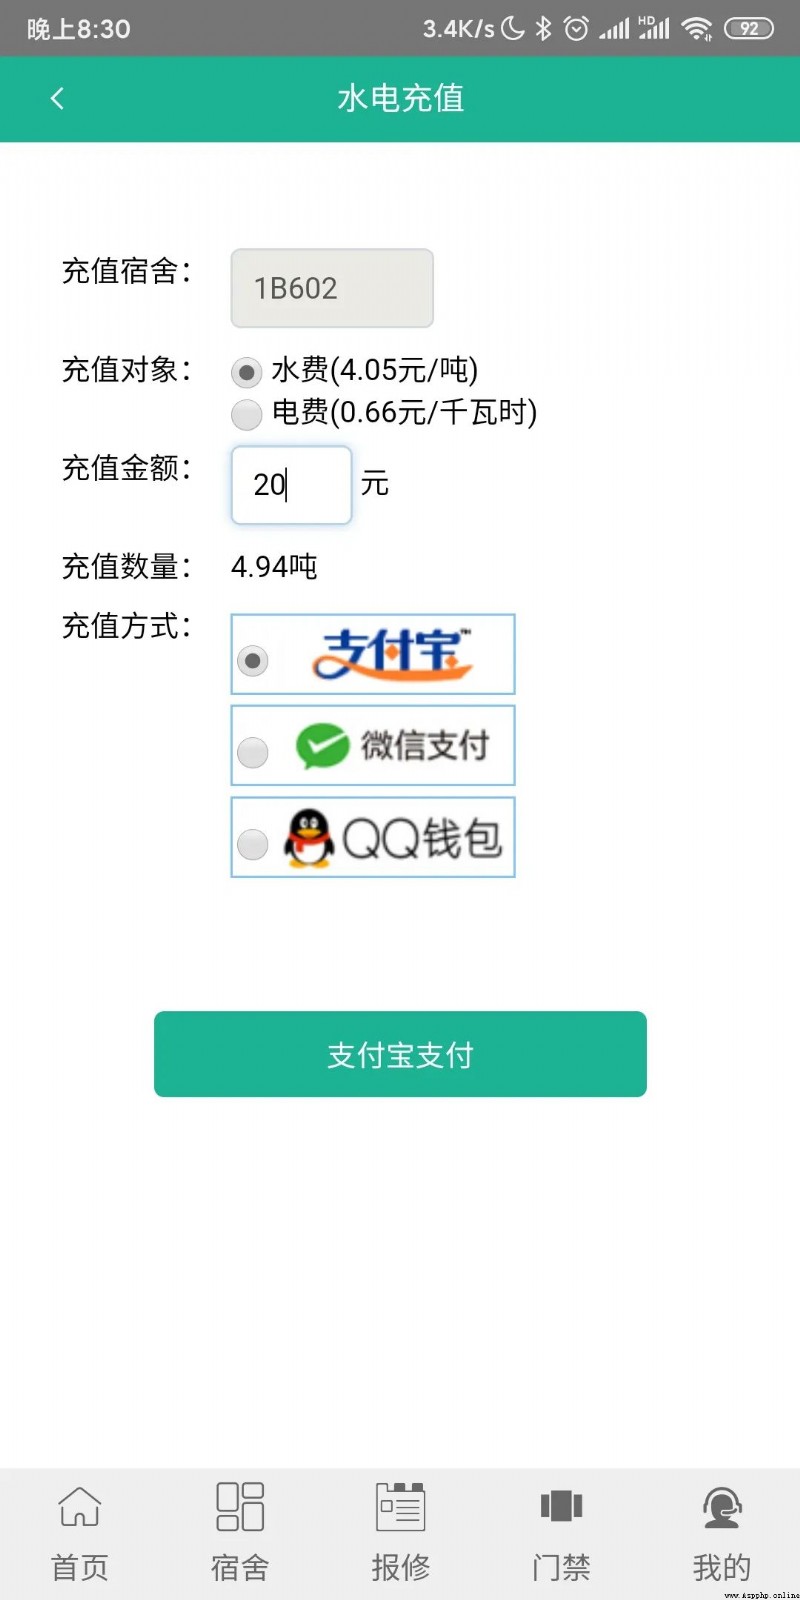
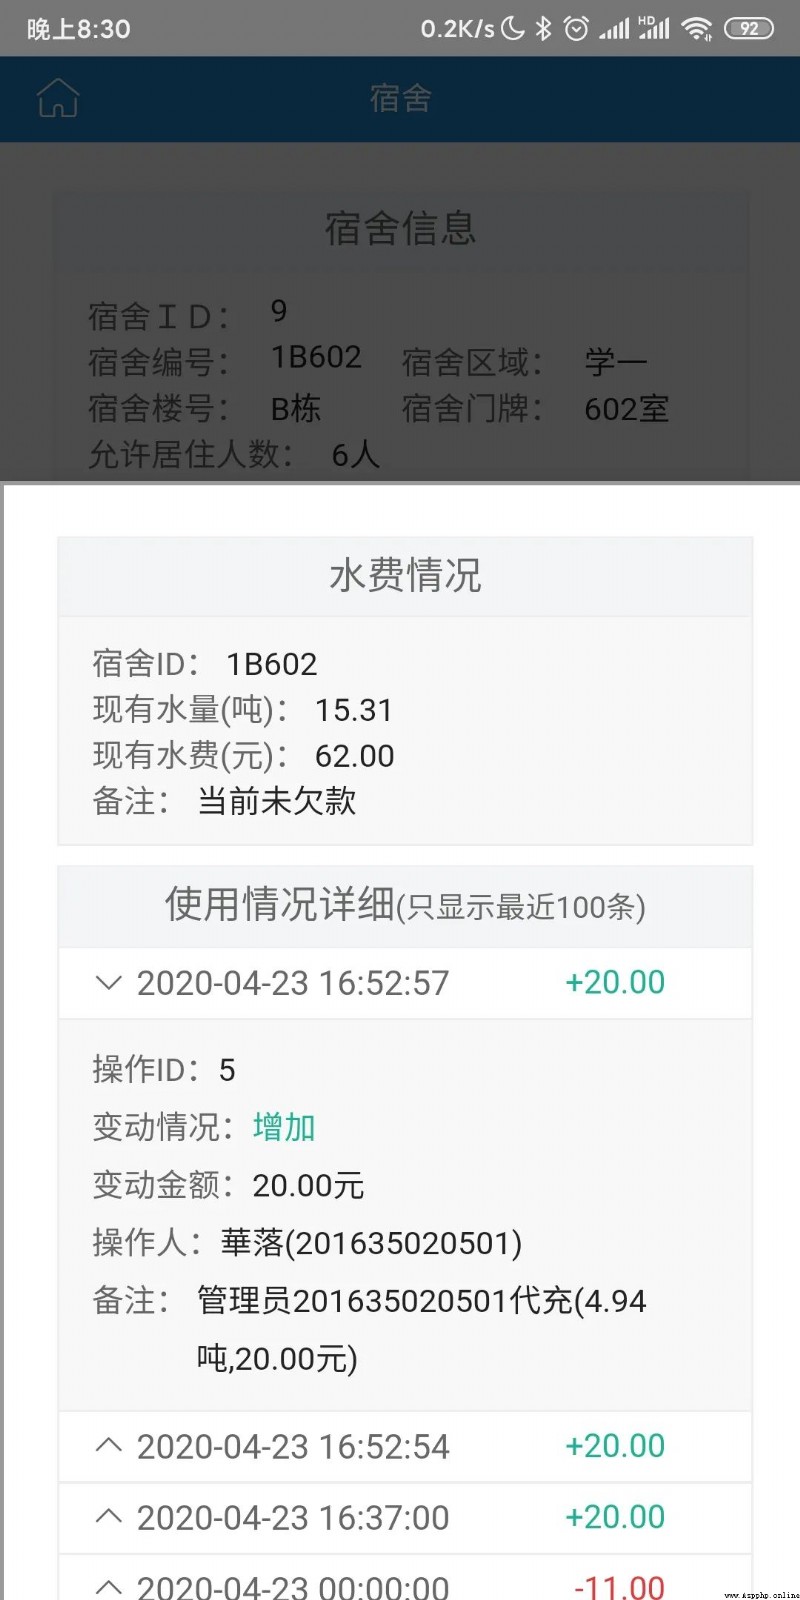
(Python+Django+RESTframework+JsonWebToken+Redis+Dlib) This project is for dormitory access control system management, and additional functions such as dormitory management, water and electricity bill management, online recharge, repair report management, and system logs are added. See below for details.screenshots etc.
Django is the backend, H5/CSS/JS is the frontend, MySQL is the backend database, Redis is the cache, and Dlib is the face recognition library.
This project can be used as a personal school graduation project, without considering the production environment, follow-up development is free.
How to eat
1. First download the project source code file (the method of obtaining is at the end of this article)
2. Run MySQL and Redis, and configure database link information in the setting.py file.
The MySQL database is developed with 5.7.27, it is recommended to use the same version (should be upward compatible with mysqlclient
The project comes with Redis-x64-3.2.100 for Windows system debugging, the default listening port is 127.0.0.1, 6379, and the requirepass is Qq111111
3. Modify the setting.py file and proceed to the next configuration.
SMTP (mailbox SMTP function, used for account login prompt, email sending verification code, etc.)
ALiCloud_AFS (Alibaba Cloud AFS human-machine authentication, used for front-end login sliding authentication)
CodePay (code payment, online payment when users recharge their utility bills)
QQConnect (QQ interconnection, used for front-end QQ login binding)
4. Generate the data table (use the instructions like a normal Django project)
python manage.py makemigrationspython manage.py migrate5. Import initial system setting data
Data file location: /database/system_setting_systemsetting.sql
6. Start the project (use instructions like a normal Django project)
python manage.py runserver 127.0.0.1:8080
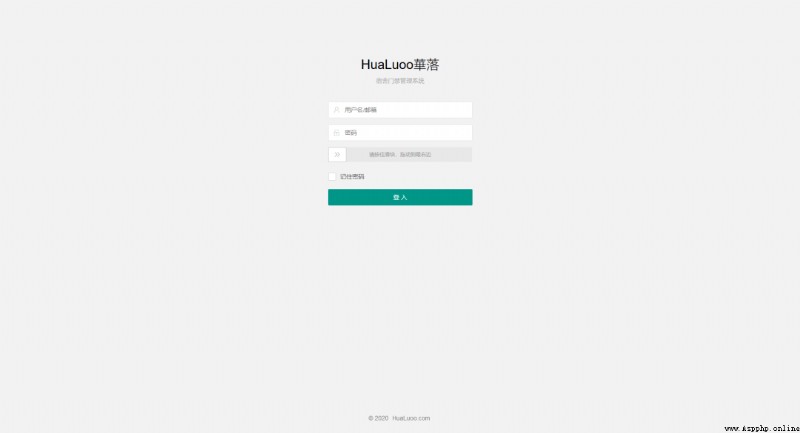
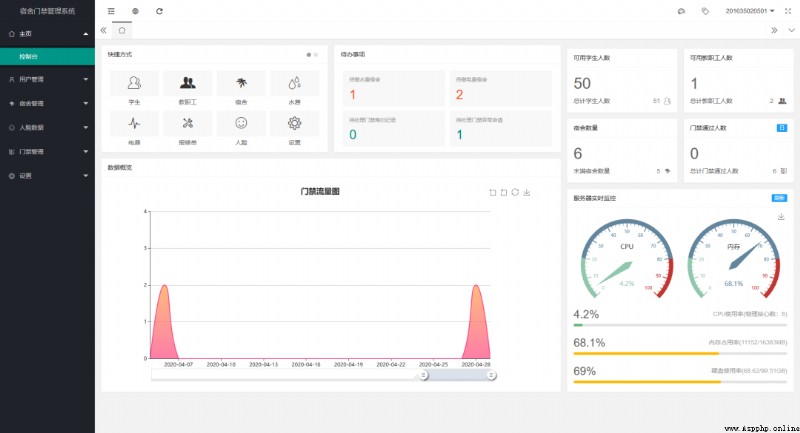
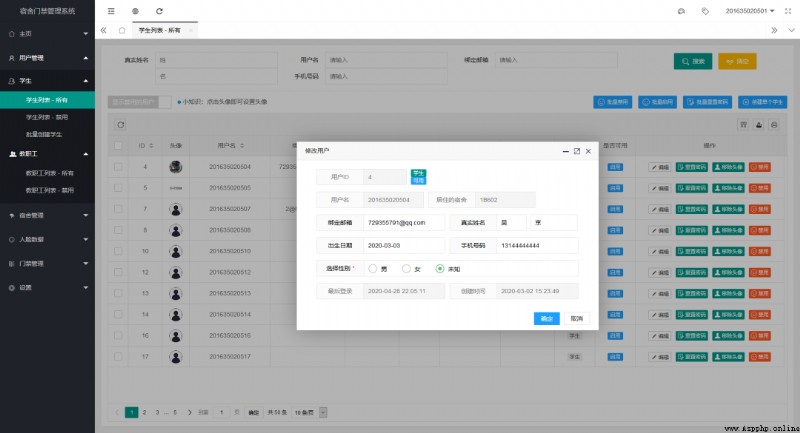
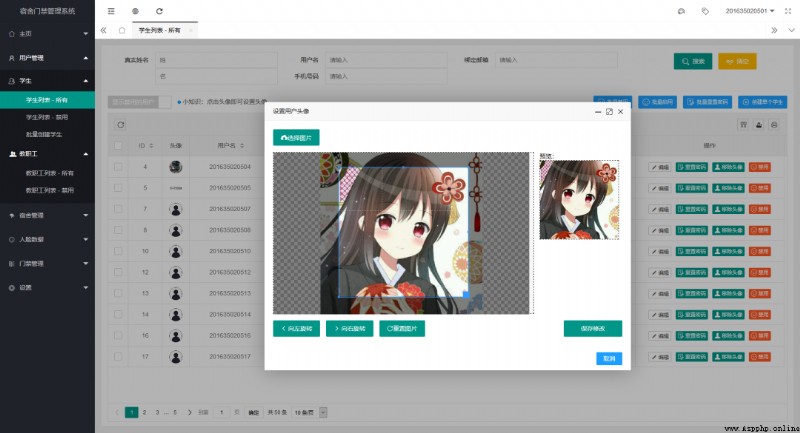
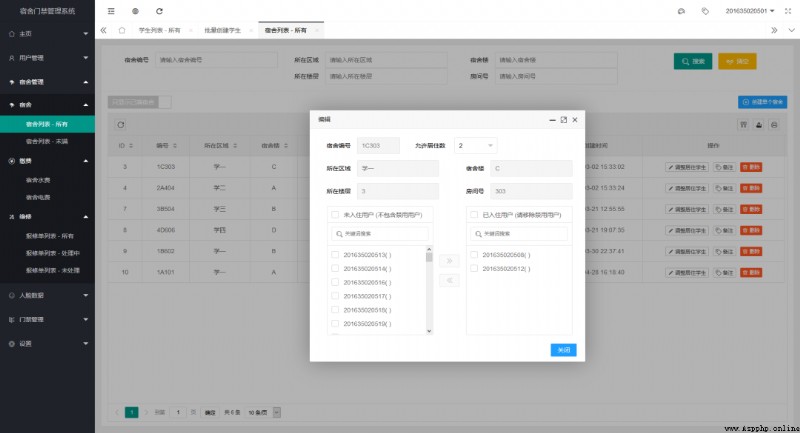
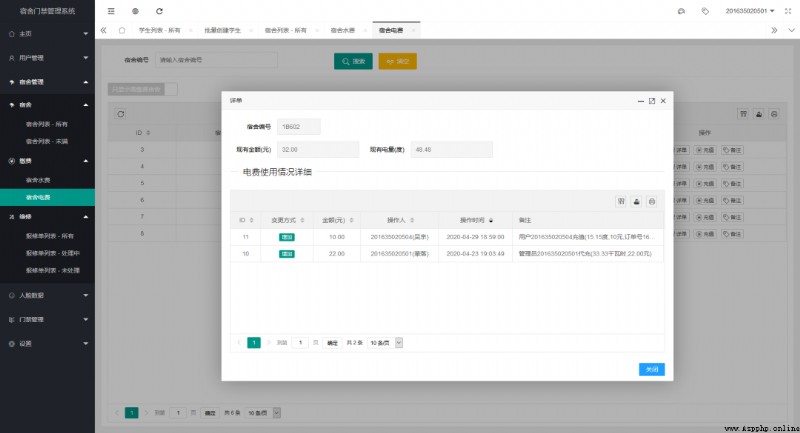
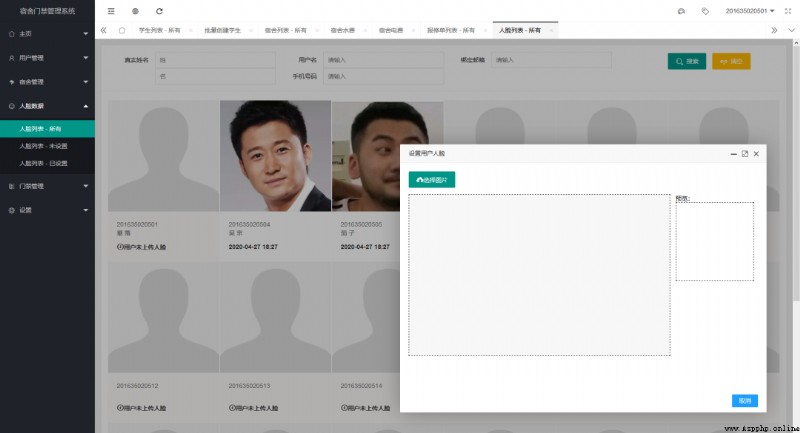
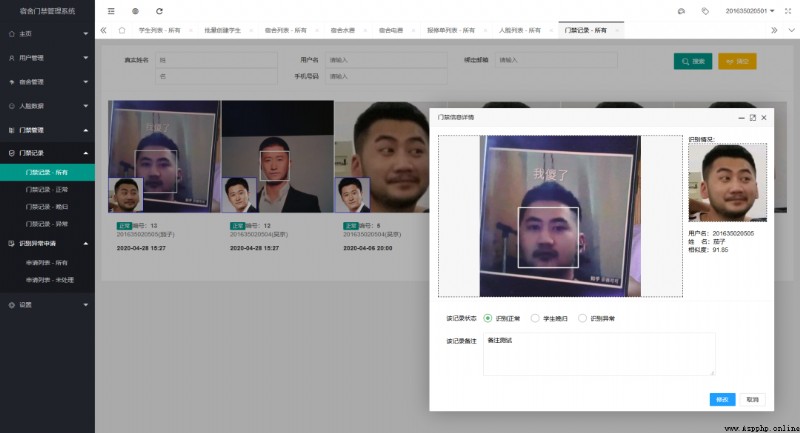
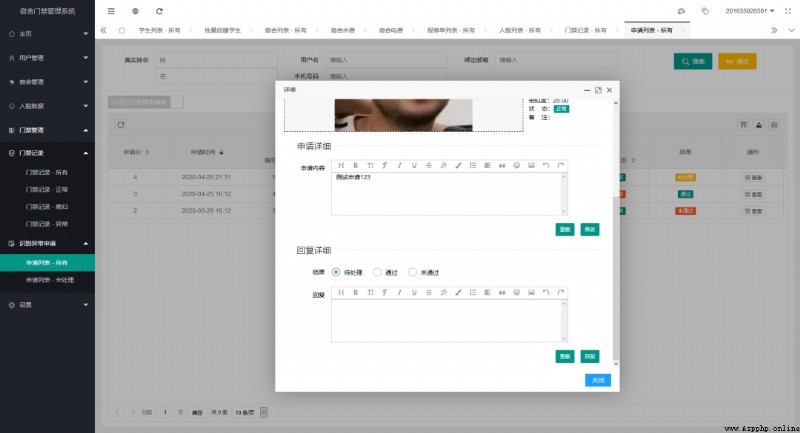
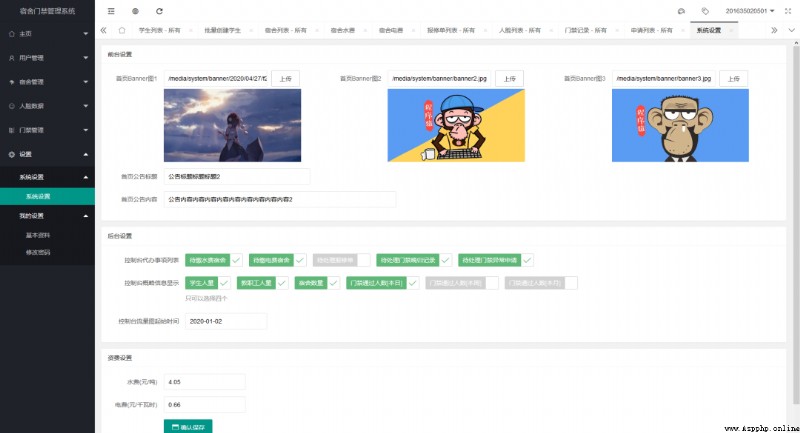
Screenshot of system running
1. Front-end-back-end [ PC side ]

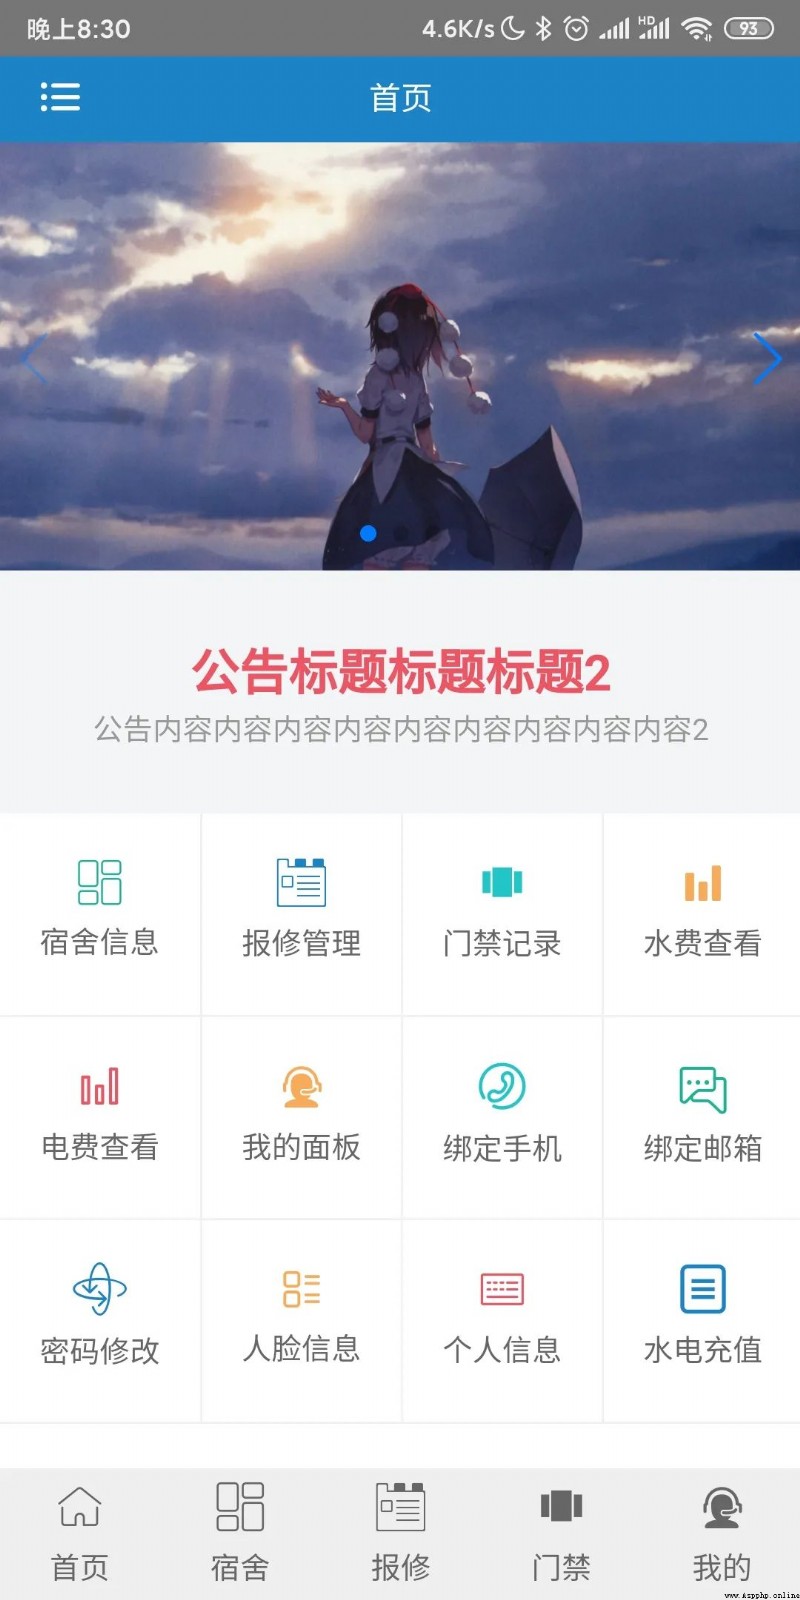
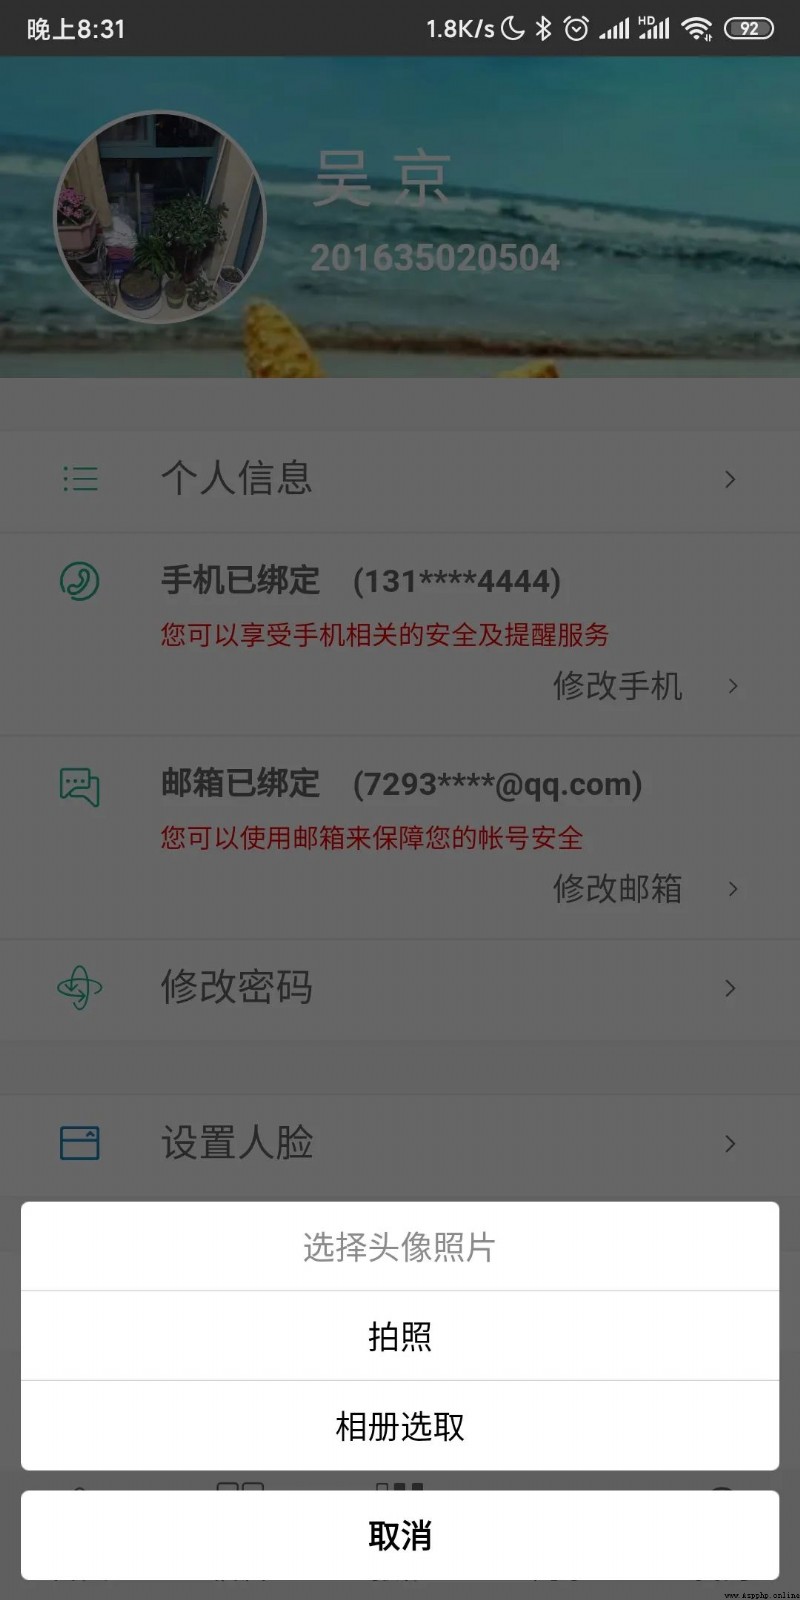
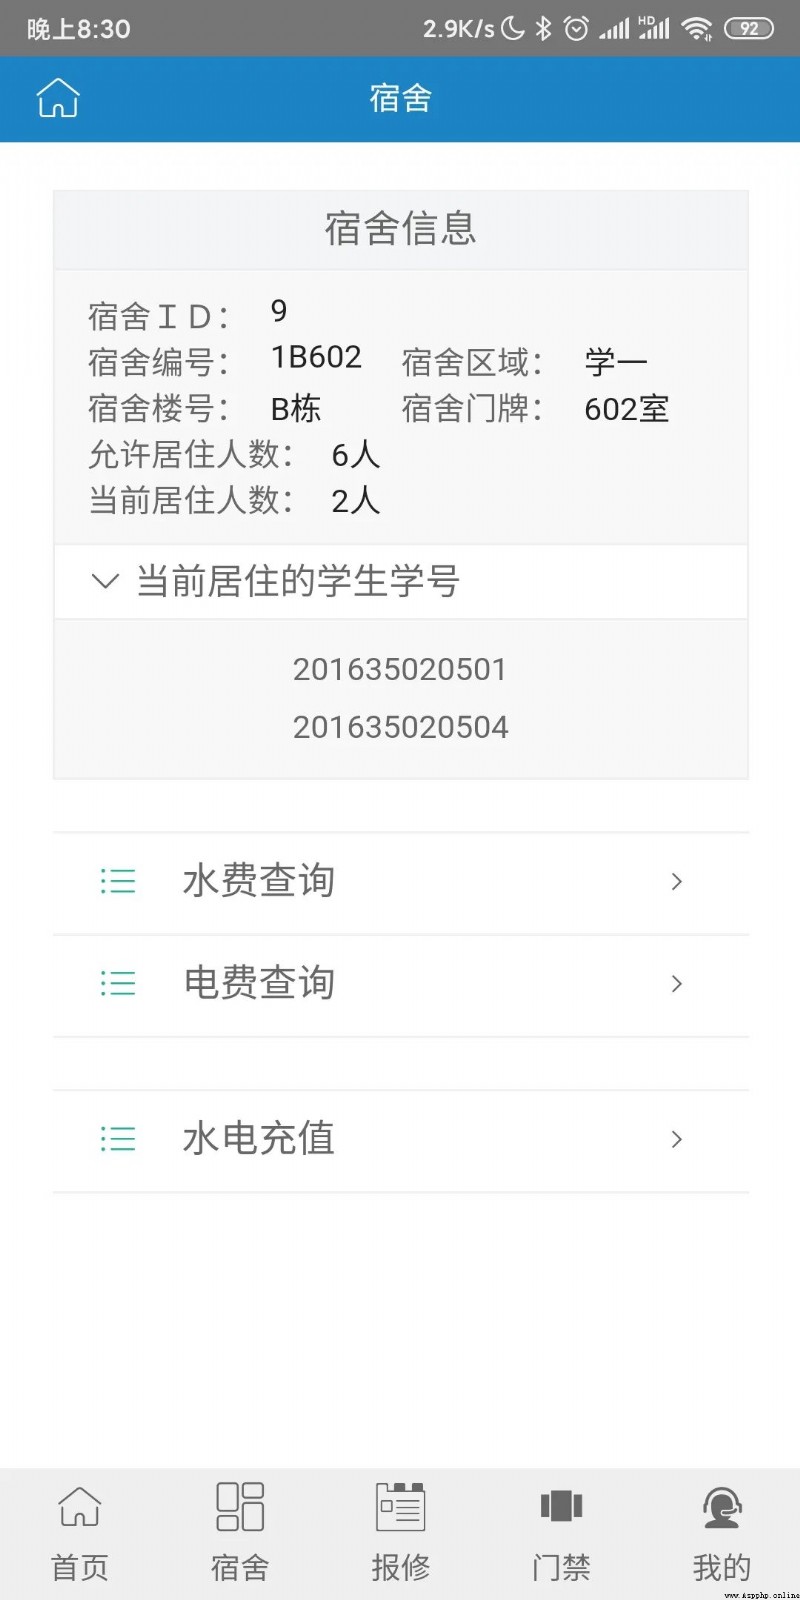
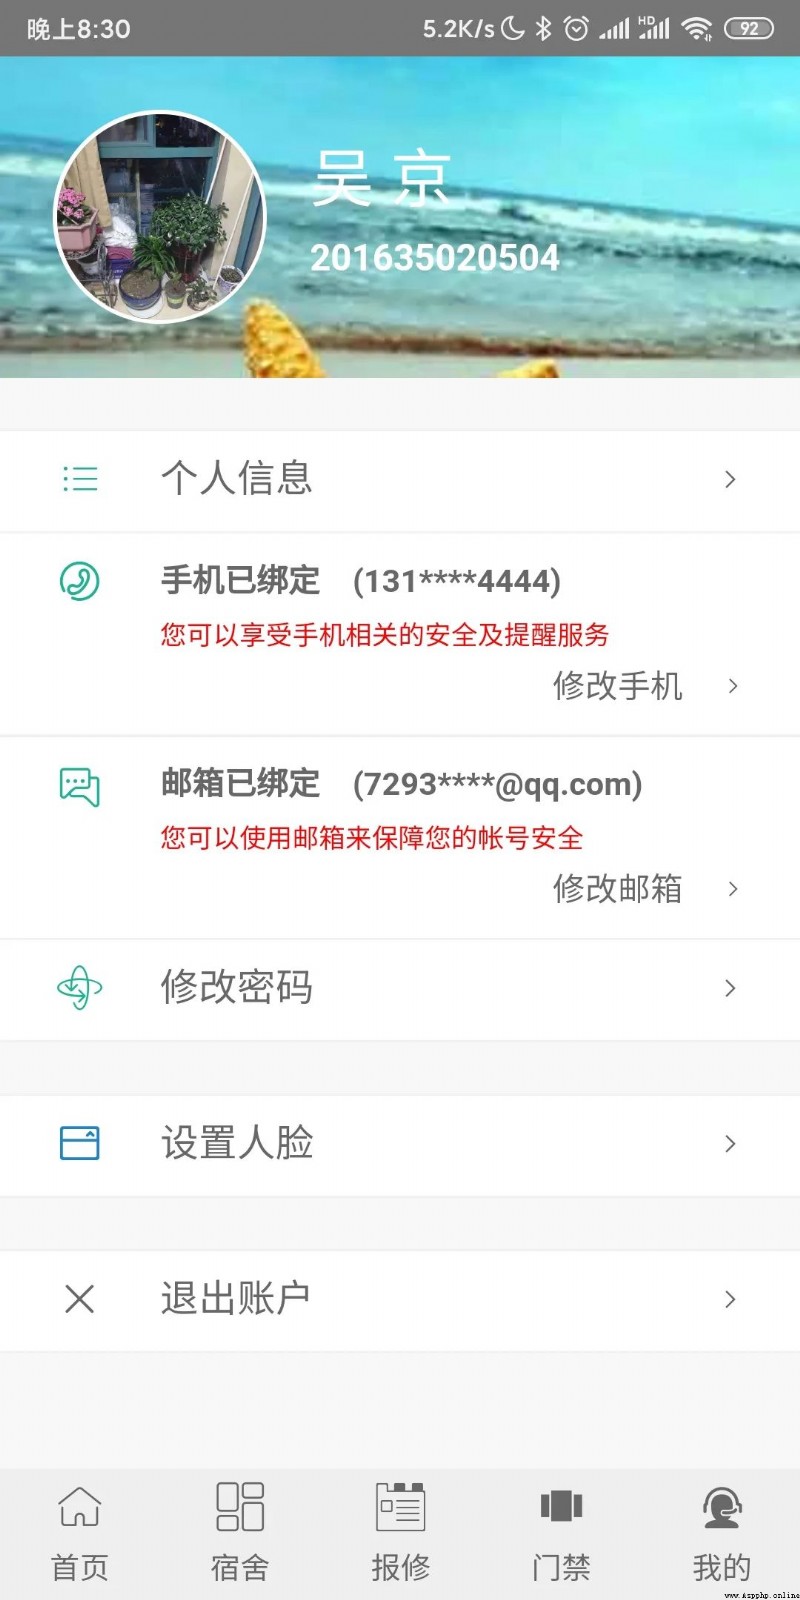
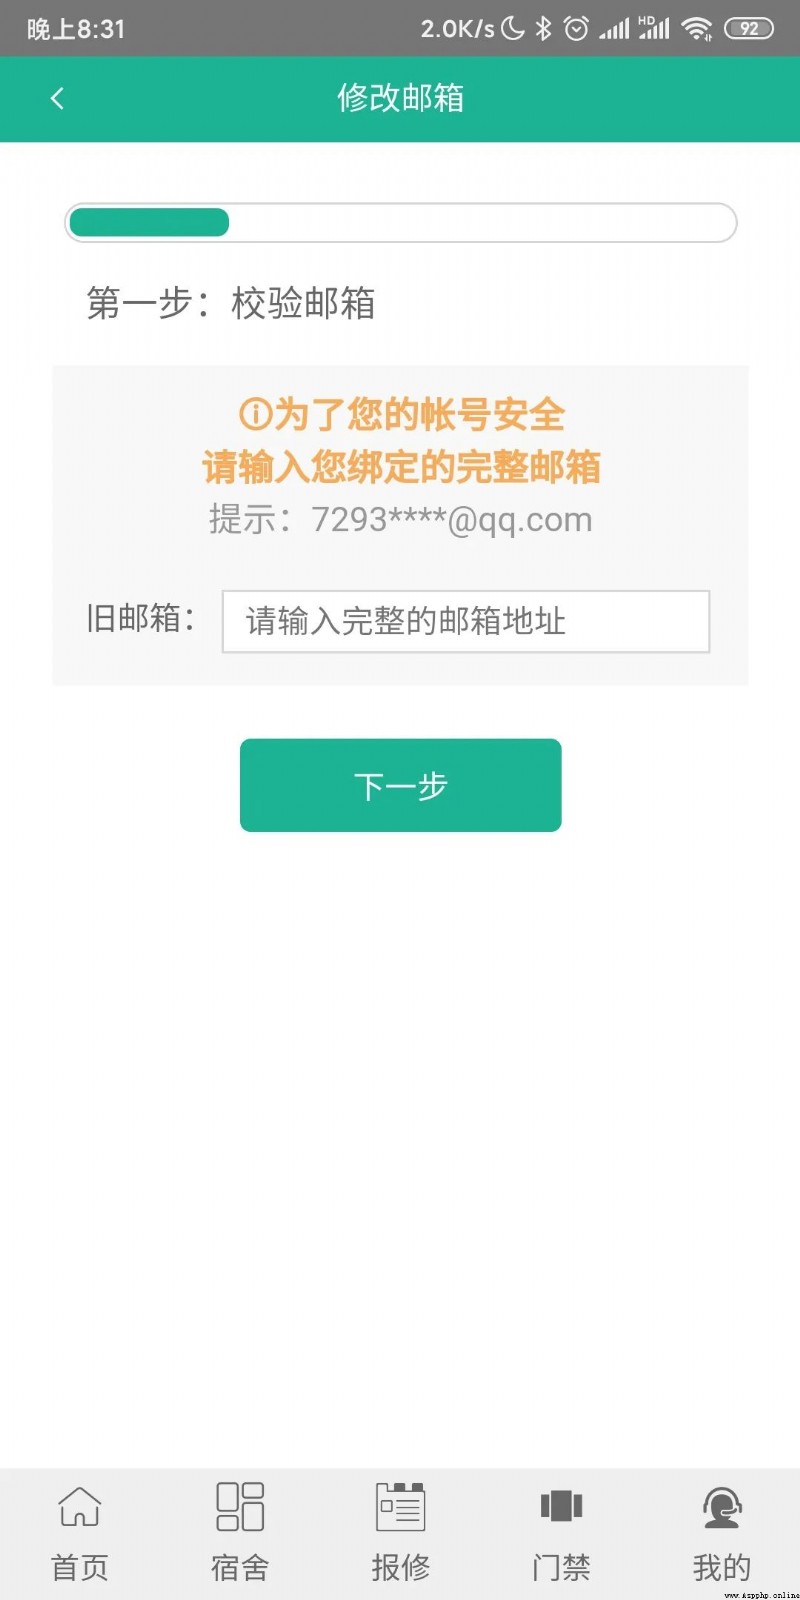
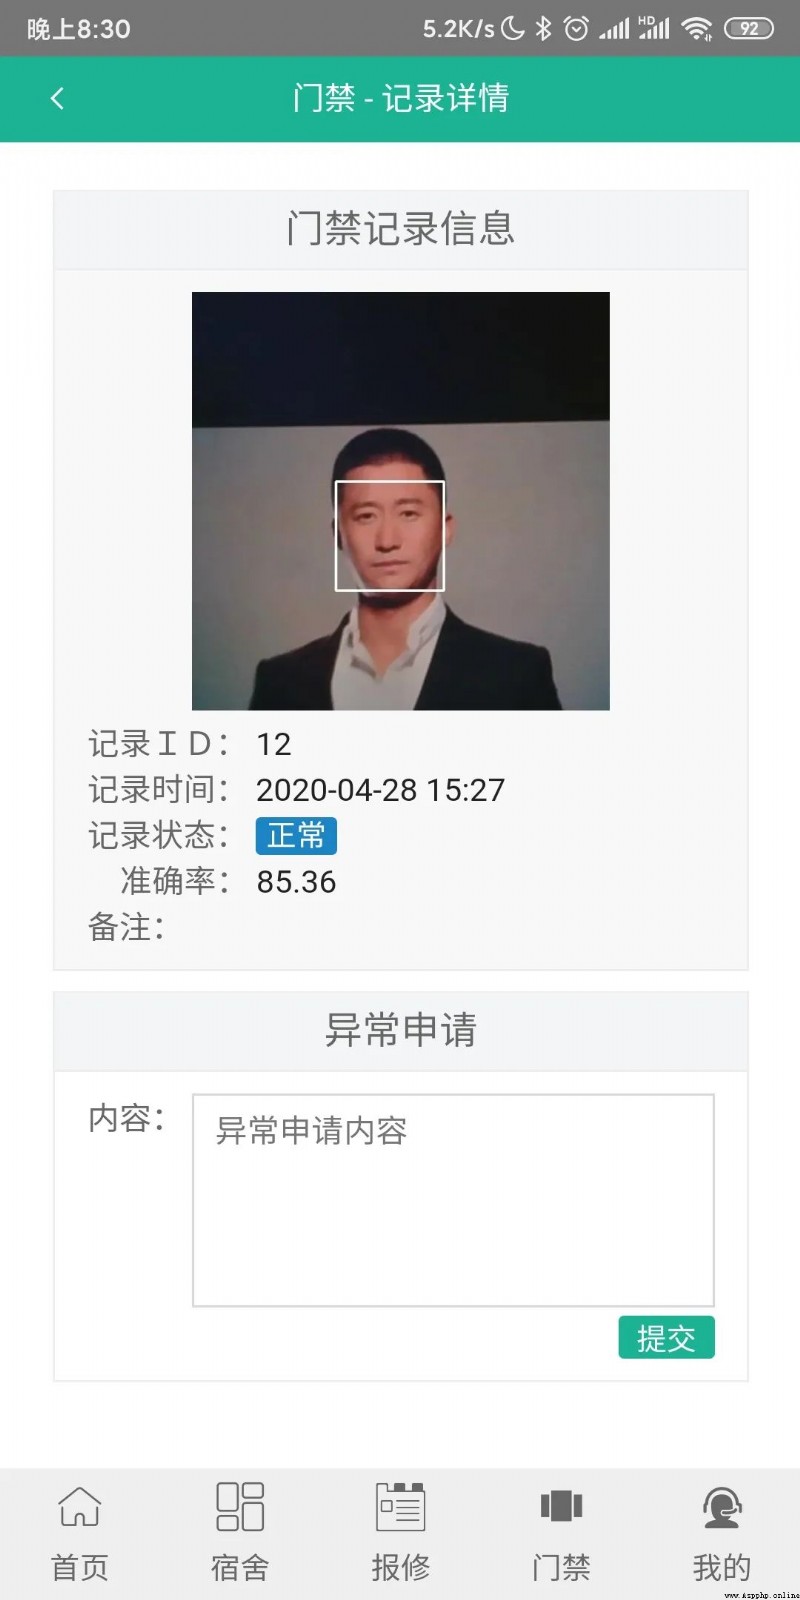
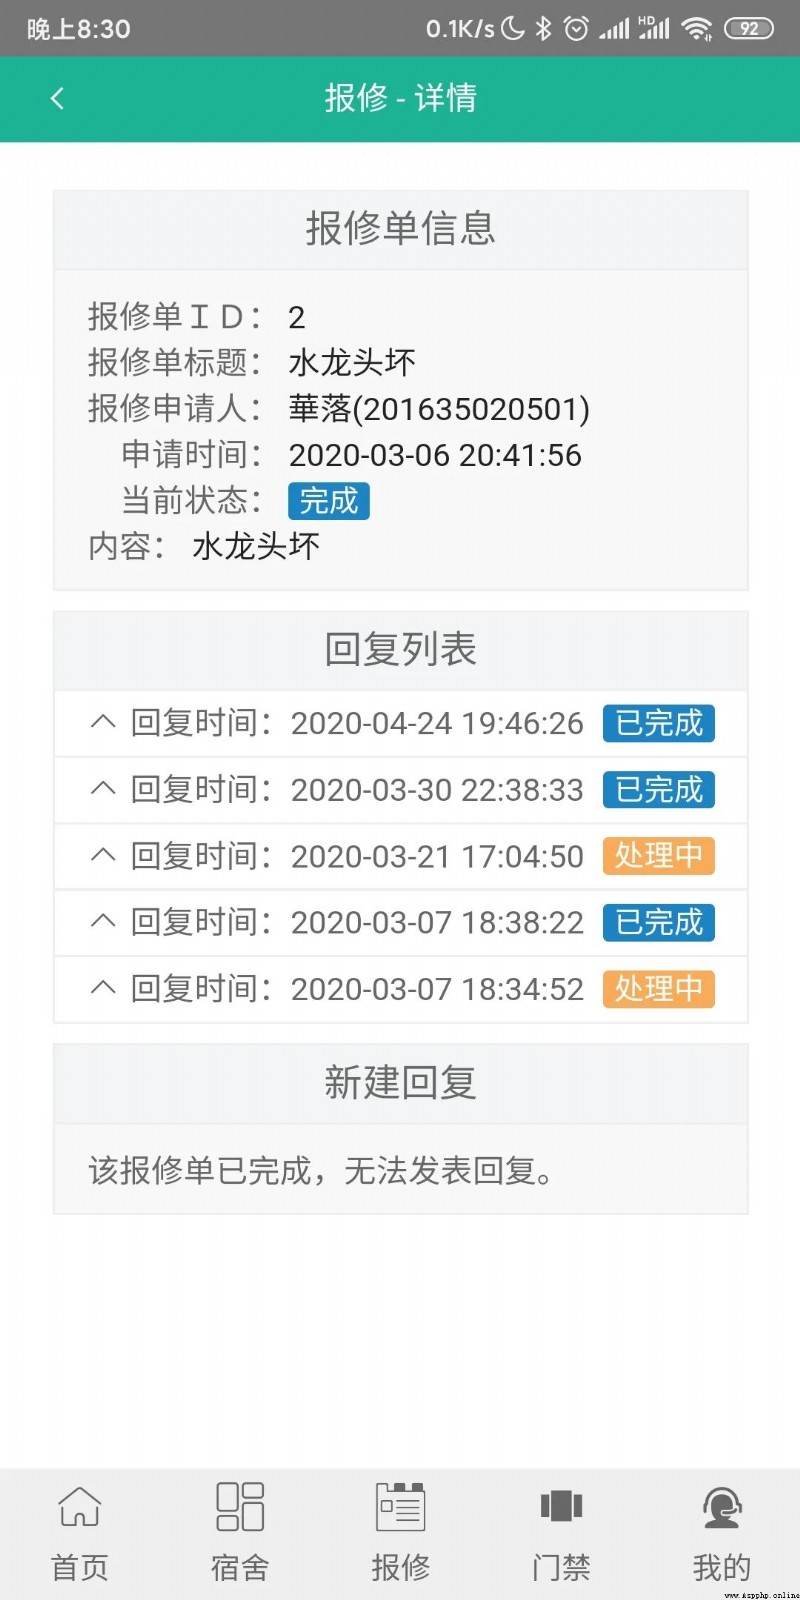
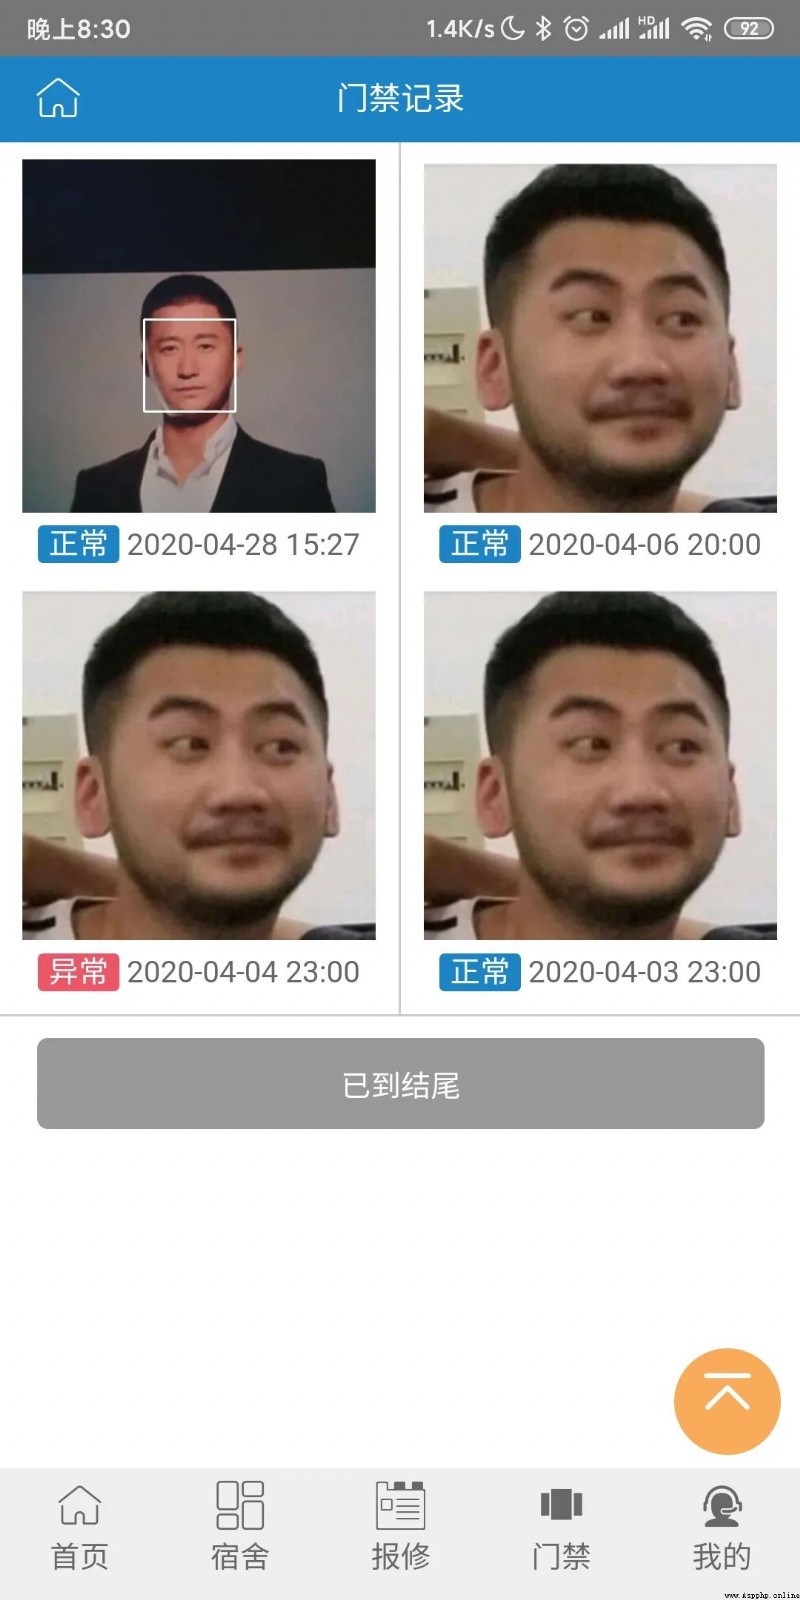
2. Front-end-front-end [mobile]
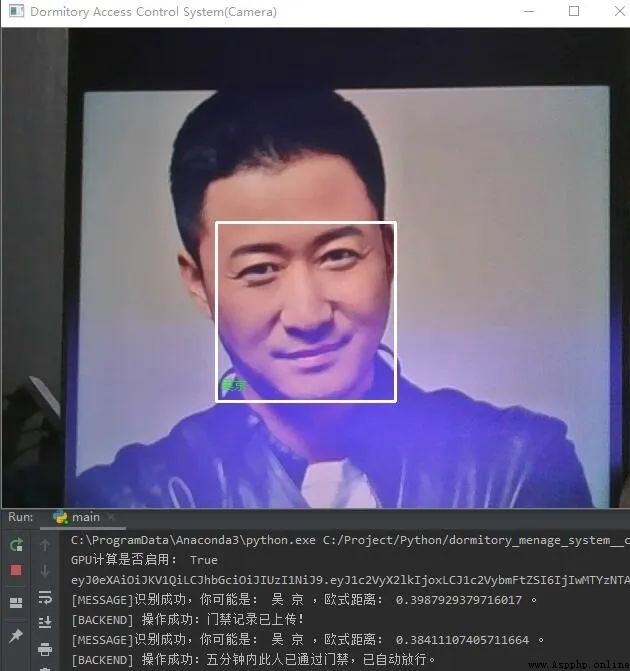
3. Front-end-camera
-END-
Scan the code to add please note: python, enter the group to communicate face-to-face with Mr. Song: 517745409