This article mainly introduces “ How to use it? Python The code realizes face recognition ” Knowledge about , Xiaobian shows you the operation process through practical cases , The operation method is simple and fast , Practical , Hope this article “ How to use it? Python The code realizes face recognition ” The article can help you solve problems .
Environmental requirements :
Ubuntu17.10
Python 2.7.14
Environment building :
1. install Ubuntu17.10 > Installation steps are here
2. install Python2.7.14 (Ubuntu17.10 Default Python Version is 2.7.14)
3. install git 、cmake 、 python-pip
# install  git
$ sudo apt-get install -y git
#  install  cmake
$ sudo apt-get install -y cmake
#  install  python-pip
$ sudo apt-get install -y python-pip
4. Installation and compilation dlib
install face_recognition You need to install and compile before this dlib
#  compile dlib Install before  boost
$ sudo apt-get install libboost-all-dev

#  Start compilation dlib
#  clone dlib Source code
$ git clone https://github.com/davisking/dlib.git
$ cd dlib
$ mkdir build
$ cd build
$ cmake .. -DDLIB_USE_CUDA=0 -DUSE_AVX_INSTRUCTIONS=1
$ cmake --build .( Notice that there is a space in the middle )
$ cd ..
$ python setup.py install --yes USE_AVX_INSTRUCTIONS --no   DLIB_USE_CUDA
5. install face_recognition
#  install  face_recognition
$ pip install face_recognition
#  install face_recognition It will be installed automatically  numpy、scipy  etc.
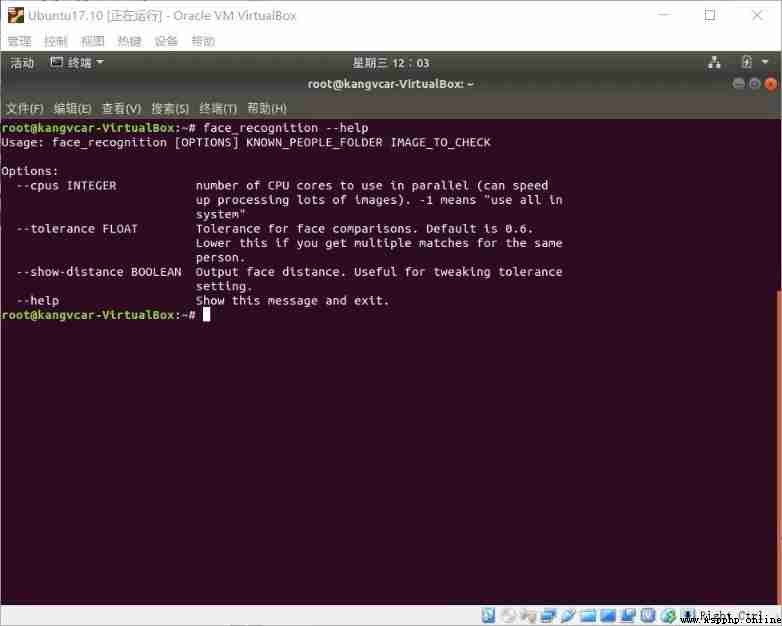
After the environment is built , Input... At the terminal face_recognition Command to see if it was successful
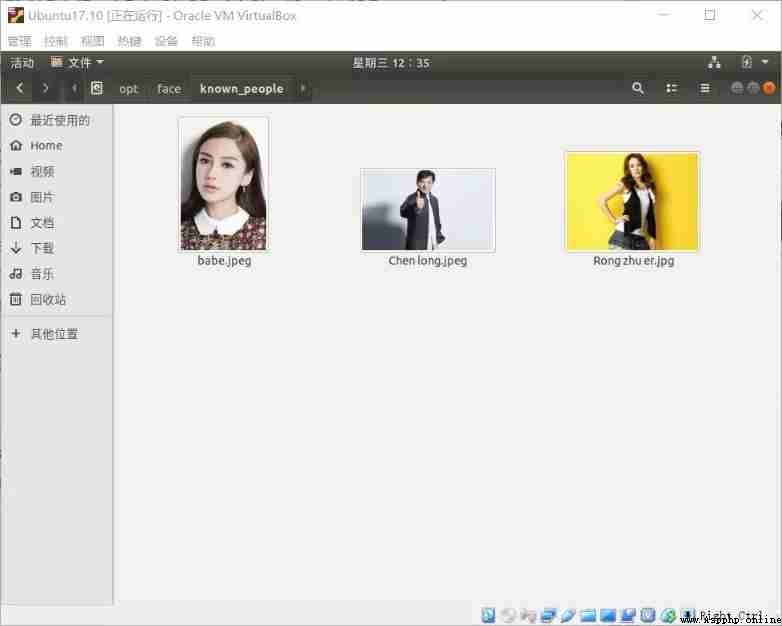
1. First you need to provide a folder , Inside are pictures of all the people you want the system to know . Each of them has a picture , Pictures are named after people :
known_people There is... Under the folder babe、 Jackie Chan 、 Joey Yung's photo
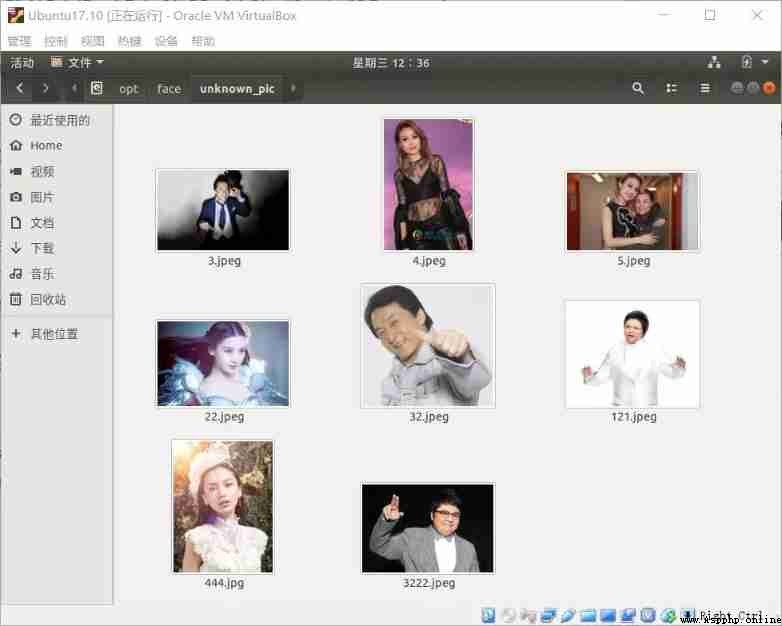
2. Next , You need to prepare another folder , Inside is the picture you want to identify : unknown_pic Under the folder is the image to be recognized , Among them, Han Hong is unknown to the machine
3. Then you can run face_recognition The command , Pass in the two folders just prepared as parameters , The command will return who appears in the image that needs to be recognized :
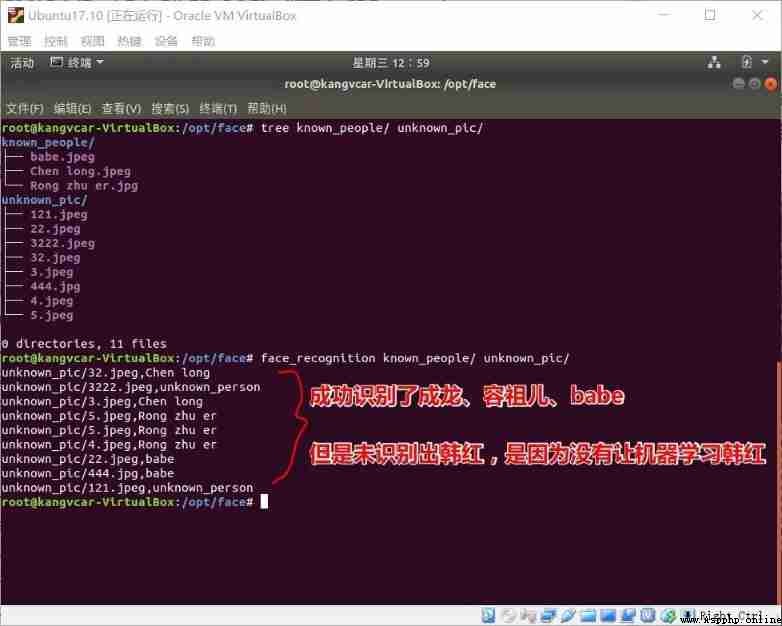
Recognition success !!!
# filename : find_faces_in_picture.py
# -*- coding: utf-8 -*-
# Import pil modular , Install with commands apt-get install python-Imaging
from PIL import Image
# Import face_recogntion modular , Install with commands pip install face_recognition
import face_recognition
# take jpg File loading to numpy Array
image = face_recognition.load_image_file("/opt/face/unknown_pic/all_star.jpg")
# Use the default giving HOG The model finds all faces in the image
# This method is already quite accurate , But not as good as CNN The model is so accurate , Because I didn't use GPU Speed up
# See also : find_faces_in_picture_cnn.py
face_locations = face_recognition.face_locations(image)
# Use CNN Model
# face_locations = face_recognition.face_locations(image, number_of_times_to_upsample=0, model="cnn")
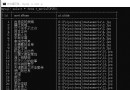
# Print : I found it in the picture How many? Zhang Renren
print("I found {} face(s) in this photograph.".format(len(face_locations)))
# Loop through all the faces found
for face_location in face_locations:
# Print the position information of each face
top, right, bottom, left = face_location
print("A face is located at pixel location Top: {}, Left: {}, Bottom: {}, Right: {}".format(top, left, bottom, right))
# Specify the location information of the face , Then display the face picture
face_image = image[top:bottom, left:right]
pil_image = Image.fromarray(face_image)
pil_image.show()The following figure shows the image used for recognition
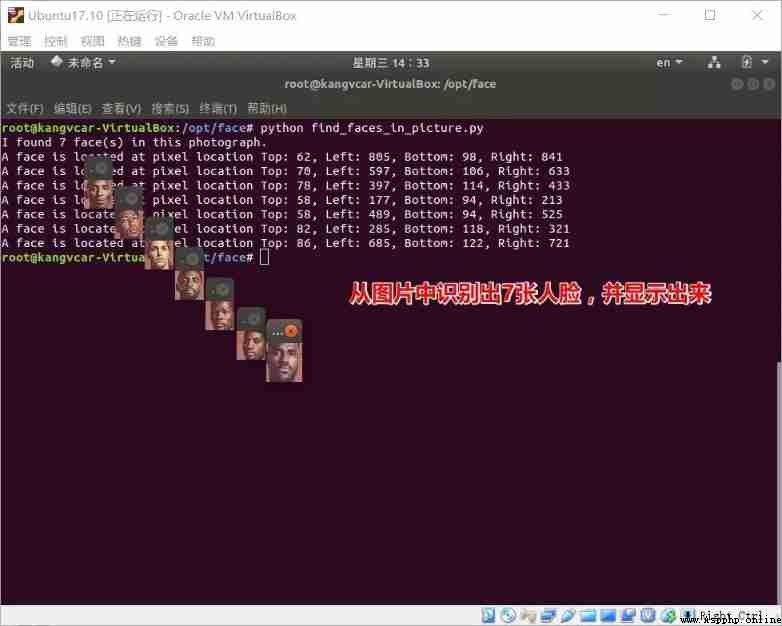
 #  perform python file
$ python find_faces_in_picture.py
Recognize from the picture 7 Zhang Renren , And show it , Here's the picture
# filename : find_facial_features_in_picture.py
# -*- coding: utf-8 -*-
# Import pil modular , Install with commands apt-get install python-Imaging
from PIL import Image, ImageDraw
# Import face_recogntion modular , Install with commands pip install face_recognition
import face_recognition
# take jpg File loading to numpy Array
image = face_recognition.load_image_file("biden.jpg")
# Find all facial features of all faces in the image
face_landmarks_list = face_recognition.face_landmarks(image)
print("I found {} face(s) in this photograph.".format(len(face_landmarks_list)))
for face_landmarks in face_landmarks_list:
# Print the location of each facial feature in this image
facial_features = [
'chin',
'left_eyebrow',
'right_eyebrow',
'nose_bridge',
'nose_tip',
'left_eye',
'right_eye',
'top_lip',
'bottom_lip'
]
for facial_feature in facial_features:
print("The {} in this face has the following points: {}".format(facial_feature, face_landmarks[facial_feature]))
# Let's depict each facial feature in the image !
pil_image = Image.fromarray(image)
d = ImageDraw.Draw(pil_image)
for facial_feature in facial_features:
d.line(face_landmarks[facial_feature], width=5)
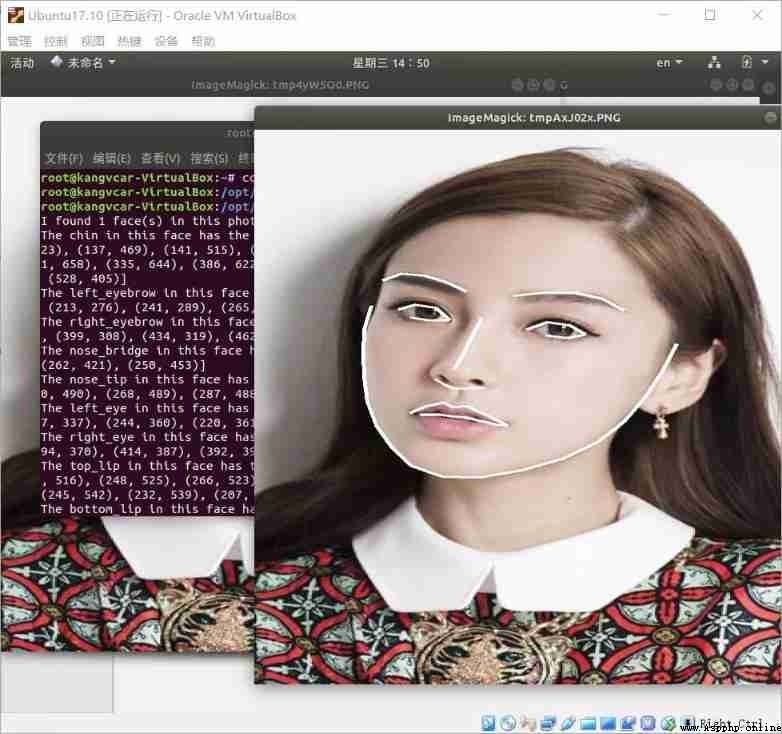
pil_image.show()Automatically recognize facial features ( outline )
 # filename : recognize_faces_in_pictures.py
 # -*- conding: utf-8 -*-
 #  Import face_recogntion modular , Install with commands  pip install face_recognition
import face_recognition

 # take jpg File loading to numpy Array
babe_image = face_recognition.load_image_file("/opt/face/known_people/babe.jpeg")
Rong_zhu_er_image = face_recognition.load_image_file("/opt/face/known_people/Rong zhu er.jpg")
unknown_image = face_recognition.load_image_file("/opt/face/unknown_pic/babe2.jpg")

 # Get the face code of each face in each image file
 # Because there may be multiple faces in each image , So return a list of codes .
 # But because I know that each image has only one face , I only care about the first code in each image , So I take the index 0.
babe_face_encoding = face_recognition.face_encodings(babe_image)[0]
Rong_zhu_er_face_encoding = face_recognition.face_encodings(Rong_zhu_er_image)[0]
unknown_face_encoding = face_recognition.face_encodings(unknown_image)[0]

known_faces = [
    babe_face_encoding,
    Rong_zhu_er_face_encoding
]

 # The result is True/false Array of , Unknown face known_faces The result of matching anyone in the array
results = face_recognition.compare_faces(known_faces, unknown_face_encoding)

print(" This unknown face is  Babe  Do you ? {}".format(results[0]))
print(" This unknown face is   Joey Yung   Do you ? {}".format(results[1]))
print(" This unknown face is   New faces we've never seen ? {}".format(not True in results))
The display results are shown in the figure

# filename : digital_makeup.py
# -*- coding: utf-8 -*-
# Import pil modular , Install with commands apt-get install python-Imaging
from PIL import Image, ImageDraw
# Import face_recogntion modular , Install with commands pip install face_recognition
import face_recognition
# take jpg File loading to numpy Array
image = face_recognition.load_image_file("biden.jpg")
# Find all facial features of all faces in the image
face_landmarks_list = face_recognition.face_landmarks(image)
for face_landmarks in face_landmarks_list:
pil_image = Image.fromarray(image)
d = ImageDraw.Draw(pil_image, 'RGBA')
# Let eyebrows become a nightmare
d.polygon(face_landmarks['left_eyebrow'], fill=(68, 54, 39, 128))
d.polygon(face_landmarks['right_eyebrow'], fill=(68, 54, 39, 128))
d.line(face_landmarks['left_eyebrow'], fill=(68, 54, 39, 150), width=5)
d.line(face_landmarks['right_eyebrow'], fill=(68, 54, 39, 150), width=5)
# Glossy lips
d.polygon(face_landmarks['top_lip'], fill=(150, 0, 0, 128))
d.polygon(face_landmarks['bottom_lip'], fill=(150, 0, 0, 128))
d.line(face_landmarks['top_lip'], fill=(150, 0, 0, 64), width=8)
d.line(face_landmarks['bottom_lip'], fill=(150, 0, 0, 64), width=8)
# Shining eyes
d.polygon(face_landmarks['left_eye'], fill=(255, 255, 255, 30))
d.polygon(face_landmarks['right_eye'], fill=(255, 255, 255, 30))
# Apply some Eyeliner
d.line(face_landmarks['left_eye'] + [face_landmarks['left_eye'][0]], fill=(0, 0, 0, 110), width=6)
d.line(face_landmarks['right_eye'] + [face_landmarks['right_eye'][0]], fill=(0, 0, 0, 110), width=6)
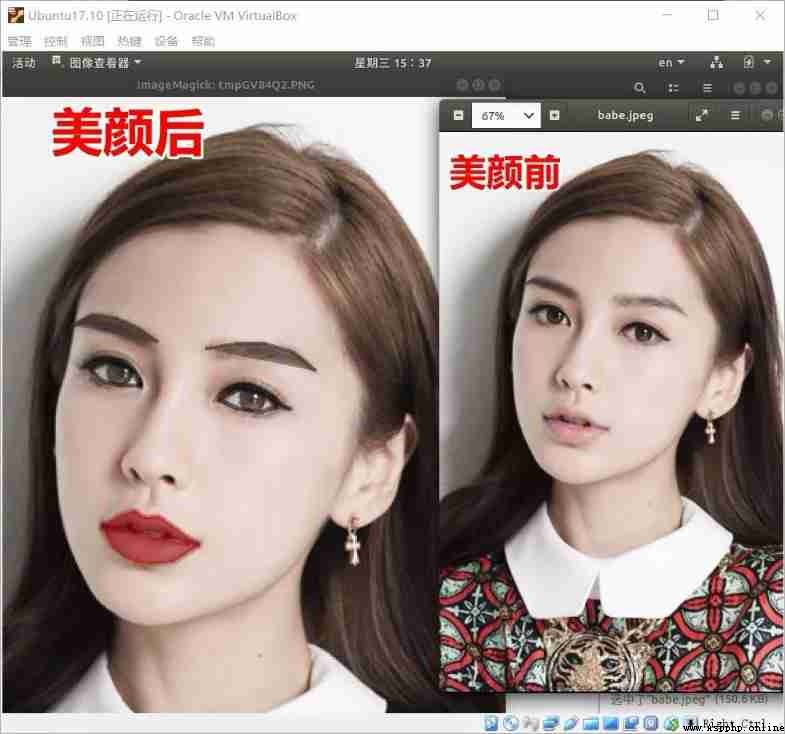
pil_image.show()The comparison before and after beauty is shown in the following figure :
About “ How to use it? Python The code realizes face recognition ” That's all for , Thanks for reading . If you want to know more about the industry , You can pay attention to the Yisu cloud industry information channel , Xiaobian will update different knowledge points for you every day .