Participate in competitions or activities , In the task of target detection or classification , It is often necessary to quickly develop one GUI Visual interface . Today we learn the following :
PySide2 Learning route sharing
be based on Qt Desinger Quickly drag an interface
Will oneself Python The input and output of the code are linked with the interface and displayed
After the visualization program is completed , Post code , Pack it up exe
Pyside2 Is based on Python Development Qt Library of visual interface ,Qt Is based on C++ Realized ; Want to be in Python Upper use , You definitely need an interface , What we chose is Pyside2.
PyQt5 Is based on Python Development Qt The library of , It can be understood as a library maintained by different people , They have a lot in common with each other , Choose one to learn .
First , The environment must be configured first .Anaconda I won't say much about it :Anaconda Command line summary
install Pyside2
pip install pyside2 -i https://pypi.douban.com/simple
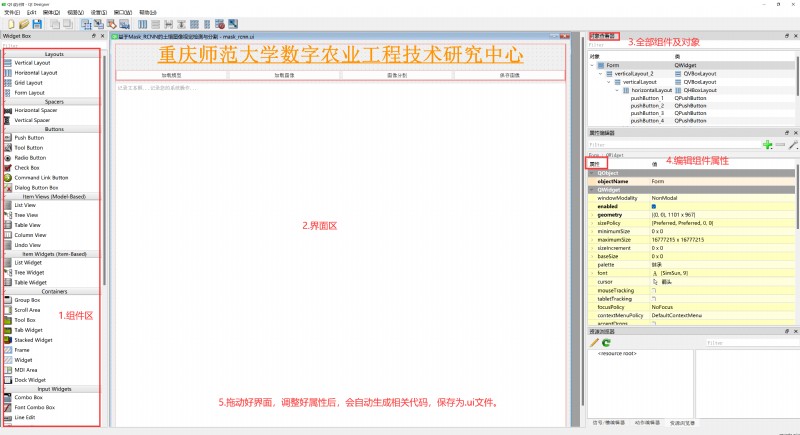
Qt Designer What is it? ? It's a software , Call it Qt The designer , Specially designed ui; You can quickly pull the control , Edit control properties , Convenient and quick ! Reduce a lot of code , and
And support preview at any time . So we can make sure ui, Then implement the functional interface , Fore and aft end separation , High controllability .
stay Pyside2 Has been installed by default Qt Designer, We need to configure it , Then it can be quickly in PyCharm Use in .
Follow the tutorial below to configure Pycharm Of Tools Tools , Easy and fast access Qt Designer
install QtDesigne course
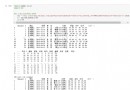
After the configuration is completed, see the figure below , Can access Qt The designer
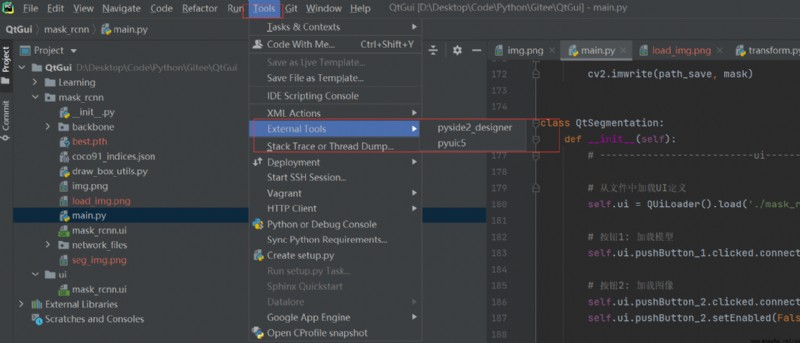
Click on pyside2_designer It can start quickly qt
Click on pyuic5 To be able to Qt Designer generated .ui File conversion to python Code
open Qt The designer , Quickly design , The interface you need .
You must be a stranger at this time , Don't know how to use ; So we need a tutorial to learn .
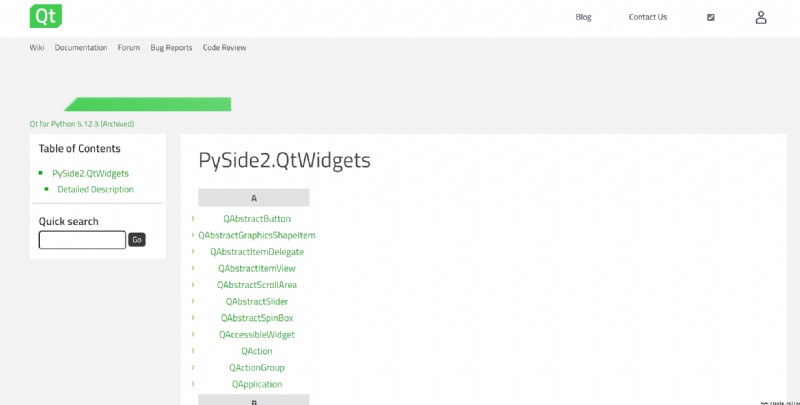
English document :Pyside2 Official documents
Chinese document : White moon and black feather :Qt The graphical interface Gui
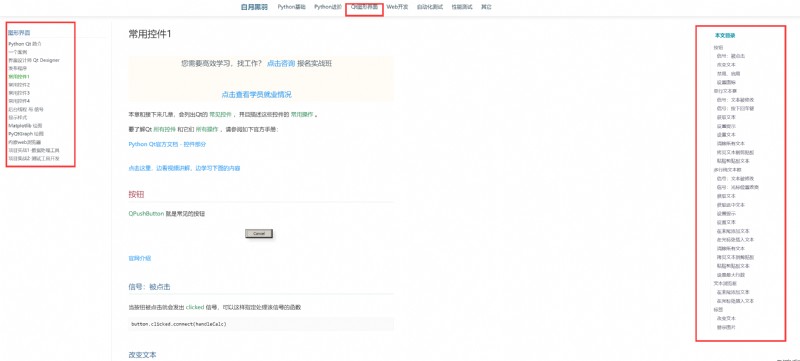
There are commonly used components on the website 、 attribute 、 And examples ; Self study is enough .
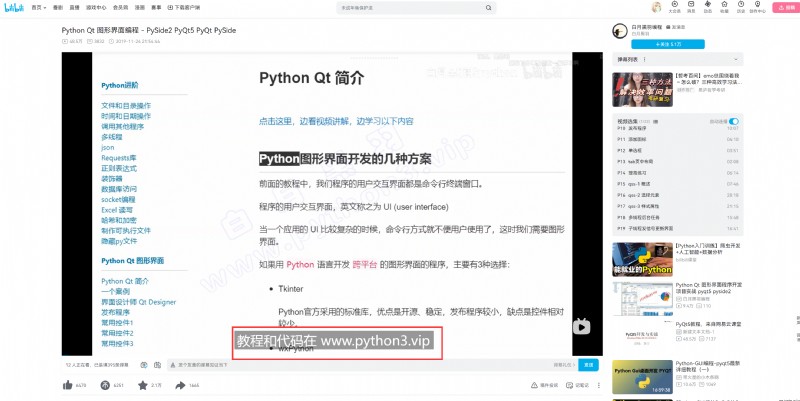
Video tutorial 1:Python Qt Graphic interface programming - PySide2 PyQt5 PyQt PySide
I first learned the video tutorial of white moon and black feather P12
Video tutorial 2:Python Qt Control - Ongoing update - PySide2 PyQt5 PyQt PySide Pyside6
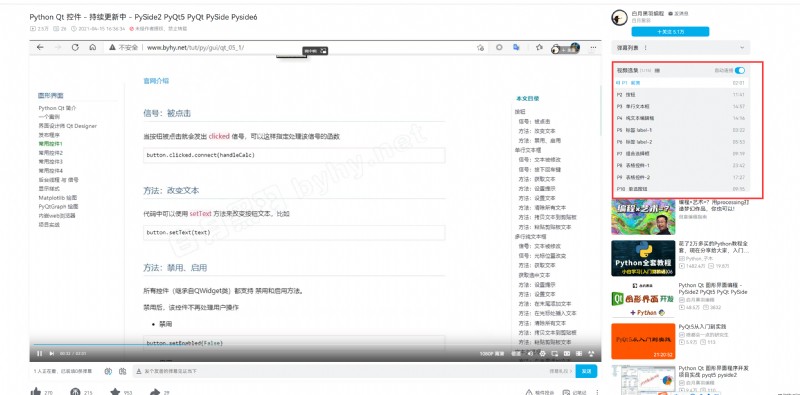
Then I learned UP Lord ,2021 The latest video in , I think this video is more useful , After watching the video, I began to develop my own program in combination with the blogger's website .
White moon and black feather :www.python3.vip
Use of edge query component , In combination with the content of the class, we began to develop the program .
What I have to do myself , Is based on Mask R-CNN A model of instance segmentation is trained , To do a simple GUI To show the results .
So I designed the following roughly :
The simple results of the two-day effort are as follows :
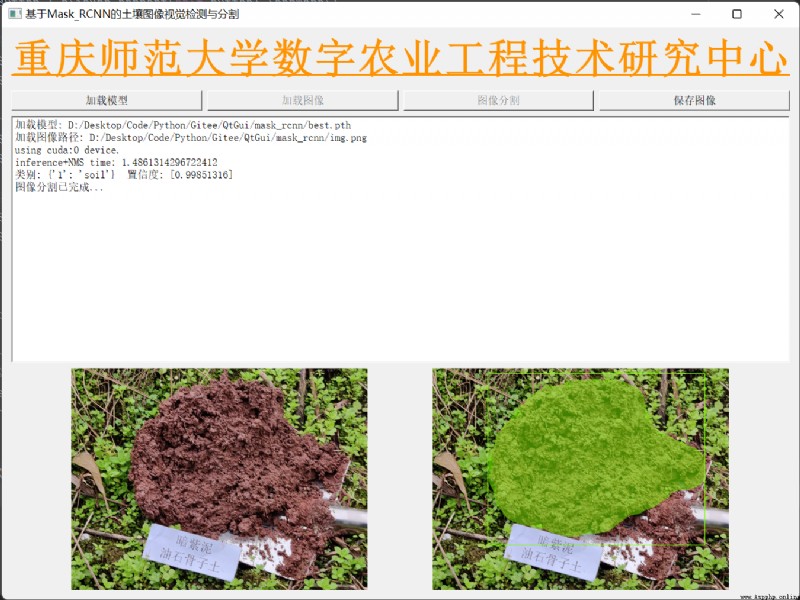
It will come true soon , Video learning finished , Refer to the website example to complete . The main controls I use are as follows :
Use pyinstaller Package the program into an executable , The order is as follows , among main.py For your program entry , Load in ui file ( It is better to set it as a peer directory , It can only help you package the relevant environmental dependencies , Various file paths loaded , It also needs to be placed in the corresponding file path )
pyinstaller main.py --noconsole --hidden-import PySide2.QtXml
Publish program tutorial :https://www.byhy.net/tut/py/gui/qt_04/
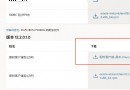
After packaging, it looks like the following figure , function main.exe You can start GUI. Of course , You may encounter many holes in the packaging process , Just solve the problem one by one .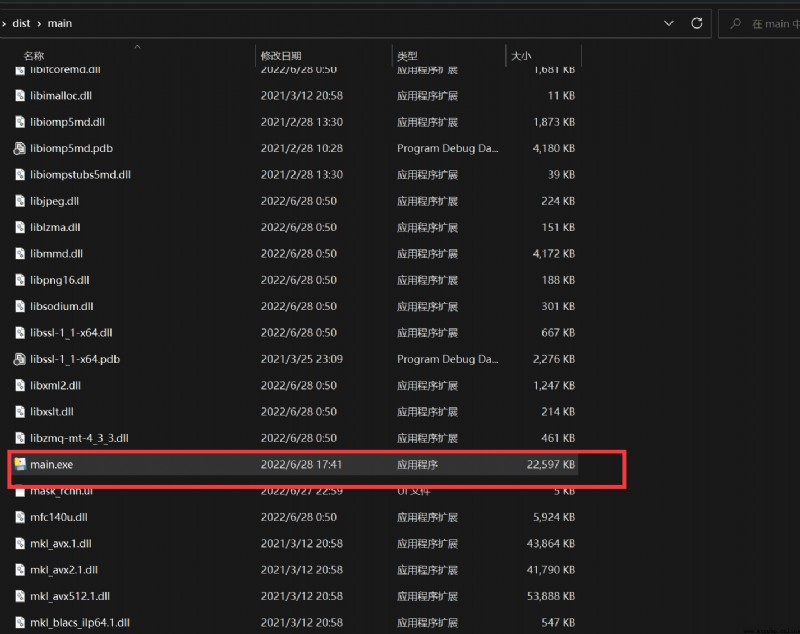
Of course , Often you want to simplify your own program ; Directly encapsulate into a exe Executable program , Click to run , Please use the package tool
Enigma Virtual Box Introduction to package tools
The program looks like this :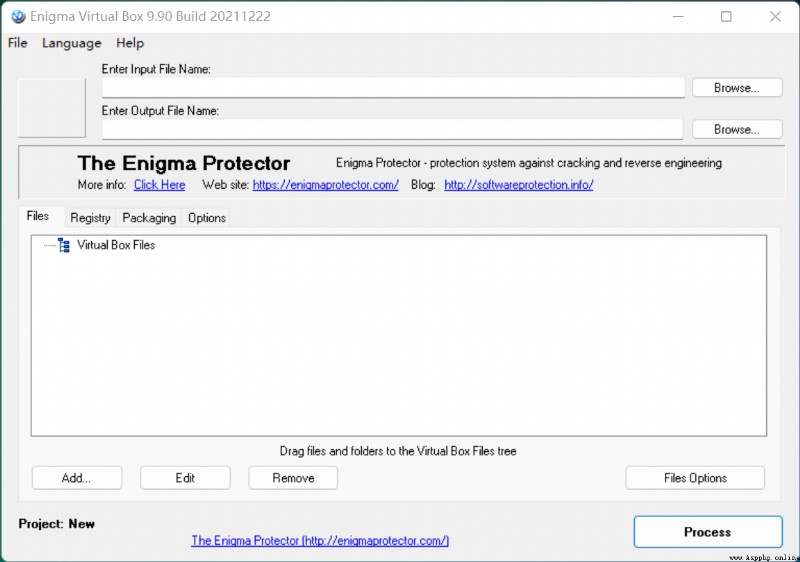
My program is about 4 individual G, It is not recommended to package , Particularly slow ; Lightweight applets can be encapsulated , It feels very convenient , If the program is too large, it is not recommended to use .
The whole learning process , Blog references are as follows :
2022 year 6 month 29 Japan 01:12:56, Today, I will learn GUI It's over ; Postgraduate opening 、 The Zhaoyi cup competition is busy enough , Come on! !
In the morning 1 spot , I can't stand it . Go to bed , Good night, !
Forget it , Or modify the overall format , Ha ha ha .