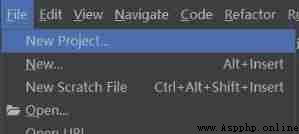
open pycharm, Click on File->New Project…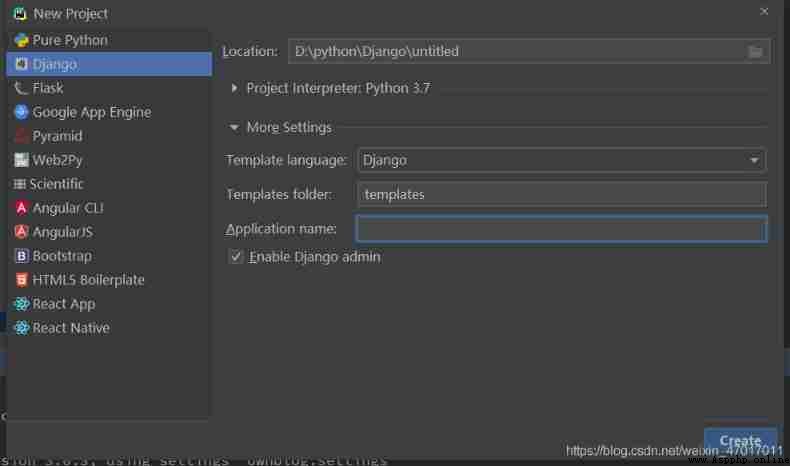
Click on Django, hold Location Set it to suit yourself , If the Anaconda Words ,Project Interpreter Item default , Click on More Settings, stay Application name Fill in a Appname.app It can be understood as a function in a project , In the future, multiple functions can be created app, Just need to be in the project Terminal Enter... There :django-admin startapp app Name can create a new app.
After opening the database , Input create database Data table name ;
DATABASES = {
‘default’: {
‘ENGINE’: ‘django.db.backends.mysql’,
‘NAME’: Database name ,
‘USER’: ‘root’,
‘PASSWORD’: Database password ,
‘HOST’: ‘localhost’,
‘POST’: 3306
}
}
Before generating the migration file , Need to be in In the project folder __init.py__ Add two statements to the file :
import pymysql
pymysql.install_as_MySQLdb()
python manage.py makemigrations
python manag.py migrate
here app In the catalog migrations The folder will automatically generate a 0001_initial.py file , This file needs to be deleted and regenerated for later modification of model data
STATIC_URL = ‘/static/’
# This is the path to set the static folder Directory
STATICFILES_DIRS = (
os.path.join(BASE_DIR, ‘static’),
)
# Set file upload path , Image upload 、 All uploaded files will be stored in this directory
MEDIA_URL = ‘/media/’
MEDIA_ROOT = os.path.join(BASE_DIR, ‘media’)
stay app In the catalog admin.py Write the model in the document
class Article(models.Model):
user = models.ForeignKey(User,on_delete=models.CASCADE,verbose_name=' author ')
title = models.CharField(' title ',max_length=100)
excerpt = models.TextField(' Abstract ',max_length=200)
body = models.TextField()
img = models.ImageField(upload_to='',verbose_name=' Article pictures ')
create_time = models.DateTimeField(' Release time ',auto_now_add=True)
mix_time = models.DateTimeField(' Modification time ',auto_now=True)
view = models.PositiveIntegerField()
category = models.ForeignKey(Category,on_delete=models.CASCADE,verbose_name=' classification ')
tags = models.ManyToManyField(Tag,verbose_name=' label ')
In this way, a field named Article Table of , There are user、title Equivalency
class User(models.Model):
name = models.CharField(' Author's name ',max_length=100)
def __str__(self):
return self.name
there User and Article Inside user Is a foreign key associated with a one to many relationship , One author corresponds to many articles
stay app In the catalog admin.py In the document admin Site configuration
from .model import Article,User
@admin.register(Article)
class ArticleAdmin(admin.ModelAdmin):
list_display = ['pk','title','category','view','create_time']
list_per_page = 50
ordering = ('-create_time',)
Yes, just now Model Created in Article Table for site registration .
list_display Represents the fields visible on the site
list_per_page each 50 One page at a time
ordering Means to arrange in reverse chronological order
@admin.register(User)
class UserAdmin(admin.ModelAdmin):
list_display = ['pk','name']

After everything is configured, click on the green triangle in the upper right corner or click on Terminal Input :python manage.py runserver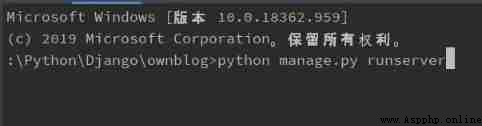
The following words appear 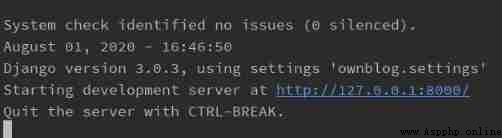
Click the blue font to enter , But before that, we need to create a super administrator , In this way, we can log in to the background site to manage data 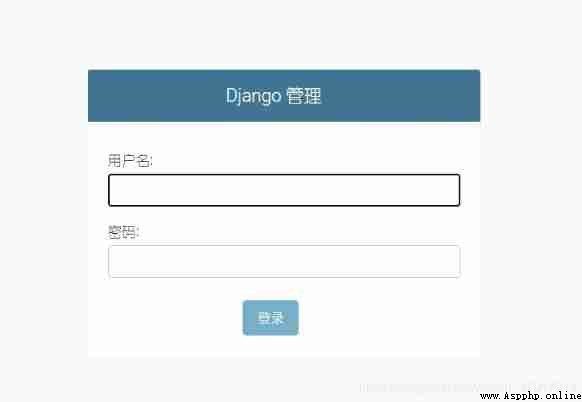
stay Terminal Input python manage.py createsuperuser
Then follow the prompts , Remember the user name and password , After the administrator is created , You can log in to the site
stay 127.0.0.1:8000 Add later /admin, Press enter to enter the station , Enter your username and password , Sign in 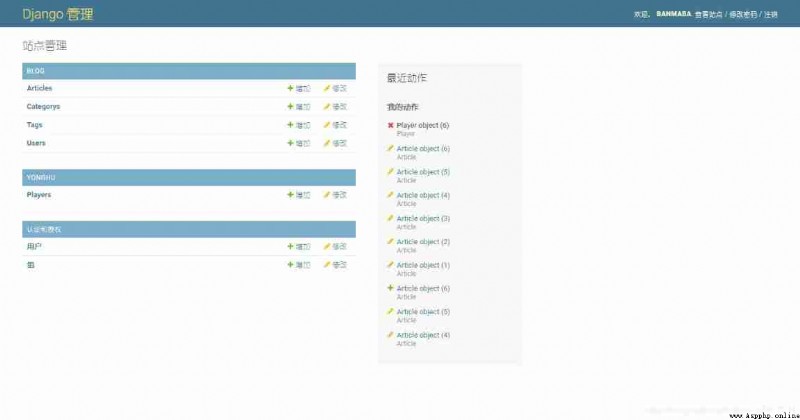
When I used to watch some tutorials , hold 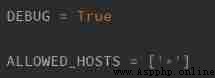
there DEBUG Change to False, As a result, the site does not css Format
Now you can add data in the background according to your needs !