Preface
Resource download and installation
Installation supplement
Tool code validation
PrefaceSee a very interesting project , In fact, I have seen similar implementation effects on Baidu feijiang and other platforms before .
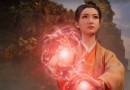
You can put photos according to the expression of the video , move . Take a look at the effect of the project .
Project address :first-order-model Project address
Same old thing , Regardless of the effects given by the author , Test it yourself .
Resource download and installationLet's take a look first README Basic information about the project , It can be seen that in addition to the expression driven photos , You can also move your posture .
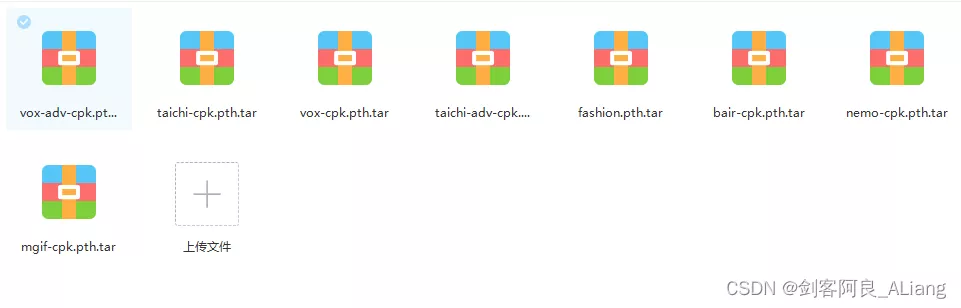
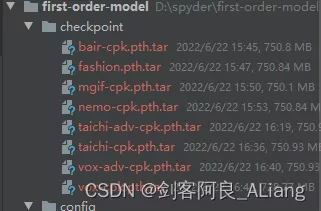
The model file provides an online download address .

The file is large and difficult to download , I put it on my cloud disk , You can download from the cloud disk below .
link Extraction code :ikix
The model file is placed in the root directory and created checkpoint Under the folder .
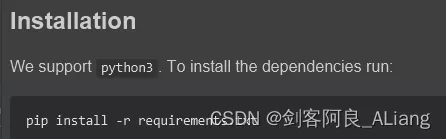
take requirements.txt Install the dependency in .
In the test README At the time of the command in , If there is an error .
Traceback (most recent call last):
File "demo.py", line 17, in <module>
from animate import normalize_kp
File "D:\spyder\first-order-model\animate.py", line 7, in <module>
from frames_dataset import PairedDataset
File "D:\spyder\first-order-model\frames_dataset.py", line 10, in <module>
from augmentation import AllAugmentationTransform
File "D:\spyder\first-order-model\augmentation.py", line 13, in <module>
import torchvision
File "C:\Users\huyi\.conda\envs\fom\lib\site-packages\torchvision\__init__.py", line 2, in <module>
from torchvision import datasets
File "C:\Users\huyi\.conda\envs\fom\lib\site-packages\torchvision\datasets\__init__.py", line 9, in <module>
from .fakedata import FakeData
File "C:\Users\huyi\.conda\envs\fom\lib\site-packages\torchvision\datasets\fakedata.py", line 3, in <module>
from .. import transforms
File "C:\Users\huyi\.conda\envs\fom\lib\site-packages\torchvision\transforms\__init__.py", line 1, in <module>
from .transforms import *
File "C:\Users\huyi\.conda\envs\fom\lib\site-packages\torchvision\transforms\transforms.py", line 16, in <module>
from . import functional as F
File "C:\Users\huyi\.conda\envs\fom\lib\site-packages\torchvision\transforms\functional.py", line 5, in <module>
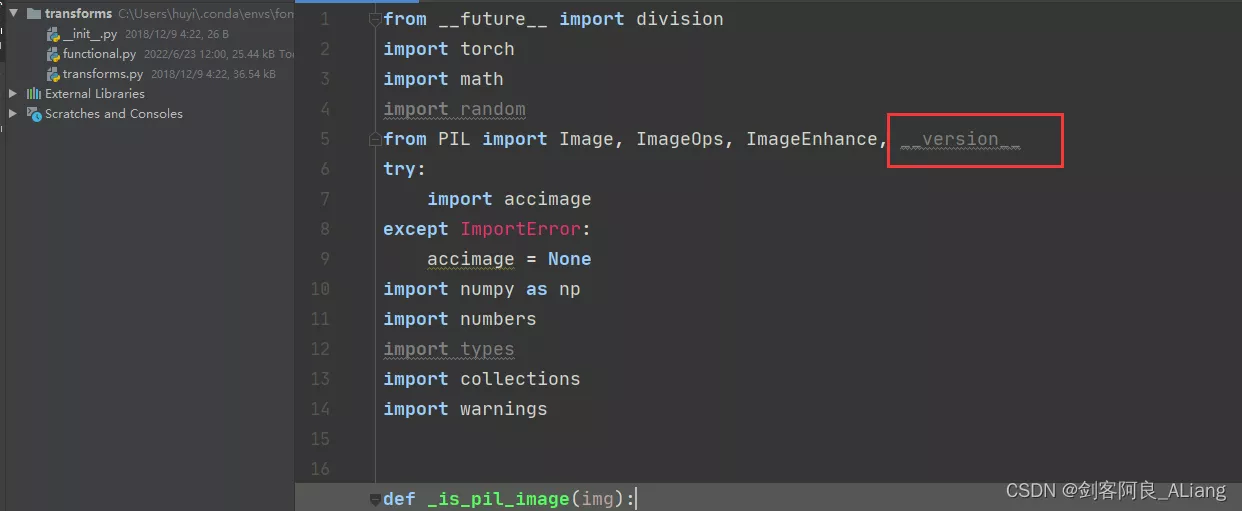
from PIL import Image, ImageOps, ImageEnhance, PILLOW_VERSION
ImportError: cannot import name 'PILLOW_VERSION' from 'PIL' (C:\Users\huyi\.conda\envs\fom\lib\site-packages\PIL\__init__.py)
This question is mainly used by me pillow The reason why the version is too high , If you don't want to find the corresponding lower version , It can be solved in my way .
1、 modify functional.py Code , take PILLOW_VERSION Adjusted for __version__.
2、 take imageio upgrade .
pip install --upgrade imageio -i https://pypi.douban.com/simple
3、 install imageio_ffmpeg modular .
pip install imageio-ffmpeg -i https://pypi.douban.com/simple
I will not repeat the test for the official method of use , You can test it according to the following command .

Here I recommend a visual Library gradio, Below I will demo.py A bit of code transformation .
The new tool file code is as follows :
#!/user/bin/env python# coding=utf-8"""@project : [email protected] : Swordsman a Liang [email protected] : [email protected] : [email protected] : 2022-06-23 14:35:28"""import uuidfrom typing import Optionalimport gradio as grimport matplotlibmatplotlib.use('Agg')import os, sysimport yamlfrom argparse import ArgumentParserfrom tqdm import tqdmimport imageioimport numpy as npfrom skimage.transform import resizefrom skimage import img_as_ubyteimport torchfrom sync_batchnorm import DataParallelWithCallbackfrom modules.generator import OcclusionAwareGeneratorfrom modules.keypoint_detector import KPDetectorfrom animate import normalize_kpfrom scipy.spatial import ConvexHullif sys.version_info[0] < 3: raise Exception("You must use Python 3 or higher. Recommended version is Python 3.7")def load_checkpoints(config_path, checkpoint_path, cpu=False): with open(config_path) as f: config = yaml.load(f) generator = OcclusionAwareGenerator(**config['model_params']['generator_params'], **config['model_params']['common_params']) if not cpu: generator.cuda() kp_detector = KPDetector(**config['model_params']['kp_detector_params'], **config['model_params']['common_params']) if not cpu: kp_detector.cuda() if cpu: checkpoint = torch.load(checkpoint_path, map_location=torch.device('cpu')) else: checkpoint = torch.load(checkpoint_path) generator.load_state_dict(checkpoint['generator']) kp_detector.load_state_dict(checkpoint['kp_detector']) if not cpu: generator = DataParallelWithCallback(generator) kp_detector = DataParallelWithCallback(kp_detector) generator.eval() kp_detector.eval() return generator, kp_detectordef make_animation(source_image, driving_video, generator, kp_detector, relative=True, adapt_movement_scale=True, cpu=False): with torch.no_grad(): predictions = [] source = torch.tensor(source_image[np.newaxis].astype(np.float32)).permute(0, 3, 1, 2) if not cpu: source = source.cuda() driving = torch.tensor(np.array(driving_video)[np.newaxis].astype(np.float32)).permute(0, 4, 1, 2, 3) kp_source = kp_detector(source) kp_driving_initial = kp_detector(driving[:, :, 0]) for frame_idx in tqdm(range(driving.shape[2])): driving_frame = driving[:, :, frame_idx] if not cpu: driving_frame = driving_frame.cuda() kp_driving = kp_detector(driving_frame) kp_norm = normalize_kp(kp_source=kp_source, kp_driving=kp_driving, kp_driving_initial=kp_driving_initial, use_relative_movement=relative, use_relative_jacobian=relative, adapt_movement_scale=adapt_movement_scale) out = generator(source, kp_source=kp_source, kp_driving=kp_norm) predictions.append(np.transpose(out['prediction'].data.cpu().numpy(), [0, 2, 3, 1])[0]) return predictionsdef find_best_frame(source, driving, cpu=False): import face_alignment def normalize_kp(kp): kp = kp - kp.mean(axis=0, keepdims=True) area = ConvexHull(kp[:, :2]).volume area = np.sqrt(area) kp[:, :2] = kp[:, :2] / area return kp fa = face_alignment.FaceAlignment(face_alignment.LandmarksType._2D, flip_input=True, device='cpu' if cpu else 'cuda') kp_source = fa.get_landmarks(255 * source)[0] kp_source = normalize_kp(kp_source) norm = float('inf') frame_num = 0 for i, image in tqdm(enumerate(driving)): kp_driving = fa.get_landmarks(255 * image)[0] kp_driving = normalize_kp(kp_driving) new_norm = (np.abs(kp_source - kp_driving) ** 2).sum() if new_norm < norm: norm = new_norm frame_num = i return frame_numdef h_interface(input_image: str): parser = ArgumentParser() opt = parser.parse_args() opt.config = "./config/vox-256.yaml" opt.checkpoint = "./checkpoint/vox-cpk.pth.tar" opt.source_image = input_image opt.driving_video = "./data/input/ts.mp4" opt.result_video = "./data/result/{}.mp4".format(uuid.uuid1().hex) opt.relative = True opt.adapt_scale = True opt.cpu = True opt.find_best_frame = False opt.best_frame = False # source_image = imageio.imread(opt.source_image) source_image = opt.source_image reader = imageio.get_reader(opt.driving_video) fps = reader.get_meta_data()['fps'] driving_video = [] try: for im in reader: driving_video.append(im) except RuntimeError: pass reader.close() source_image = resize(source_image, (256, 256))[..., :3] driving_video = [resize(frame, (256, 256))[..., :3] for frame in driving_video] generator, kp_detector = load_checkpoints(config_path=opt.config, checkpoint_path=opt.checkpoint, cpu=opt.cpu) if opt.find_best_frame or opt.best_frame is not None: i = opt.best_frame if opt.best_frame is not None else find_best_frame(source_image, driving_video, cpu=opt.cpu) print("Best frame: " + str(i)) driving_forward = driving_video[i:] driving_backward = driving_video[:(i + 1)][::-1] predictions_forward = make_animation(source_image, driving_forward, generator, kp_detector, relative=opt.relative, adapt_movement_scale=opt.adapt_scale, cpu=opt.cpu) predictions_backward = make_animation(source_image, driving_backward, generator, kp_detector, relative=opt.relative, adapt_movement_scale=opt.adapt_scale, cpu=opt.cpu) predictions = predictions_backward[::-1] + predictions_forward[1:] else: predictions = make_animation(source_image, driving_video, generator, kp_detector, relative=opt.relative, adapt_movement_scale=opt.adapt_scale, cpu=opt.cpu) imageio.mimsave(opt.result_video, [img_as_ubyte(frame) for frame in predictions], fps=fps) return opt.result_videoif __name__ == "__main__": demo = gr.Interface(h_interface, inputs=[gr.Image(shape=(500, 500))], outputs=[gr.Video()]) demo.launch() # h_interface("C:\\Users\\huyi\\Desktop\\xx3.jpg")Code instructions
1、 The original demo.py Medium main Function content , Re edit as h_interface Method , Input is the picture you want to drive .
2、 among driving_video The parameter uses an expression video recorded by myself ts.mp4, I suggest that you can record a replacement with your mobile phone .
3、 Use gradio To generate the page of the method , The following will show you .
4、 Use uuid Name the resulting video .
The results are as follows
Running on local URL: http://127.0.0.1:7860/
To create a public link, set `share=True` in `launch()`.
Open the local address :http://localhost:7860/
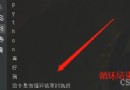
You can see that the interactive interface we implemented is as follows :
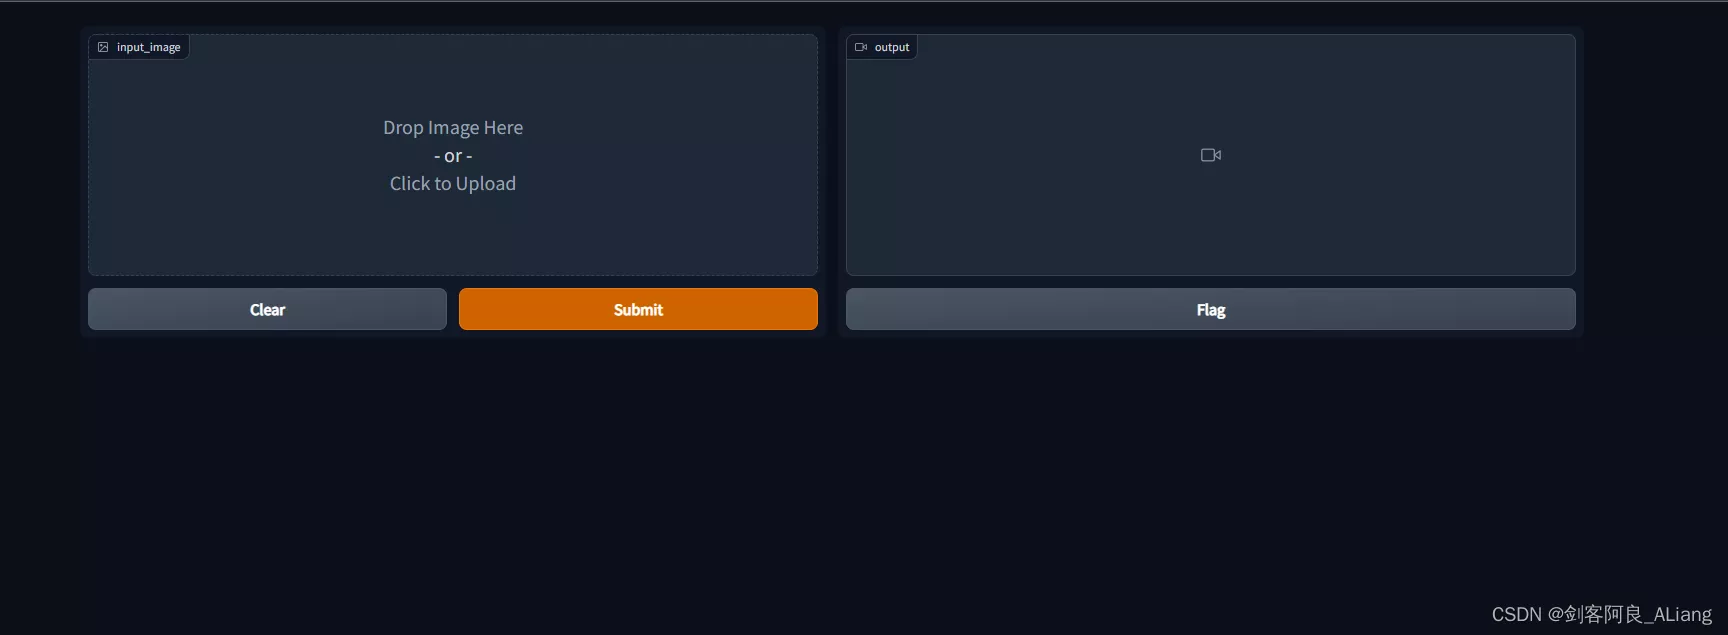
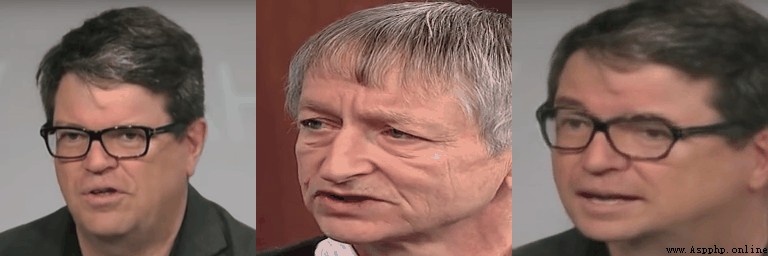
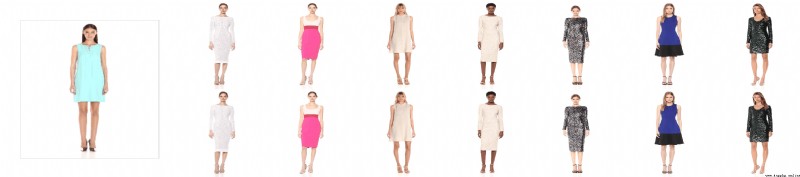
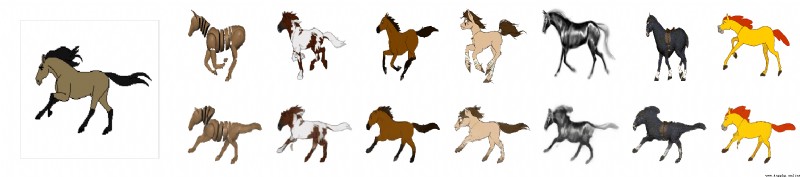
Let's upload the sample image I prepared , Submit for production .

Look at the execution log , Here's the picture .

Take a look at the production results .

Because I can't upload the video , I turned the video into gif.

It's kind of interesting , I won't do the specific parameter tuning , You may adjust the parameters in the method I provide as needed .
That's all Python first-order-model Realize the details of moving photos , More about Python Please pay attention to other related articles of software development network for the information of moving photos !