Learning goals :
CS2 Use Python Image processing library Pillow Processing image files
Learning content :
CS2.1 install Pillow
Pillow yes Python Image processing library in (PIL:Python Image Library), Provides extensive file format support , Powerful image processing power , Mainly including image storage , Image display , Format conversion and basic image processing operations .
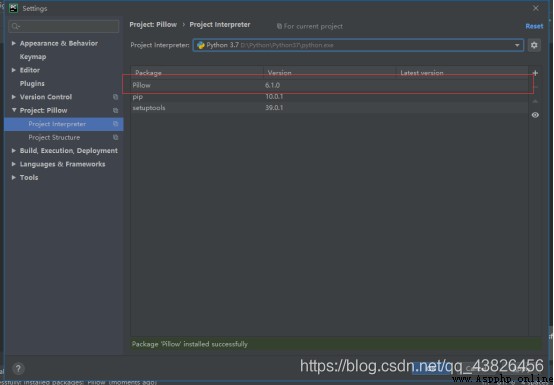
1.Pycharm install Pillow
Pycharm: First right click File–>Settings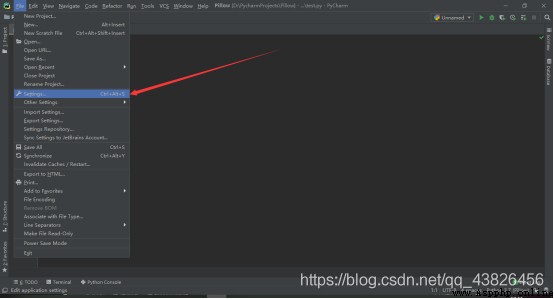
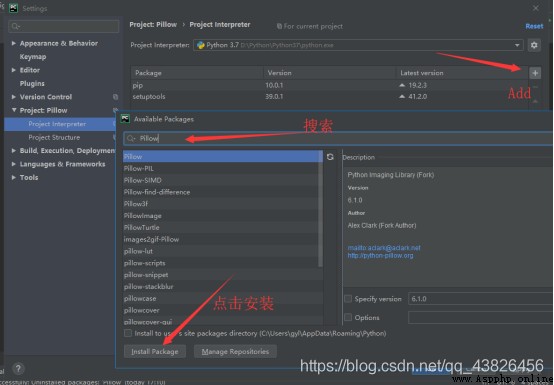
choice Project Interpreter, If installed Anaconda3 You can import its library directly ; If it is Pycharm, Click on + Number ,Add, Search for libraries to import , then install package, Wait for installation to complete 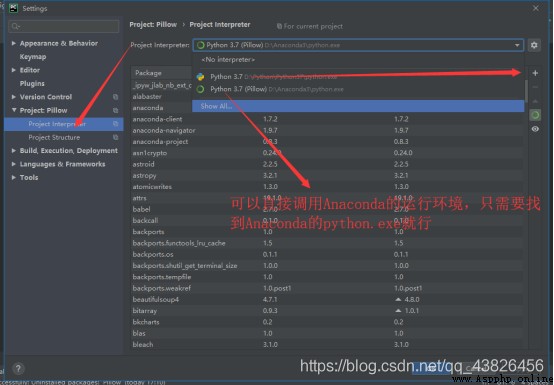
2.Anaconda3 : It has already been installed Pillow The library , Call directly
CS2.2 Open and display images
Use PIL.Image Modular open() Function to open an image , Returns an image object , Then call the... Of the image object show() Method , Images can be displayed on the screen .
1. Create a new one Project, named Pillow,new---->python file -----> named test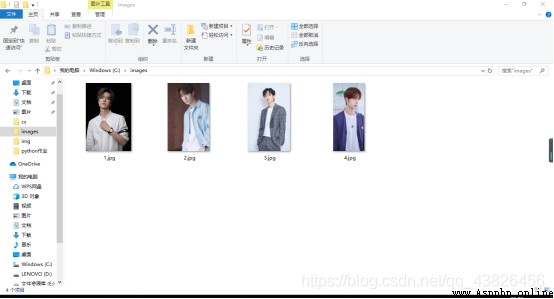
2. The input terminal D:\PycharmProjects\Pillow\test.py function , Call the default image software of the system to open the picture , And output the information of the corresponding picture .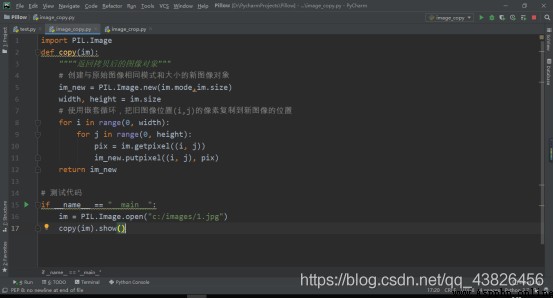
CS2.3 Basic operation of image
1. Create a new one python file , named image_test
2. Put an image of 4 Copies arranged in 2×2 grid : The copy in the upper left is the original image , And the top right of the screen 、 lower left 、 On the lower right, modules are used respectively PIL.ImageFilter Built in filters defined in CONTOUR、EMBOSS、FIND_EDGES To filter .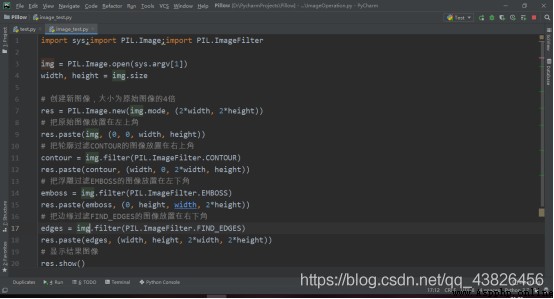
3. Terminal input command line D:\PycharmProjects\Pillow\image_test.py C:\images\1.jpg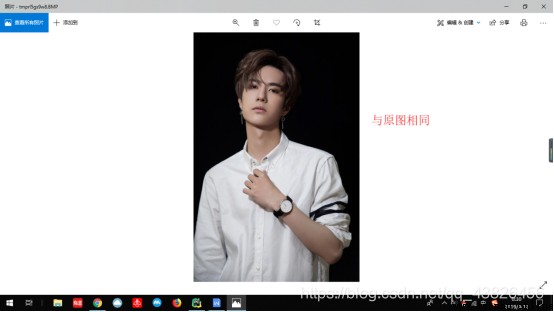
CS2.4 Batch image format conversion
1. Create a new one python file , named image_convert
2. take jpg Batch conversion of pictures to png picture
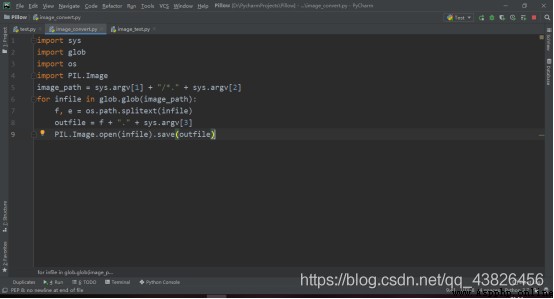 3. Terminal command line input : D:\PycharmProjects\Pillow\image_convert.py c:\images jpg png
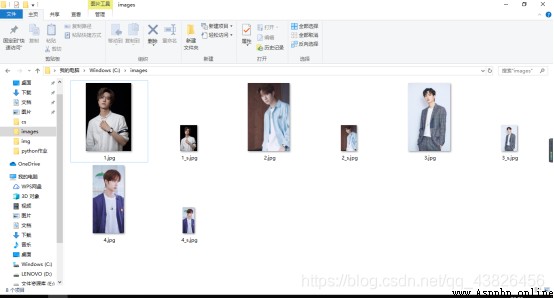
Before running :
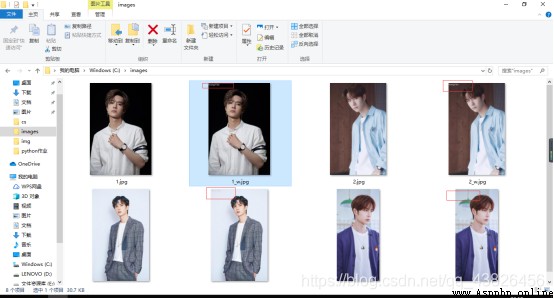
After operation :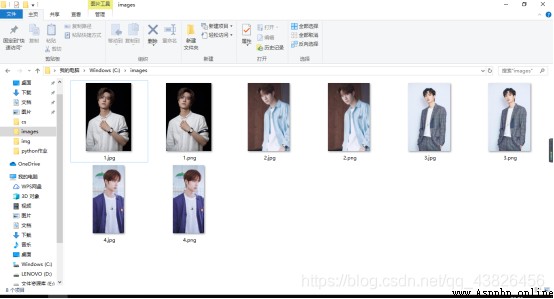
CS2.5 Create thumbnails in batch
1. Create a new one python file , named image_thumbnail
2. take jpg Images are converted to corresponding thumbnails in batches 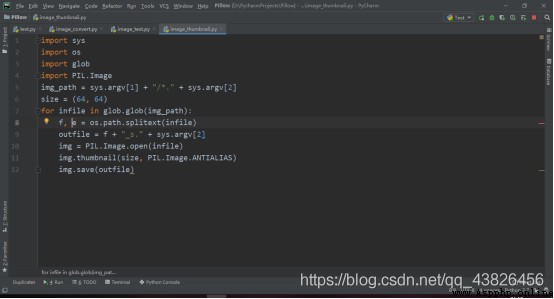
3. The input terminal :D:\PycharmProjects\Pillow\image_thumbnail.py c:\images jpg
CS2.6 Batch image plus text watermark
1. Create a new one python file , named image_watermark1
2. to jpg Add text watermark to image 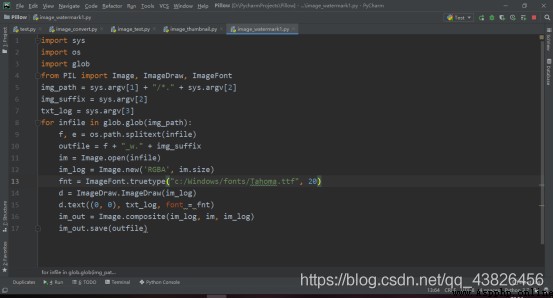
3. The input terminal :
D:\PycharmProjects\Pillow\image_watermark1.py c:\images jpg “Python”
CS2.7 Batch image plus image watermark
1. Create a new python file , named image_watermark2
2. use first Python Of Pillow In the image library Image Modular new Function to create a watermark image object , And use the... Of the image object paste Method to log Paste image into watermark image , Finally through Image Modular composite Function to synthesize watermark image and original image .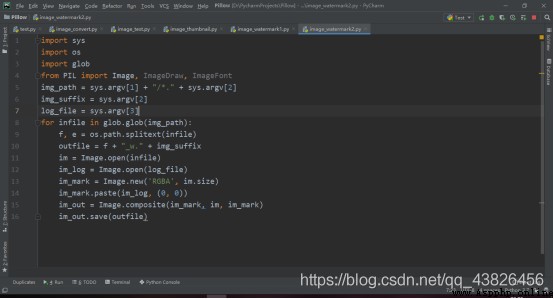
3. The input terminal :D:\PycharmProjects\Pillow\image_watermark2.py c:\images jpg c:\images\logo.png
Before running :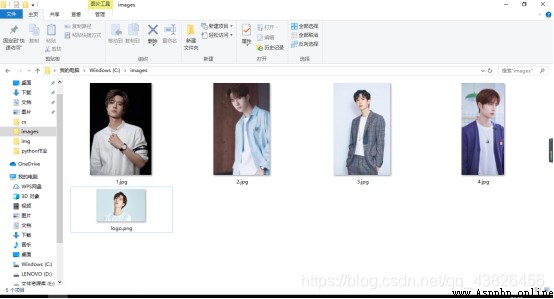
After operation :
CS2.8 Batch resizing of images
1. Create a new python file , named image_resize
2. Use Image Object's resize() Method to resize the image .
Running effect :
3. The input terminal : You can customize the size of the picture D:\PycharmProjects\Pillow\image_resize.py c:\images jpg 128 128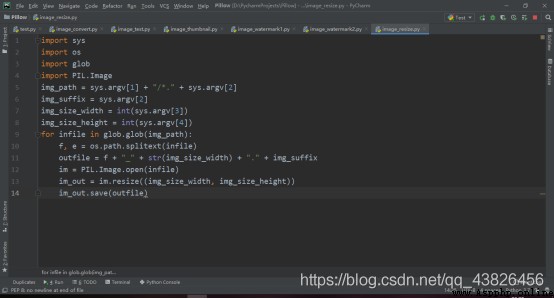
After operation :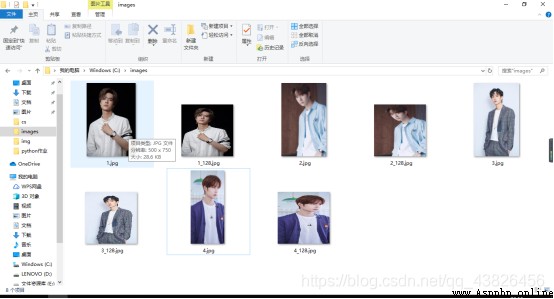
CS3 Using nested loop to realize image processing algorithm
Learning content :
CS3.1 Overview of image data structure
actually , stay “ Bottom ” An image is a two-dimensional array of pixels , The position of each pixel is expressed as a tuple of two integers , The pixel values are composed of corresponding tuples according to the image mode ( for example ,RGB The pattern is represented as a tuple of three integer values , Each represents the red that constitutes the color 、 blue 、 Green value , The scope is 0 To 255).
Image processing algorithm ( for example , Copy 、 rotate 、 Crop and smooth images, etc ) Basically, we use nested loop mode to process these pixels .PIL.Image Module Image Class method getpixel() and putpixel() It can be used to read and modify specific locations (loc) The color value of the pixel (pix). The syntax is as follows :
im.getpixel(loc) # Return to position loc The color of the pixels .
im.putpixel(loc, pix) # Put in position loc Replace the color of with pix.
CS3.2 Copy image
By opening the original image , Create a new blank image of the same size , Then copy the pixel color in the old image to the corresponding pixel in the new image . That is, use nested loops , Place the old image (i, j) The pixels are copied to the location of the new image (i, j).
newly build image_copy.py file , Enter the code , And run :
Running results :
CS3.3 Cut the image
By opening the original image , Specify a clipping box for a quad , Create a blank image with the same size as the clipping box , Then copy the pixel color in the clipping box in the old image to the new image . You can also use nested loops to copy pixels .
newly build image_crop file , Enter the code , Click on the run :
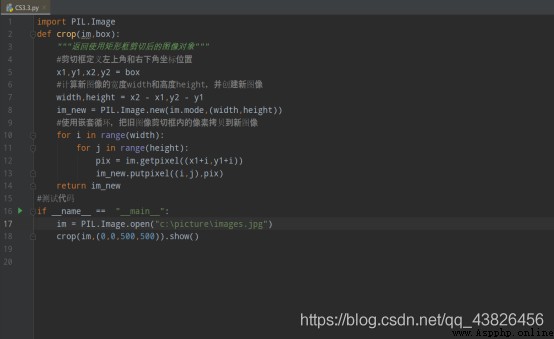
post-crop 
CS3.4 Flip the image horizontally or vertically
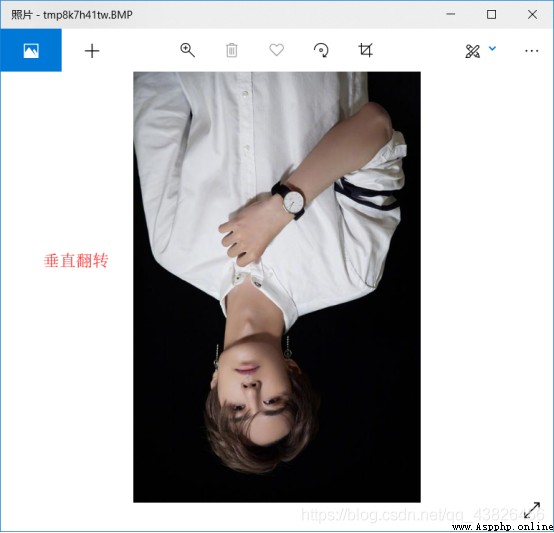
By opening the original image , Create a new blank image of the same size , Then copy the pixel color in the old image to the corresponding pixel in the new image . When flipping horizontally , Pixels of the original image (i,j) Map to the location of the target image (width-i-1,j); When flipping vertically , Pixels of the original image (i,j) Map to the location of the target image (i,height-j-1).
Enter the code and run it 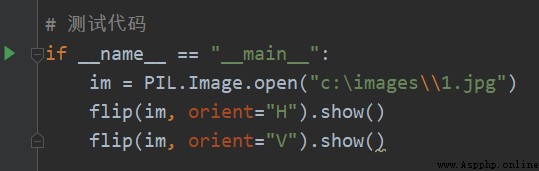
Test code :
After operation :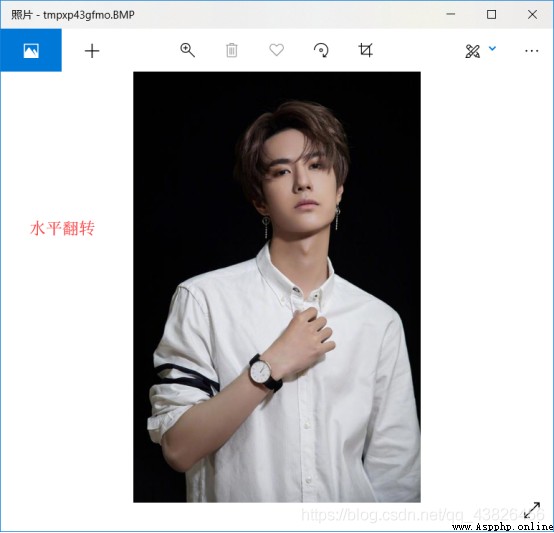
CS3.5 Rotate the image counterclockwise or clockwise 90 degree
Rotate the image counterclockwise or clockwise 90 The algorithm of degree can be realized by opening the original image (width×height), Create a new height×width The size of the blank image , Then copy the pixel color in the old image to the corresponding pixel in the new image . Rotate the image counterclockwise 90 When the degree of , Pixels of the original image (i,j) Map to the location of the target image (j,width-i-1); Rotate the image clockwise 90 degree , Pixels of the original image (i,j) Map to the location of the target image (height-j-1,i).
Input code to run :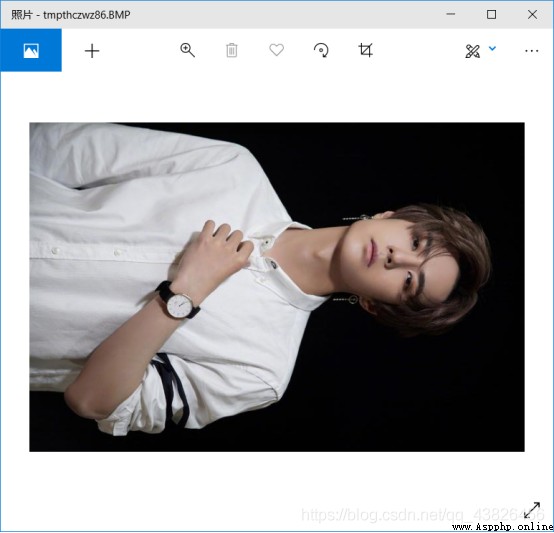
Running results :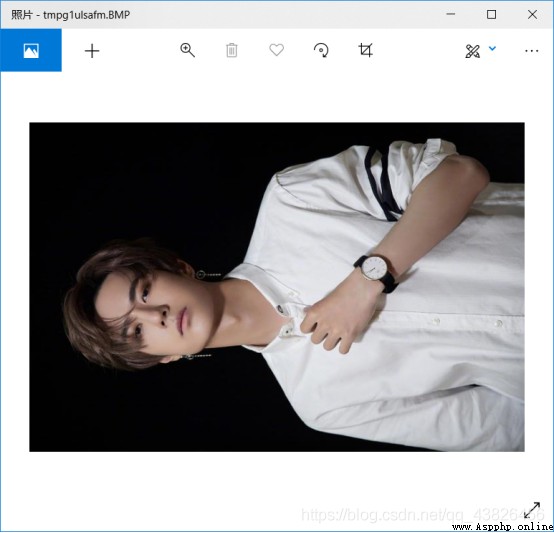
CS3.6 Smooth image filter
A simple smoothing filter algorithm can be implemented by opening the original image , establish - A new blank image of the same size , Each pixel in the new image will then be (i,j) The color of is set to the original pixel (i,j) And the average value of the color of its adjacent pixels . Pixels that are not on the image boundary (i,j) Yes 8 Adjacent pixels , Its adjacent pixels are located in the slave column i-1 To column i+1 And line j+1 Go to line j+1 Range . Therefore, the following code can be used to calculate the pixels in the new image (i,j) The color of the : Pixels in the original image (i,j) And the average value of the color of its neighbor pixels . Be careful , If the pixel is at the edge , stay i-1 It may be less than 0, So you can use max(-1,0) As the lower limit : Again , have access to min(i+1,width) As a ceiling .
Enter the code and run it :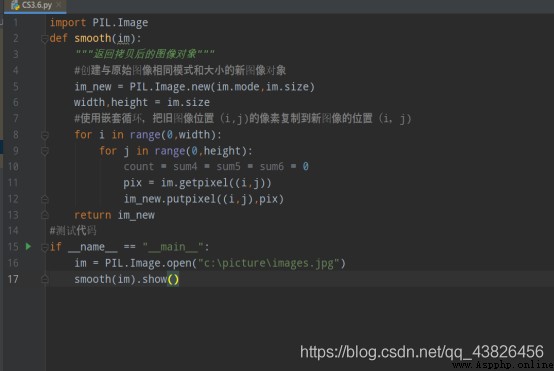
Running results : Insert picture description here 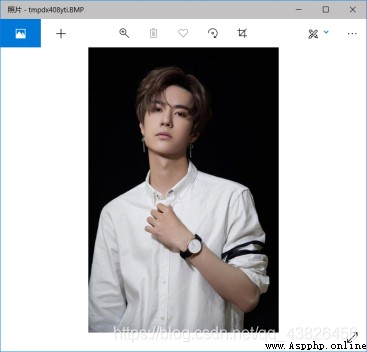

Learning goals :
CS2 Use Python Image processing library Pillow Processing image files
Learning content :
CS2.1 install Pillow
Pillow yes Python Image processing library in (PIL:Python Image Library), Provides extensive file format support , Powerful image processing power , Mainly including image storage , Image display , Format conversion and basic image processing operations .
1.Pycharm install Pillow
Pycharm: First right click File–>Settings
choice Project Interpreter, If installed Anaconda3 You can import its library directly ; If it is Pycharm, Click on + Number ,Add, Search for libraries to import , then install package, Wait for installation to complete
2.Anaconda3 : It has already been installed Pillow The library , Call directly
CS2.2 Open and display images
Use PIL.Image Modular open() Function to open an image , Returns an image object , Then call the... Of the image object show() Method , Images can be displayed on the screen .
1. Create a new one Project, named Pillow,new---->python file -----> named test
2. The input terminal D:\PycharmProjects\Pillow\test.py function , Call the default image software of the system to open the picture , And output the information of the corresponding picture .
CS2.3 Basic operation of image
1. Create a new one python file , named image_test
2. Put an image of 4 Copies arranged in 2×2 grid : The copy in the upper left is the original image , And the top right of the screen 、 lower left 、 On the lower right, modules are used respectively PIL.ImageFilter Built in filters defined in CONTOUR、EMBOSS、FIND_EDGES To filter .
3. Terminal input command line D:\PycharmProjects\Pillow\image_test.py C:\images\1.jpg
CS2.4 Batch image format conversion
1. Create a new one python file , named image_convert
2. take jpg Batch conversion of pictures to png picture
3. Terminal command line input : D:\PycharmProjects\Pillow\image_convert.py c:\images jpg png
Before running :
After operation :
CS2.5 Create thumbnails in batch
1. Create a new one python file , named image_thumbnail
2. take jpg Images are converted to corresponding thumbnails in batches
3. The input terminal :D:\PycharmProjects\Pillow\image_thumbnail.py c:\images jpg
CS2.6 Batch image plus text watermark
1. Create a new one python file , named image_watermark1
2. to jpg Add text watermark to image
3. The input terminal :
D:\PycharmProjects\Pillow\image_watermark1.py c:\images jpg “Python”
CS2.7 Batch image plus image watermark
1. Create a new python file , named image_watermark2
2. use first Python Of Pillow In the image library Image Modular new Function to create a watermark image object , And use the... Of the image object paste Method to log Paste image into watermark image , Finally through Image Modular composite Function to synthesize watermark image and original image .
3. The input terminal :D:\PycharmProjects\Pillow\image_watermark2.py c:\images jpg c:\images\logo.png
Before running :
After operation :
CS2.8 Batch resizing of images
1. Create a new python file , named image_resize
2. Use Image Object's resize() Method to resize the image .
Running effect :
3. The input terminal : You can customize the size of the picture D:\PycharmProjects\Pillow\image_resize.py c:\images jpg 128 128
After operation :
CS3 Using nested loop to realize image processing algorithm
Learning content :
CS3.1 Overview of image data structure
actually , stay “ Bottom ” An image is a two-dimensional array of pixels , The position of each pixel is expressed as a tuple of two integers , The pixel values are composed of corresponding tuples according to the image mode ( for example ,RGB The pattern is represented as a tuple of three integer values , Each represents the red that constitutes the color 、 blue 、 Green value , The scope is 0 To 255).
Image processing algorithm ( for example , Copy 、 rotate 、 Crop and smooth images, etc ) Basically, we use nested loop mode to process these pixels .PIL.Image Module Image Class method getpixel() and putpixel() It can be used to read and modify specific locations (loc) The color value of the pixel (pix). The syntax is as follows :
im.getpixel(loc) # Return to position loc The color of the pixels .
im.putpixel(loc, pix) # Put in position loc Replace the color of with pix.
CS3.2 Copy image
By opening the original image , Create a new blank image of the same size , Then copy the pixel color in the old image to the corresponding pixel in the new image . That is, use nested loops , Place the old image (i, j) The pixels are copied to the location of the new image (i, j).
newly build image_copy.py file , Enter the code , And run :
Running results :
CS3.3 Cut the image
By opening the original image , Specify a clipping box for a quad , Create a blank image with the same size as the clipping box , Then copy the pixel color in the clipping box in the old image to the new image . You can also use nested loops to copy pixels .
newly build image_crop file , Enter the code , Click on the run :
Running results :
post-crop :
CS3.4 Flip the image horizontally or vertically
By opening the original image , Create a new blank image of the same size , Then copy the pixel color in the old image to the corresponding pixel in the new image . When flipping horizontally , Pixels of the original image (i,j) Map to the location of the target image (width-i-1,j); When flipping vertically , Pixels of the original image (i,j) Map to the location of the target image (i,height-j-1).
Enter the code and run it
Test code :
After operation :
CS3.5 Rotate the image counterclockwise or clockwise 90 degree
Rotate the image counterclockwise or clockwise 90 The algorithm of degree can be realized by opening the original image (width×height), Create a new height×width The size of the blank image , Then copy the pixel color in the old image to the corresponding pixel in the new image . Rotate the image counterclockwise 90 When the degree of , Pixels of the original image (i,j) Map to the location of the target image (j,width-i-1); Rotate the image clockwise 90 degree , Pixels of the original image (i,j) Map to the location of the target image (height-j-1,i).
Input code to run :
Running results :
CS3.6 Smooth image filter
A simple smoothing filter algorithm can be implemented by opening the original image , establish - A new blank image of the same size , Each pixel in the new image will then be (i,j) The color of is set to the original pixel (i,j) And the average value of the color of its adjacent pixels . Pixels that are not on the image boundary (i,j) Yes 8 Adjacent pixels , Its adjacent pixels are located in the slave column i-1 To column i+1 And line j+1 Go to line j+1 Range . Therefore, the following code can be used to calculate the pixels in the new image (i,j) The color of the : Pixels in the original image (i,j) And the average value of the color of its neighbor pixels . Be careful , If the pixel is at the edge , stay i-1 It may be less than 0, So you can use max(-1,0) As the lower limit : Again , have access to min(i+1,width) As a ceiling .
Enter the code and run it :
Running results :