Nginx的反向代理通常用來映射內網中提供的Apache、IIS、Lighttpd服務,以實現負載均衡;同時,由於動態服務程序運行在內網,服務器的整體安全性也有所提高,那麼怎樣用nginx設置SSL的反向代理呢?
使用nginx設置SSL的優點不少:
說了一大堆優點,相信諸位看官該躍躍欲試了吧,閒話少提^_^,下面給出配置實例:
由於,下面的代碼只是用來演示整個配置過程,因此,我使用的SSL安全證書是自己簽名的,如果需要能夠通過驗證的SSL安全證書,請到CAs自我了斷^_^(網站地址:www.verisign.com)。
一、生成SSL安全證書
在nginx的配置目錄下新建一個文件夾用以存放證書
# cd /usr/local/nginx/conf

# mkdir ssl

# cd ssl
生成一個私有key
# openssl genrsa -des3 -out nixcraft.in.key 1024

生成CSR(Certificate Signing Request)文件:
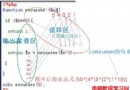
# openssl req -new -key nixcraft.in.key -out nixcraft.in.csr
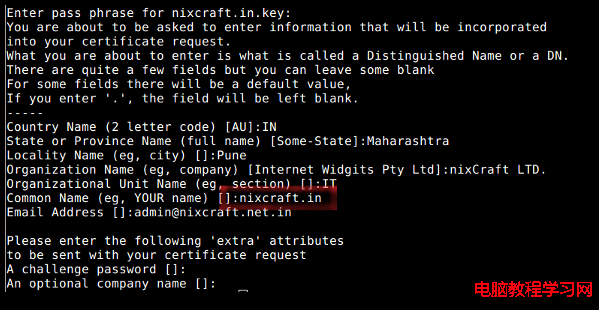
請輸入自己的證書域名。上圖紅框的部分
二、配置SSL反向代理
編輯nginx的配置文件
#vi /usr/local/ngnix/conf/nginx.conf
添加如下代碼:
server {
### server port and name ###
listen 443 ssl;
server_name nixcraft.in;
### SSL log files ###
access_log logs/ssl-access.log;
error_log logs/ssl-error.log;
### SSL cert files ###
ssl_certificate ssl/nixcraft.in.crt;
ssl_certificate_key ssl/nixcraft.in.key;
### Add SSL specific settings here ###
keepalive_timeout 60;
### Limiting Ciphers ########################
# Uncomment as per your setup
#ssl_ciphers HIGH:!ADH;
#ssl_perfer_server_ciphers on;
#ssl_protocols SSLv3;
##############################################
### We want full access to SSL via backend ###
location / {
proxy_pass http://nixcraft;
### force timeouts if one of backend is died ##
proxy_next_upstream error timeout invalid_header http_500 http_502 http_503;
### Set headers ####
proxy_set_header Host $host;
proxy_set_header X-Real-IP $remote_addr;
proxy_set_header X-Forwarded-For $proxy_add_x_forwarded_for;
### Most PHP, Python, Rails, Java App can use this header ###
proxy_set_header X-Forwarded-Proto https;
### By default we don't want to redirect it ####
proxy_redirect off;
}
保存、並重新加載配置文件
# /usr/local/nginx/sbin/nginx -t
# /usr/local/nginx/sbin/nginx -s reload
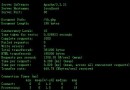
查看是否配置成功:
# netstat -tulpn | grep :443
SSL配置大功告成了,你可以使用https://youdomain.com訪問你的網站了。