AdminLTE 是一個基於Bootstrap 3.x的免費高級管理控制面板主題,完全響應式管理,適合從小型移動設備到大型台式機很多的屏幕分辨率。
AdminLTE的特點:
我們使用的工具
下載一個全新的 Laravel
如果不太清楚可以去官方網站查看文檔link
在此我們直接使用命令行即可
composer create-project laravel/laravel myapp --prefer-dist
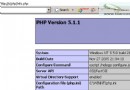
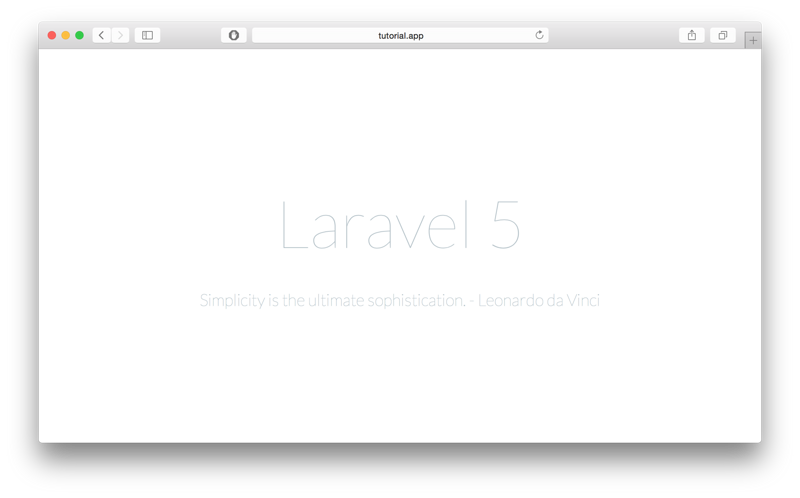
通過這個命令我們創建了一個全新的名字為 myapp 的Laravel項目,如果你成功的話你可以看到下面的圖片
通過 Bower 下載 AdminLTE
進入到 myapp/public 文件夾
cd myapp/public
在這個文件夾下執行下面的命令
bower install admin-lte
一旦完成,你會發現多了一個 bower_componets 的文件夾,而且在這個文件夾中你會看到 AdminLTE
將 AdminLTE 的starter.html 轉化為 Blade 模板
Laravel 在此使用了一個很好的模板引擎 Blade,為了更充分的利用Blade,我們需要將一些常規的通用的 HTML 的 起始頁面應用到 Blade 模板中,首先創建一個 view 在 resources/views文件夾中,命名為admin_template.blade.php,而後我們為這個頁面創建一個對應的路由。如下面我所創建的
 Route::get('admin', function () {
  return view('admin_template');
 });
然後,將bower_components/admin-lte/starter.html中的內容復制到我們視圖模板中,並且將其中的相關鏈接指向我們的 AdminLTE 的對應目錄下,如下是我初步的設置:
<script src="{{ asset("/bower_components/AdminLTE/plugins/jQuery/jQuery-2.1.4.min.js")}}"></script>
<!-- Bootstrap 3.3.5 -->
<script src="{{ asset("/bower_components/AdminLTE/bootstrap/js/bootstrap.min.js")}}"></script>
<!-- AdminLTE App -->
<script src="{{ asset("/bower_components/AdminLTE/dist/js/app.min.js")}}"></script>
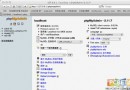
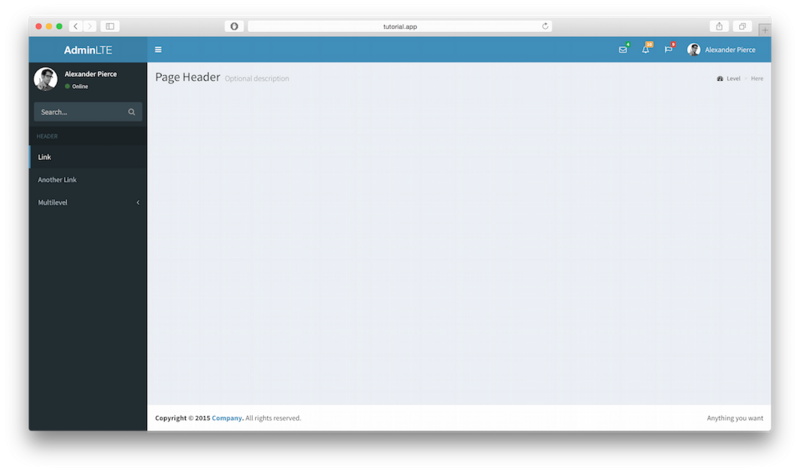
類似這樣,將css 和 js 的相關的鏈接指向相應的目錄下,而後我們通過 localhost:8000/admin 查看頁面的變化,此時頁面變成了如下圖:
現在我們擁有了所有的使用 AdminLTE 的所有的資源,下面對我們的主要視圖增加最後的收尾工作,我將分開這個模板為三個文件,sidebar.blade.php, header.blade.php, 和 footer.blade.php
這三個文件的內容分別是admin_template.blade.phpheader 部分和 aside 部分和footer 部分,將這三部分截取出來依次放到三個文件中。
最後的潤色工作
現在我們已經將我們的模板個性化的分離開了,下面我們需要設置我們的最初的admin_template.blade.php
模板以便於內容動態加載,如下所示:
<!DOCTYPE html>
<html>
head>
<meta charset="UTF-8">
<title>{{ $page_title or "AdminLTE Dashboard" }}</title>
<meta content='width=device-width, initial-scale=1, maximum-scale=1, user-scalable=no' name='viewport'>
<!-- Bootstrap 3.3.2 -->
<link href="{{ asset("/bower_components/AdminLTE/bootstrap/css/bootstrap.min.css") }}" rel="stylesheet" type="text/css" />
<!-- Font Awesome Icons -->
<link href="https://maxcdn.bootstrapcdn.com/font-awesome/4.3.0/css/font-awesome.min.css" rel="stylesheet" type="text/css" />
<!-- Ionicons -->
<link href="http://code.ionicframework.com/ionicons/2.0.0/css/ionicons.min.css" rel="stylesheet" type="text/css" />
<!-- Theme style -->
<link href="{{ asset("/bower_components/AdminLTE/dist/css/AdminLTE.min.css")}}" rel="stylesheet" type="text/css" />
<!-- AdminLTE Skins. We have chosen the skin-blue for this starter
  page. However, you can choose any other skin. Make sure you
  apply the skin class to the body tag so the changes take effect.
-->
<link href="{{ asset("/bower_components/AdminLTE/dist/css/skins/skin-blue.min.css")}}" rel="stylesheet" type="text/css" />

<!-- HTML5 Shim and Respond.js IE8 support of HTML5 elements and media queries -->
<!-- WARNING: Respond.js doesn't work if you view the page via file:// -->
<!--[if lt IE 9]>
<script src="https://oss.maxcdn.com/libs/html5shiv/3.7.0/html5shiv.js"></script>
<script src="https://oss.maxcdn.com/libs/respond.js/1.3.0/respond.min.js"></script>
<![endif]-->
</head>
<body class="hold-transition skin-blue sidebar-mini">
<div class="wrapper">

<!-- Header -->
@include('header')

<!-- Sidebar -->
@include('sidebar')

<!-- Content Wrapper. Contains page content -->
<div class="content-wrapper">
 <!-- Content Header (Page header) -->
 <section class="content-header">
  <h1>
   {{ $page_title or "Page Title" }}
   <small>{{ $page_description or null }}</small>
  </h1>
  <!-- You can dynamically generate breadcrumbs here -->
  <ol class="breadcrumb">
   <li><a href="#"><i class="fa fa-dashboard"></i> Level</a></li>
   <li class="active">Here</li>
  </ol>
 </section>

 <!-- Main content -->
 <section class="content">
  <!-- Your Page Content Here -->
  @yield('content')
 </section><!-- /.content -->
</div><!-- /.content-wrapper -->

<!-- Footer -->
@include('footer')
<aside class="control-sidebar control-sidebar-dark">
<!-- Create the tabs -->
<ul class="nav nav-tabs nav-justified control-sidebar-tabs">
 <li class="active"><a href="#control-sidebar-home-tab" data-toggle="tab"><i class="fa fa-home"></i></a></li>
 <li><a href="#control-sidebar-settings-tab" data-toggle="tab"><i class="fa fa-gears"></i></a></li>
</ul>
<!-- Tab panes -->
<div class="tab-content">
 <!-- Home tab content -->
 <div class="tab-pane active" id="control-sidebar-home-tab">
 <h3 class="control-sidebar-heading">Recent Activity</h3>
 <ul class="control-sidebar-menu">
  <li>
  <a href="javascript::;">
   <i class="menu-icon fa fa-birthday-cake bg-red"></i>

   <div class="menu-info">
   <h4 class="control-sidebar-subheading">Langdon's Birthday</h4>

   <p>Will be 23 on April 24th</p>
   </div>
  </a>
  </li>
 </ul>
 <!-- /.control-sidebar-menu -->

 <h3 class="control-sidebar-heading">Tasks Progress</h3>
 <ul class="control-sidebar-menu">
  <li>
  <a href="javascript::;">
   <h4 class="control-sidebar-subheading">
   Custom Template Design
   <span class="label label-danger pull-right">70%</span>
   </h4>

   <div class="progress progress-xxs">
   <div class="progress-bar progress-bar-danger" style="width: 70%"></div>
   </div>
  </a>
  </li>
 </ul>
 <!-- /.control-sidebar-menu -->

 </div>
 <!-- /.tab-pane -->
 <!-- Stats tab content -->
 <div class="tab-pane" id="control-sidebar-stats-tab">Stats Tab Content</div>
 <!-- /.tab-pane -->
 <!-- Settings tab content -->
 <div class="tab-pane" id="control-sidebar-settings-tab">
 <form method="post">
  <h3 class="control-sidebar-heading">General Settings</h3>

  <div class="form-group">
  <label class="control-sidebar-subheading">
   Report panel usage
   <input type="checkbox" class="pull-right" checked>
  </label>

  <p>
   Some information about this general settings option
  </p>
  </div>
  <!-- /.form-group -->
 </form>
 </div>
 <!-- /.tab-pane -->
</div>
</aside>
<!-- /.control-sidebar -->
<!-- Add the sidebar's background. This div must be placed
 immediately after the control sidebar -->
<div class="control-sidebar-bg"></div>
</div><!-- ./wrapper -->

<!-- REQUIRED JS SCRIPTS -->

<!-- jQuery 2.1.3 -->
<script src="{{ asset ("/bower_components/AdminLTE/plugins/jQuery/jQuery-2.1.3.min.js") }}"></script>
<!-- Bootstrap 3.3.2 JS -->
<script src="{{ asset ("/bower_components/AdminLTE/bootstrap/js/bootstrap.min.js") }}" type="text/javascript"></script>
<!-- AdminLTE App -->
<script src="{{ asset ("/bower_components/AdminLTE/dist/js/app.min.js") }}" type="text/javascript"></script>

<!-- Optionally, you can add Slimscroll and FastClick plugins.
 Both of these plugins are recommended to enhance the
 user experience -->
</body>
</html>
在上面代碼中,我們添加了contetn,這裡包含著我們的主要的內容,增加了頁面標題針對不同的頁面,將其重命名為dashboard.blade.php現在這個模板已經可以使用了。
測試頁面
為了驗證我們之前所做的工作,我將創建一個簡單的頁面
1.創建 test.blade.php
@extends('dashboard')
@section('content')
<div class='row'>
 <div class='col-md-6'>
  <!-- Box -->
  <div class="box box-primary">
   <div class="box-header with-border">
    <h3 class="box-title">Randomly Generated Tasks</h3>
    <div class="box-tools pull-right">
     <button class="btn btn-box-tool" data-widget="collapse" data-toggle="tooltip" title="Collapse"><i class="fa fa-minus"></i></button>
     <button class="btn btn-box-tool" data-widget="remove" data-toggle="tooltip" title="Remove"><i class="fa fa-times"></i></button>
    </div>
   </div>
   <div class="box-body">
    @foreach($tasks as $task)
     <h5>
      {{ $task['name'] }}
      <small class="label label-{{$task['color']}} pull-right">{{$task['progress']}}%</small>
     </h5>
     <div class="progress progress-xxs">
      <div class="progress-bar progress-bar-{{$task['color']}}" style="width: {{$task['progress']}}%"></div>
     </div>
    @endforeach

   </div><!-- /.box-body -->
   <div class="box-footer">
    <form action='#'>
     <input type='text' placeholder='New task' class='form-control input-sm' />
    </form>
   </div><!-- /.box-footer-->
  </div><!-- /.box -->
 </div><!-- /.col -->
 <div class='col-md-6'>
  <!-- Box -->
  <div class="box box-primary">
   <div class="box-header with-border">
    <h3 class="box-title">Second Box</h3>
    <div class="box-tools pull-right">
     <button class="btn btn-box-tool" data-widget="collapse" data-toggle="tooltip" title="Collapse"><i class="fa fa-minus"></i></button>
     <button class="btn btn-box-tool" data-widget="remove" data-toggle="tooltip" title="Remove"><i class="fa fa-times"></i></button>
    </div>
   </div>
   <div class="box-body">
    A separate section to add any kind of widget. Feel free
    to explore all of AdminLTE widgets by visiting the demo page
    on <a href="https://almsaeedstudio.com">Almsaeed Studio</a>.
   </div><!-- /.box-body -->
  </div><!-- /.box -->
 </div><!-- /.col -->

</div><!-- /.row -->
@endsection
2.創建TestController.php
php artisan make:controller TestController --plain
下面是這個控制器的代碼部分:
 <?php

  namespace App\Http\Controllers;

  use Illuminate\Http\Request;
  use App\Http\Requests;
  use App\Http\Controllers\Controller;

  class TestController extends Controller
  {
   public function index() {
   $data['tasks'] = [
     [
      'name' => 'Design New Dashboard',
      'progress' => '87',
      'color' => 'danger'
     ],
     [
      'name' => 'Create Home Page',
      'progress' => '76',
      'color' => 'warning'
     ],
     [
      'name' => 'Some Other Task',
      'progress' => '32',
      'color' => 'success'
     ],
     [
      'name' => 'Start Building Website',
      'progress' => '56',
      'color' => 'info'
     ],
     [
      'name' => 'Develop an Awesome Algorithm',
      'progress' => '10',
      'color' => 'success'
     ]
   ];
   return view('test')->with($data);
  }

 }
3.創建對應的路由
Route::get('test', 'TestController@index');
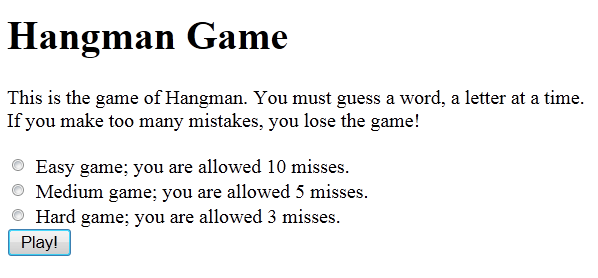
4.打開對應的頁面,如果你沒有出錯的 應該如下圖所示