在Windows 8 XAML實例教程中,曾經提及過應用風格設計方法以及如何創建可 復用樣式代碼。本篇將深入討論如何創建自定義Windows8應用風格。
隨著計算機硬件性能的提升,用戶對於軟件應用的體驗性要求越來越高,而應 用的風格設計也成為衡量應用成功與否的一個標准。

模板樣式基礎
在XAML實例教程中曾介紹過,Windows8樣式應用可以根據應用范圍不同進行分 類,
1. 局部資源(Page Resources),該樣式模板代碼位於當前 頁面中,其效果僅有效於當前頁面,其基本語法格式如下:
<Page.Resources>
<資源定義 />
</Page.Resources>
2. 全局資源(Resources Dictionary),該樣式模板代碼位 於資源字典文件中,其效果可以被應用於整個項目,其基本語法格式如下:
<根元素對象.Resources>
<資源定義 />
</根元素對象.Resources>
在定義Resources Dictionary後,則需要在App.xaml中聲明該資源字典,使其 全局化,其定義方法如下:
對比兩者,第二種方法更加有利於資源樣式代碼的重復利用以及代碼維護,所 以微軟推薦開發人員盡量使用全局資源的方式定義項目樣式。
模板樣式調用
無論使用以上任何一種樣式聲名方法,其調用方法是相同的,代碼如下:
<TextBlock Style="{StaticResource PageHeaderTextStyle}"/>
其中PageHeaderTextStyle是模板樣式名稱。
Windows 8默認應用模板樣式
在實際項目開發中,微軟建議開發和設計人員基於微軟默認樣式模板創建或者 修改應用樣式,使用Visual Studio提供的默認模板樣式創建Windows8項目,然後 根據項目需求創建布局控件以及交互控件,創建邏輯代碼等。
本篇將使用Visual C# - Windows Store - Split App(XAML)模板做為演示。
首先使用Visual Studio 2012創建一個項目,
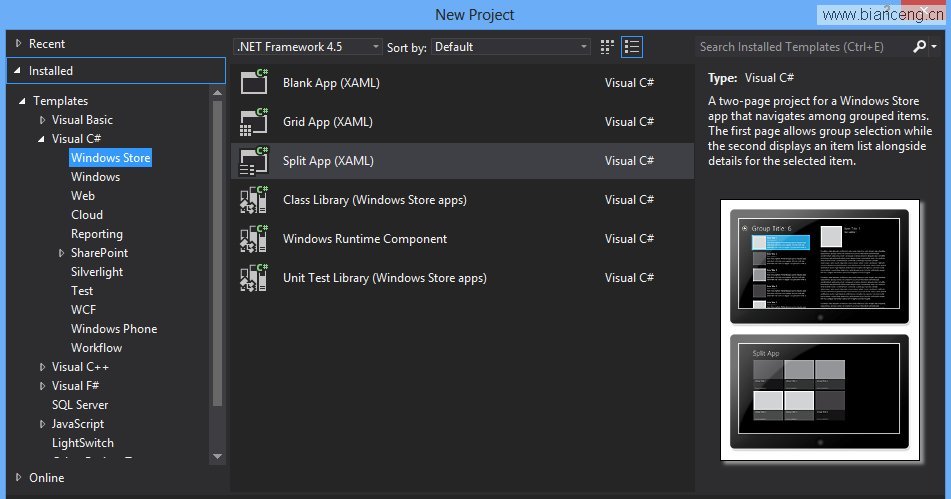
Visual Studio自動生成項目結構,其中包括簡單頁面代碼以及基本樣式代碼 。
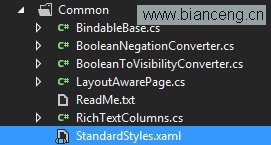
默認項目模板樣式代碼都在StandardStyles.xaml文件中,
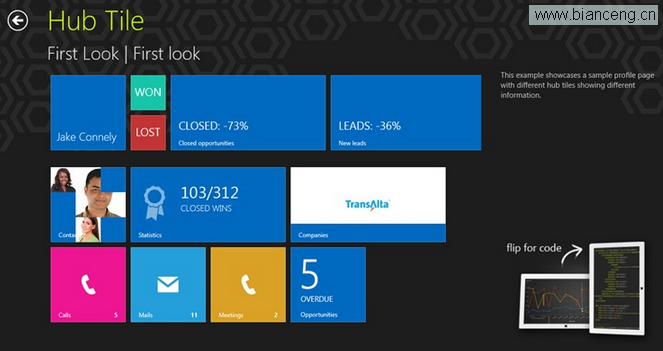
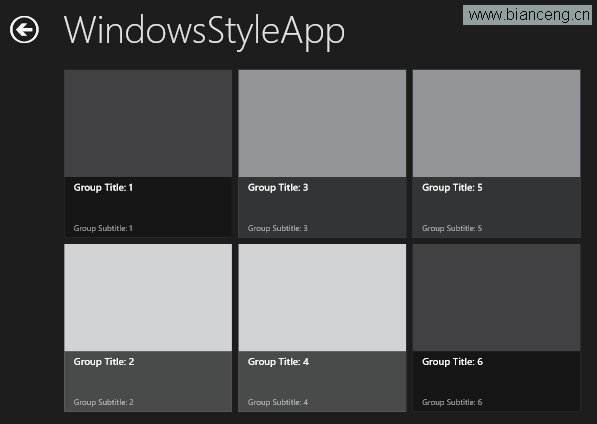
默認樣式代碼生成的應用界面如下:
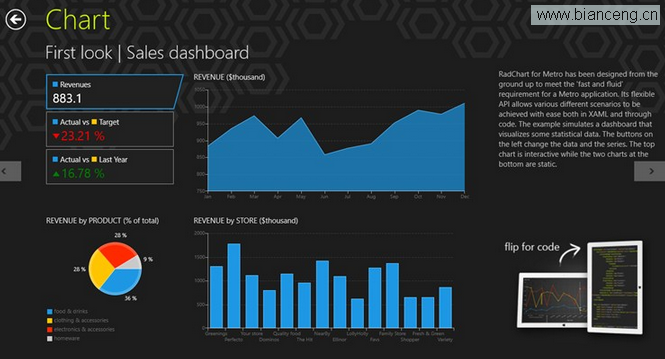
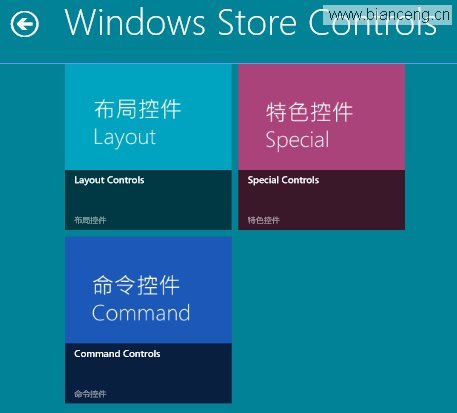
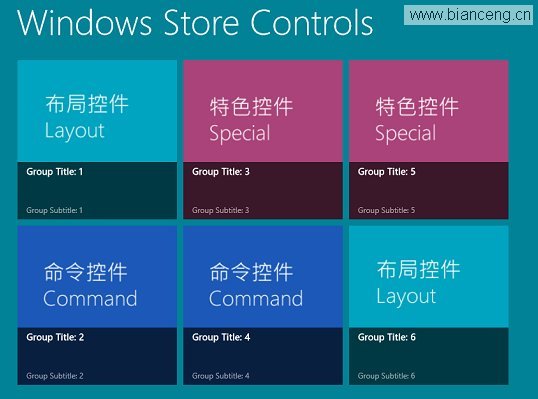
下面我們將進行簡單修改應用樣式,生成新的應用界面如下:
首先修改應用名稱,在ItemsPage.xaml頁面中,Text="{StaticResource AppName}"嘗試從App.xaml中調用應用名稱,
<TextBlock x:Name="pageTitle" Grid.Column="1"

Text="{StaticResource AppName}"

IsHitTestVisible="false" Style="{StaticResource

PageHeaderTextStyle}"/>
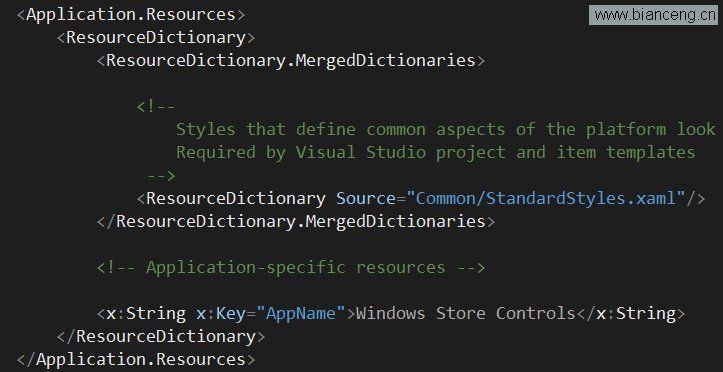
在App.xaml中修改,
<x:String x:Key="AppName">Windows Store

Controls</x:String>
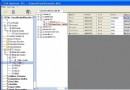
然後進入StandardStyles.xaml文件,通過快速浏覽可以發現代碼中有許多相 關注釋代碼,例如:
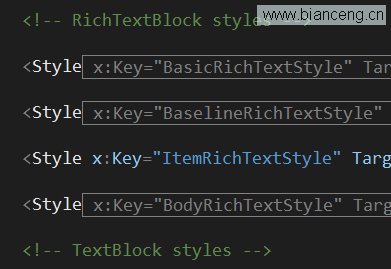
開發人員可以根據需求查找對應控件樣式代碼進行修改。
在StandardStyles.xaml文件中搜索"LayoutRootStyle",該樣式名 是控制布局頁面根樣式代碼,
<Style x:Key="LayoutRootStyle"

TargetType="Panel">
        <Setter Property="Background" Value="

{StaticResource ApplicationPageBackgroundThemeBrush}"/>
        <Setter Property="ChildrenTransitions">
            <Setter.Value>
                <TransitionCollection>
                    <EntranceThemeTransition/>
                </TransitionCollection>
            </Setter.Value>
        </Setter>
    </Style>
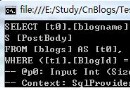
在代碼中,應用背景是由ApplicationPageBackgroundThemeBrush定義,為了 修改應用背景,首先在項目中查找ApplicationPageBackgroundThemeBrush資源, 通過搜索可以發現,在默認模版項目中,沒有 ApplicationPageBackgroundThemeBrush資源定義代碼,這是因為Windows Store 應用默認風格資源是定義保存在本地目錄中, ..\(Program Files)\windows kits\8.0\Include\winrt\xaml\design 目錄,
根據微軟的建議,我們不需要直接修改默認風格資源,而只需要在當前 StandardStyles.xaml文件中重新定義ApplicationPageBackgroundThemeBrush即 可替換默認模板風格。
在StandardStyles.xaml文件中添加以下代碼:
<SolidColorBrush

x:Key="ApplicationPageBackgroundThemeBrush"

Color="#018297"/>
在完成應用背景修改後,我們可以根據上面所訴方法,重新定義應用字體樣式 ,鼠標樣式以及默認按鈕樣式等,添加以下代碼到StandardStyles.xaml文件,
<SolidColorBrush x:Key="ApplicationForegroundThemeBrush"

Color="#FFFFFF"/>

    <SolidColorBrush

x:Key="ApplicationSecondaryForegroundThemeBrush"

Color="#FF991100"/>

    <SolidColorBrush

x:Key="ApplicationPointerOverForegroundThemeBrush"

Color="#AAAAAA"/>

    <SolidColorBrush

x:Key="BackButtonBackgroundThemeBrush"

Color="#00000000"/>

    <SolidColorBrush

x:Key="BackButtonForegroundThemeBrush"

Color="#FFFFFF"/>

    <SolidColorBrush

x:Key="BackButtonPressedBackgroundThemeBrush"

Color="#00000000"/>

    <SolidColorBrush

x:Key="BackButtonPressedForegroundThemeBrush"

Color="#CCCCCC"/>

    <SolidColorBrush

x:Key="BackButtonPointerOverBackgroundThemeBrush"

Color="#00000000"/>

    <SolidColorBrush

x:Key="ListViewItemPlaceholderBackgroundThemeBrush"

Color="#306772"/>
修改Tiles磁片樣式,從ItemPage.xaml中可以看到,ListView是承載磁片綁定 數據的控件,其資源樣式模板使用的Standard80ItemTemplate,
<ListView
            x:Name="itemListView"
            AutomationProperties.AutomationId="ItemsListView"
            AutomationProperties.Name="Items"
            TabIndex="1"
            Grid.Row="1"
            Visibility="Collapsed"
            Margin="0,-10,0,0"
            Padding="10,0,0,60"
            ItemsSource="{Binding Source={StaticResource

itemsViewSource}}"
            ItemTemplate="{StaticResource Standard80ItemTemplate}

"
            SelectionMode="None"
            IsSwipeEnabled="false"
            IsItemClickEnabled="True"
            ItemClick="ItemView_ItemClick"/>
通過在StandardStyles.xaml文件中搜索Standard80ItemTemplate,可以發現 模板是通過圖片的形式控制Tile的背景,所以,我們可以通過修改圖片的方式修 改Tile的背景效果,
<DataTemplate x:Key="Standard80ItemTemplate">
        <Grid Margin="6">
            <Grid.ColumnDefinitions>
                <ColumnDefinition Width="Auto"/>
                <ColumnDefinition Width="*"/>
            </Grid.ColumnDefinitions>
            <Border Background="{StaticResource

ListViewItemPlaceholderBackgroundThemeBrush}" Width="60"

Height="60">
                <Image Source="{Binding Image}"

Stretch="UniformToFill"/>
            </Border>
            <StackPanel Grid.Column="1"

Margin="10,0,0,0">
                <TextBlock Text="{Binding Title}"

Style="{StaticResource ItemTextStyle}"

MaxHeight="40"/>
                <TextBlock Text="{Binding Subtitle}"

Style="{StaticResource CaptionTextStyle}"

TextWrapping="NoWrap"/>
            </StackPanel>
        </Grid>
    </DataTemplate>
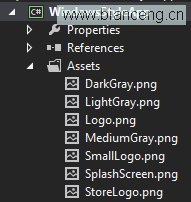
在項目的Assets目錄下,可以找到相關背景圖片,根據需求,我將修改好的圖 片復制覆蓋到當前目錄,
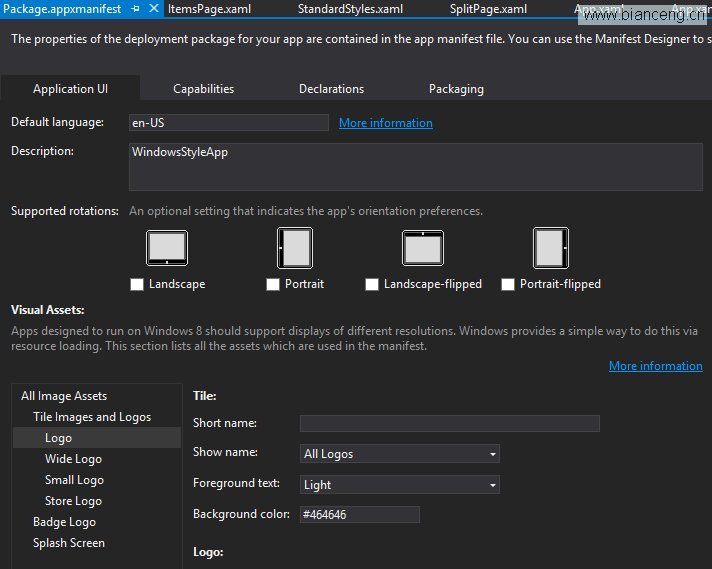
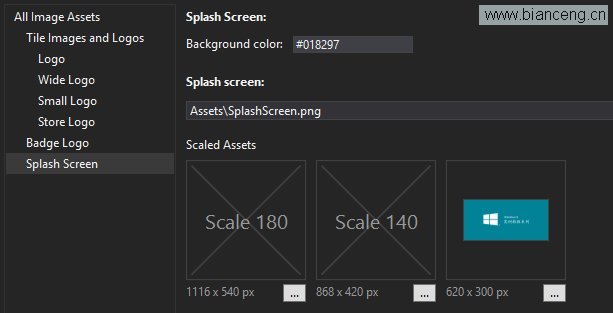
在編譯運行項目前,需要對啟動屏幕進行簡單的背景設置,在項目目錄中,雙 擊”package.appxmanifest“,即可進入應用裝配列表窗口,
在該窗口,點擊”Splash Screen“,在”Background color“中設置背景代碼”#018297“
編譯運行項目,應用界面效果如下:
以上是本篇實例,簡單介紹如何創建自定義應用風格。大家可以根據該方法擴 展修改具體控件樣式模板和風格,相關內容將在後文創建自定義控件時介紹。
本篇實例源代碼
查看本欄目