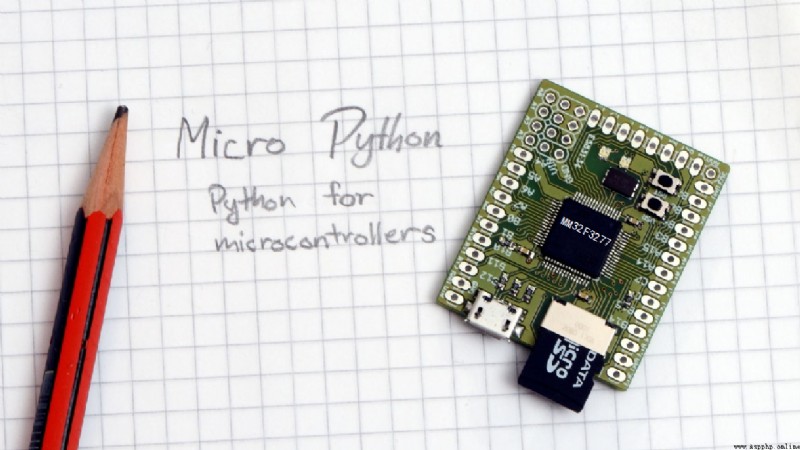
簡 介: 本文給出了 MicroPython內核開發筆記:書內嵌入實驗任務 中的第四章軟件用例部分內容。
關鍵詞:MicroPython,MM32F3277,print
在嵌入式軟件開發中,下載-測試模式是常用的軟件開發方法。首先軟件從最簡單功能編寫完成,然後下載測試,如果功能正常,然後在繼續增加軟件功能,直道軟件開發完畢。使用 print 函數在軟件關鍵節點輸出信息是判斷軟件是否運行正常,檢查軟件運行狀態常用到的方法。除此之外,也可以利用嵌入式開發板上其他信息輸出資源,比如 LED、LCD 、DAC 端口等來測試程序是否運行正常。
在 MicroPython 軟件開發中,使用 print, dir 命令可以幫助我們查看對象屬性以及可以使用的函數。 比如:
from machine import Pin,UART
import machine
import time
print(Pin(1))
print(UART(1))
dir(machine)
dir(time)
上面代碼運行可以獲得 Pin(1),UART(1) 對應的管腳資源,獲得 machine, time 中可以使用的函數。下面是程序運行對應的輸出。
Pin(PE3)
UART(1): baudrate=9600 on RX(PA3), TX(PA2)
['__name__', 'sleep', 'sleep_ms', 'sleep_us', 'ticks_add', 'ticks_cpu', 'ticks_diff', 'ticks_ms', 'ticks_us']
['__name__', 'ADC', 'DAC', 'I2C', 'PWM', 'Pin', 'SDCard', 'SPI', 'SoftI2C', 'SoftSPI', 'Timer', 'UART', 'freq', 'mem16', 'mem32', 'mem8', 'reset']
利用 print 可以查看變量內容以及輸出計算結果。 比如下面小程序可以輸出列表 a 的內容以及打印出 楊輝三角形的陣列。
a = list(range(10))
print(a)
b = [1]
for i in range(10):
strout = ' '.join([str(s) for s in b])
print(' '*((32-len(strout))//2) + strout)
b = [1] + [b[n]+b[n+1] for n in range(len(b)-1)] + [1]
程序運行的結果如下:
[0, 1, 2, 3, 4, 5, 6, 7, 8, 9]
1
1 1
1 2 1
1 3 3 1
1 4 6 4 1
1 5 10 10 5 1
1 6 15 20 15 6 1
1 7 21 35 35 21 7 1
1 8 28 56 70 56 28 8 1
1 9 36 84 126 126 84 36 9 1
MicroPython 利用 REPL 開發機制,也體現了這種交互式開發的特點。巧妙利用 REPL 建立程序與外部練習,可以加快程序的開發。
程序使用 print 函數可以輸出信息,但如果希望獲得用戶通過 REPL 輸入的信息則需要另外的方案。REPL 通常情況下使用了單片機硬件 UART0,最直接的想法就是通過 UART0 讀取用戶通過 REPL 發送的字符。但很遺憾,MicroPython屏蔽了 UART0 的 read 命令。
比如下面程序演示了通過 UART0 讀取用戶輸入字符的過程。
from machine import UART,Pin
import time
uart0 = UART(0,115200)
print(uart0)
dir(uart0)
while True:
if uart0.any() > 0:
inb = uart0.read(uart0.any())
print(inb)
time.sleep_ms(200)
下面是程序執行時輸出信息。當用戶在 REPL 交互窗口中鍵入任何字符,程序判斷 uart0 存在可以接收的字符,執行後面的 read 語句時,可以看到出現 OSError : UART(0) can’t read 的錯誤提示。
UART(0): baudrate=115200 on RX(PA10), TX(PA9)
['__next__', 'any', 'read', 'readinto', 'readline', 'write', 'PARITY_EVEN', 'PARITY_NONE', 'PARITY_ODD', 'init']
Traceback (most recent call last):
File "<stdin>", line 19, in <module>
OSError: UART(0) can't read
>>>
解決 MicroPython 內核禁止讀取 UART0 的問題,可以使用 MicroPython 中的內存直接訪問函數 mem32,mem16,mem8。關於 MicroPython 內存直接訪問將會在後面第十七章專門進行講述。下面給出基於 mem32 讀取用戶 REPL 輸入信息的方法。
下面程序中使用 mem32 直接訪問 UART1_RDR,可以讀取當前輸入的字符,然後利用 init 函數對串口重新進行初始化。主程序通過循環調用 procREPL 函數,讀取用戶通過 REPL 串口發送的字符串,知道獲得回車符 b‘\r’,便將接收到的字符串使用函數 f(s) 完成處理。
from machine import UART,mem32
from micropython import const
APB2PERIPH_BASE = const(0x40010000)
UART1_BASE = const(APB2PERIPH_BASE + 0x3800)
UART1_RDR = const(UART1_BASE + 1*4)
UART1_CSR = const(UART1_BASE + 2*4)
uart0 = UART(0, 115200)
replbuf = bytes(0)
def procREPL(f):
global replbuf
if uart0.any() > 0:
replbuf += bytes([mem32[UART1_RDR]])
uart0.init(115200)
if replbuf[-1:] == b'\r':
f(replbuf[:-1])
replbuf = bytes(0)
def f(s):
print(s)
while True:
procREPL(f)
程序運行後,在 REPL 輸入窗口輸入任何字符串,按動回車鍵之後,程序便顯示用戶剛剛輸入的字符串。
b'Test REPL'
b'Hello world.'
基於這個程序框架,可以開發出很多交互式程序應用。
將上面交互代碼中間部分修改一下,可以完成用戶通過 REPL 輸入命令,動態改變 PLUS-F3270 實驗板上 三色LED顏色。
代碼修改包括:
led1 = Pin('PA1', Pin.OUT_PUSHPULL, value=1)
led2 = Pin('PA2', Pin.OUT_PUSHPULL, value=1)
led3 = Pin('PA3', Pin.OUT_PUSHPULL, value =1)
def f(s):
sn = int(s)
if sn%10 == 1: led1(0)
else: led1(1)
sn //= 10
if sn%10 == 1: led2(0)
else: led2(1)
sn //= 10
if sn%10 == 1: led3(0)
else: led3(1)
程序運行後,用戶輸入三個數字分別控制三個 LED 點亮狀態。 111 表示全部點亮;000 表示全部熄滅;001 表示點亮第一個 LED, 其它功能以此類推。
本文給出了 MicroPython內核開發筆記:書內嵌入實驗任務 中的第四章軟件用例部分內容。
下面是最後一個測試程序的完整代碼。
from machine import UART,mem32,Pin
from micropython import const
APB2PERIPH_BASE = const(0x40010000)
UART1_BASE = const(APB2PERIPH_BASE + 0x3800)
UART1_RDR = const(UART1_BASE + 1*4)
UART1_CSR = const(UART1_BASE + 2*4)
uart0 = UART(0, 115200)
replbuf = bytes(0)
def procREPL(f):
global replbuf
if uart0.any() > 0:
replbuf += bytes([mem32[UART1_RDR]])
uart0.init(115200)
if replbuf[-1:] == b'\r':
f(replbuf[:-1])
replbuf = bytes(0)
led1 = Pin('PA1', Pin.OUT_PUSHPULL, value=1)
led2 = Pin('PA2', Pin.OUT_PUSHPULL, value=1)
led3 = Pin('PA3', Pin.OUT_PUSHPULL, value =1)
def f(s):
sn = int(s)
if sn%10 == 1: led1(0)
else: led1(1)
sn //= 10
if sn%10 == 1: led2(0)
else: led2(1)
sn //= 10
if sn%10 == 1: led3(0)
else: led3(1)
while True:
procREPL(f)
■ 相關文獻鏈接: