There are currently two servers ,ip Respectively 192.168.171.81 and 192.168.171.25, We need to build a es colony .
First download elasticsearch-8.2.0-linux-x86_64.tar.gz, Copy to these two servers respectively , unpack .
It should be noted that , We need to start Elasticsearch Before service , You need to configure elasticsearch.yml.
Modify on the first server config/elasticsearch.yml, The contents are as follows :
network.host: 192.168.171.81
transport.host: 192.168.171.81
cluster.name: my_cluster # Don't write , The default is elasticsearch
node.name: node1 # Don't write , The default is the current server name
# node.roles: [ data, master ] # Don't write , The default is cdfhilmrstw
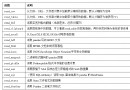
The list of roles is as follows :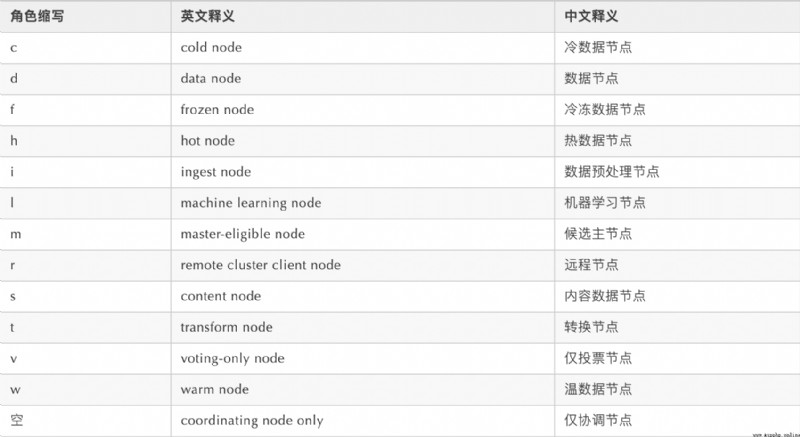
Then modify the file config/jvm.options, The contents are as follows :
-Xms4g
-Xmx4g
Start the first server es:./bin/elasticsearch
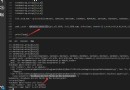
The following , Indicating successful startup :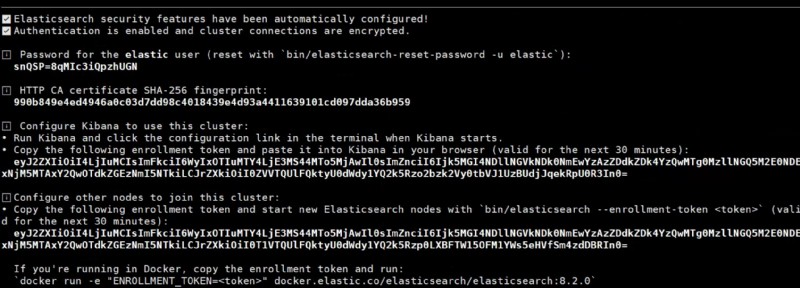
The default password is a little hard to remember , We change the password :./bin/elasticsearch/bin/elasticsearch-reset-password -u elastic -i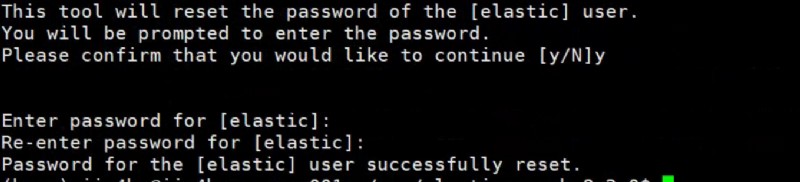
Verify success :curl --insecure -u elastic:123456 -XGET "https://192.168.171.81:9200/", among 123456 It's the password I just set , Return as follows :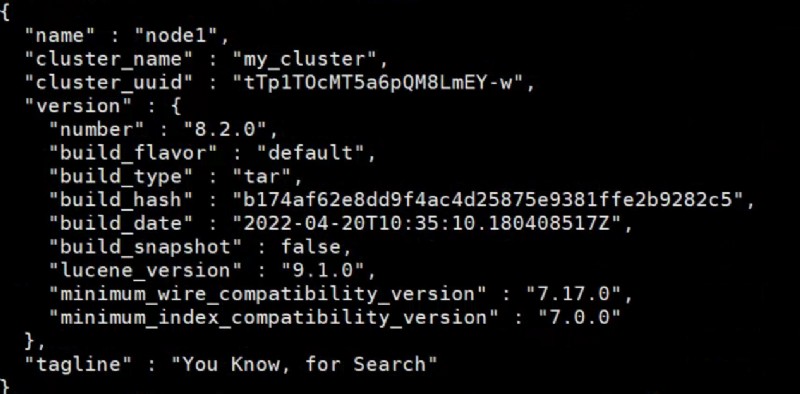
This indicates that the node is started normally .
Then check the cluster nodes :curl --insecure -u elastic:123456 -XGET "https://192.168.171.81:9200/_cat/nodes"
You can see that there is only one node at present .
At present elasticsearch.yml The file is automatically updated :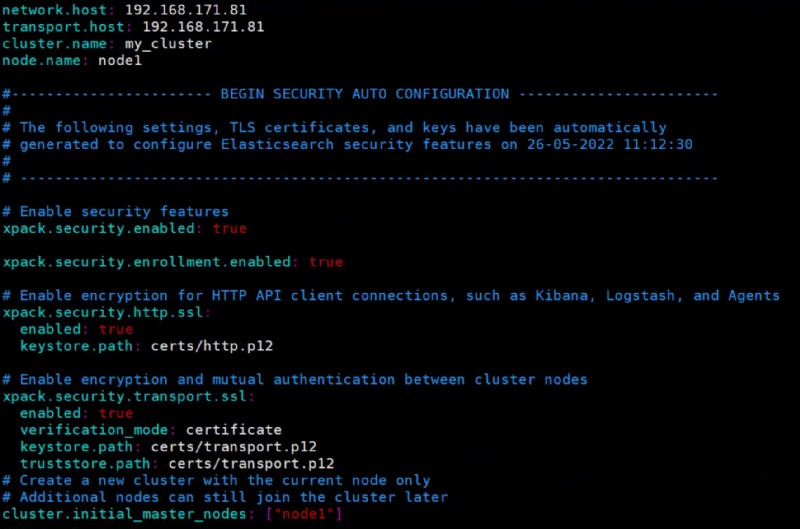
If you want to add a new server , Need to generate a token, With this token A new node can be automatically added to the cluster ,./bin/elasticsearch-create-enrollment-token -s node

Next, configure the second server . It is the same as the first one , modify ./config/elasticsearch.yml
network.host: 192.168.171.25
transport.host: 192.168.171.25
cluster.name: my_cluster
node.name: node2
node.roles: [ data, master ] # Don't write , The default is cdfhilmrstw
modify config/jvm.options:
-Xms4g
-Xmx4g
And then we'll talk about adding... To this node es In the cluster :./bin/elasticsearch --enrollment-token eyJ2ZXIiOiI4LjIuMCIsImFkciI6WyIxOTIuMTY4LjE3MS44MTo5MjAwIl0sImZnciI6Ijk5MGI4NDllNGVkNDk0NmEwYzAzZDdkZDk4YzQwMTg0MzllNGQ5M2E0NDExNjM5MTAxY2QwOTdkZGEzNmI5NTkiLCJrZXkiOiI0dVVjQUlFQktyU0dWdy1YSXlfVTpLYjBWaW1zZ1FkZTdxQ3dHamZJYUNnIn0=
And then display on the first node terminal :
Check node2 The state of :curl --insecure -u elastic:123456 -XGET "https:/192.168.171.25:9200/"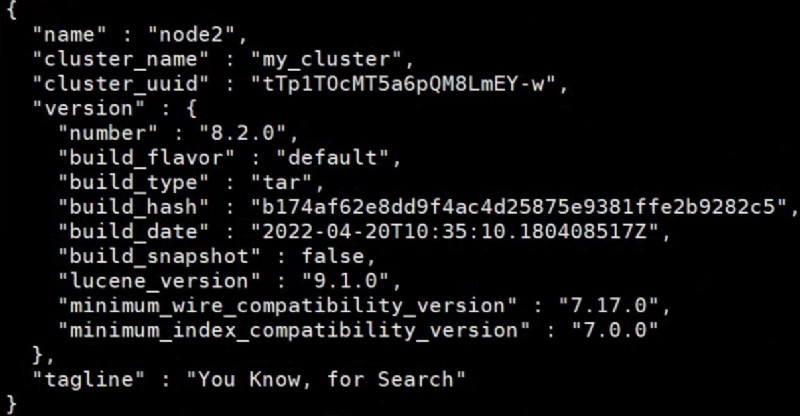
You can see node2 And successfully started .
see node2 Configuration file for elasticsearch.yml: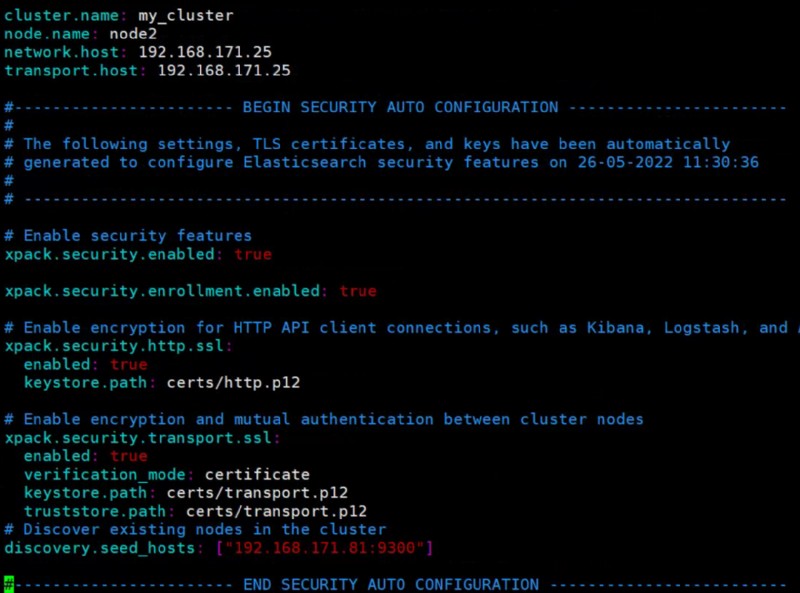
Instruction use enrollment-token It can be configured automatically . Not next time .
Check the cluster nodes :
You can see that there are two nodes in the cluster .
install pip install elasticsearch
Check version :pip list | grep elasticsearch
elasticsearch 8.2.0
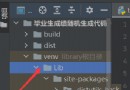
take es Nodes in the config/cert/http_ca.crt Copy to local .
from elasticsearch import Elasticsearch
es = Elasticsearch('https://elastic:[email protected]:9200',
ca_certs = './http_ca.crt',
verify_certs=True)
data = {
"name": " Extinction teacher ",
"age": "49",
"sex": "f",
"address": " Mount Emei ",
"sect": " Emei ",
"skill": " net ",
"power": "70",
"create_time": "2022-05-08 23:16:53",
"modify_time": "2022-05-08 23:16:59"
}
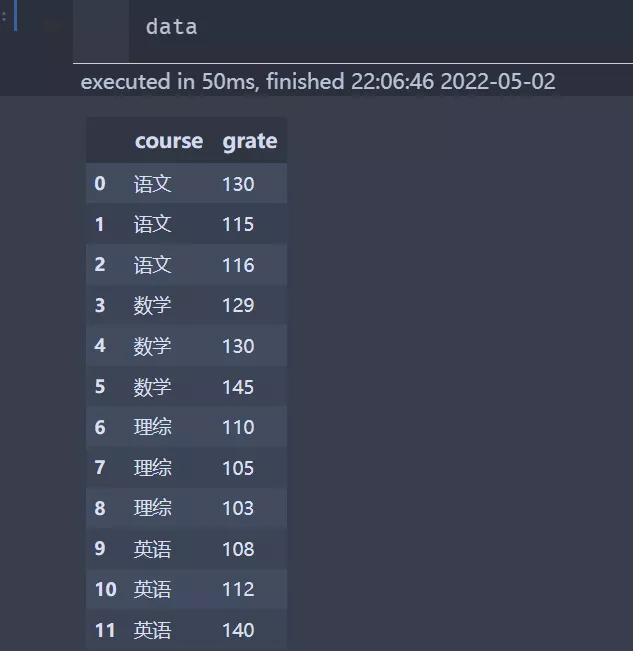
resp = es.index(index="example_index", id=1, body=data)
print(resp)
You can return that the data was added successfully .