Chen Tuo 2022/06/11-2022/06/12
stay 《 use MicroPython Development ESP32- Firmware burning and testing 》
https://zhuanlan.zhihu.com/p/527291091
https://blog.csdn.net/chentuo2000/article/details/125231902?spm=1001.2014.3001.5501
In this article, we have been in ESP32 It's finished MicroPython The firmware , And with the help of the serial port debugging assistant, I did some simple tests with the command , For further use MicroPython Conduct ESP32 Development also requires a convenient development tool .
Thonny It is suitable for beginners Python IDE (Python Integrated development tools ) Programming tools .
Let's talk about using micropython + Thonny Conduct ESP32 Development .
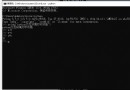
use USB Switch to serial connection PC and ESP32 Development board , View port number :
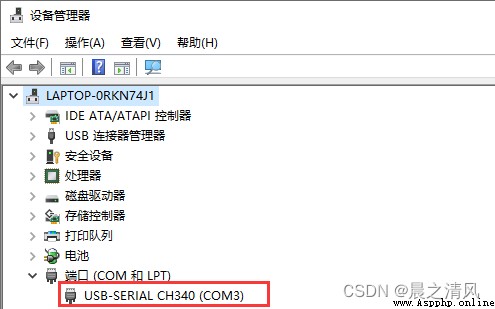
The serial port number is COM3.
https://thonny.org/

We are Win10 Development under the system , choice Windows:

The current version is 3.3.13.
double-click thonny-3.3.13.exe
Default installation all the way .
function Thonny, Choice language
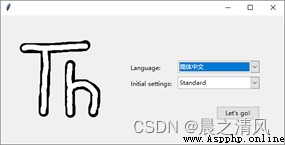
We choose simplified Chinese .
Let’s go!
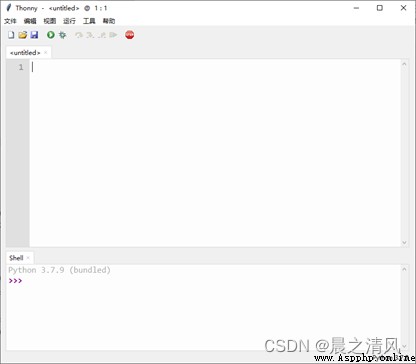
Get into Thonny Interface
Thonny We choose to support multiple chips ESP32.
Tools > Set up > decoder
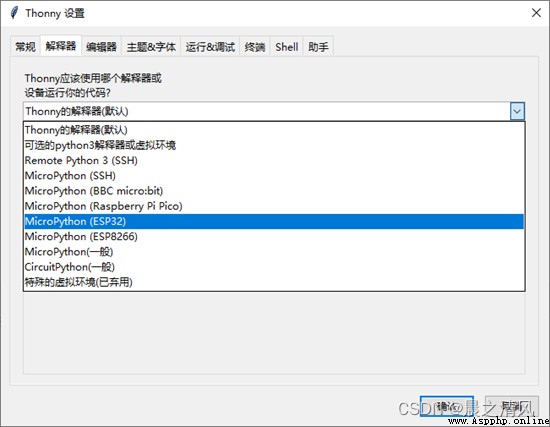
choice MicroPython(ESP32), And select serial port number :
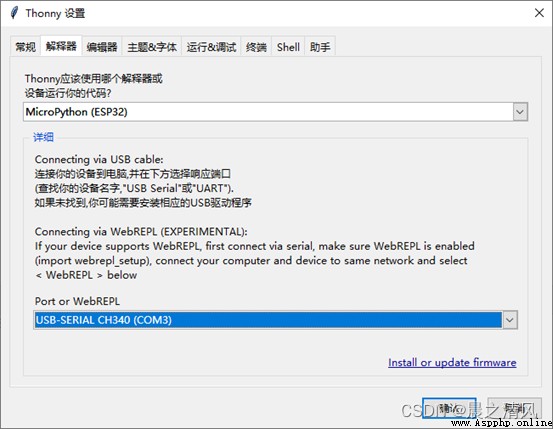
confirm
Shell Window response :
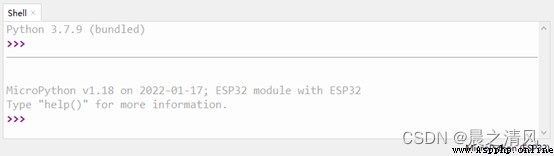
thus Thonny It's too late to install .
Shell Windows are used for human-computer interaction , We can enter commands here , control ESP32.
Enter the command print('Hello World'), enter :

ESP32 Respond to Hello World
There is a blue one on the development board LED The lamp is connected to the pin 2 On .
Enter the command :
import machine # Import machine modular
pin2 = machine.Pin(2, machine.Pin.OUT) # use machine Modular pin Function setting pin 2 For export .
pin2.value(1) # Insert the pin 2 Set to high level
You can see the blue LED The light is on .
Enter the command :
pin2.value(0) # Insert the pin 2 Set to low level
You can turn off the blue LED The lamp .

explain :
1) stay Python In the syntax # Symbols are annotators , Used to describe the function of the program ,# The part after the number is not executed .
2) High level , Low level . In digital logic circuits , Low level means 0, High level means 1. When the pin output is high , The voltage on the pin is the supply voltage of the chip , It's here LED Voltage is applied at both ends ,LED There is an electric current flowing through , The light goes on ; When the pin output is low , The voltage on the pin 0, Add to LED The voltage at both ends disappears , Then the light goes out ,
Command interaction can only do some simple operations , For the programming work of replication, we need to write Python Program .
Computer languages are divided into compiled languages and interpreted languages . Compiled languages are common C、C++, Explanatory languages are common Java、Python.
Programs written in interpretive languages are often called script programs , therefore Python The program is called Python Script program .Python The extension of the script file is .py.
We turn on and off LED The command of the lamp is converted into py Program files .
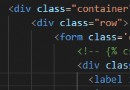
stay Shell Above the command window is the program editing window , We write here Python Script program .
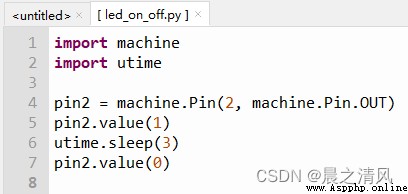
We write the following program :
import machine
import utime
pin2 = machine.Pin(2, machine.Pin.OUT)
pin2.value(1)
utime.sleep(3)
pin2.value(0)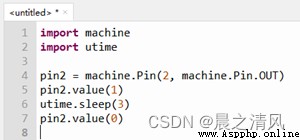
The difference from the command mode is that we add delay , The delay function is in the module utime in , Use the delay function , First import utime modular import utime
utime.sleep(3) Time delay 3 second .
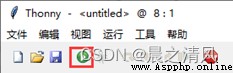
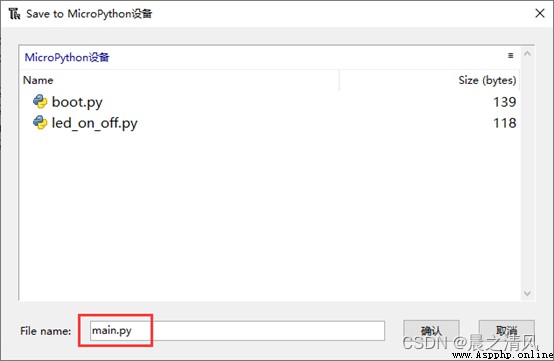
Click the run button , The program save location window pops up :
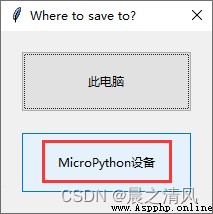
Select save program to MicroPython equipment .
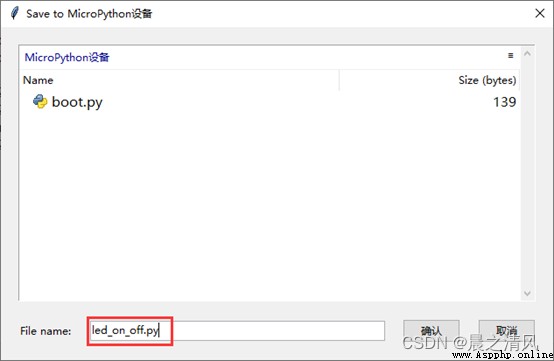
There is already a program boot.py, This is the system startup program written in the previous section .
Give our program a name led_on_off.py.
confirm .
You can see LED The light is on 3 It turns off automatically after seconds .
stay Shell There is a prompt for program running in the window
Because the program has been written ESP32, You can run it many times in the future
The saved program files can be used repeatedly .
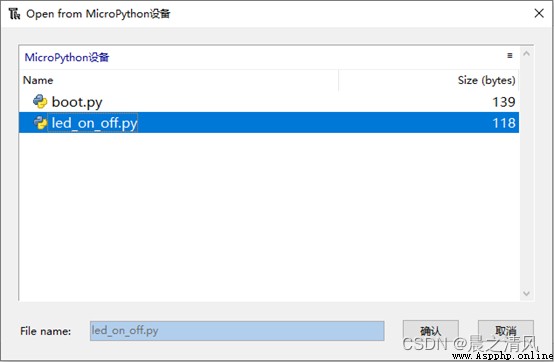
Select... From the menu next time you start the machine : file > open
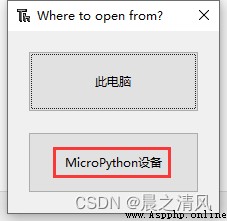
choice MicroPython equipment :
confirm , You can open the file again led_on_off.py.
The above program runs under the control of the development environment , As a product program, it needs to be separated from the development environment , Power on for automatic operation .
This is easy to do , We just put the program name led_on_off.py Change it to main.py That's all right. .
main.py It is the starting point of the user program , When powered on, the system will automatically find main.py, And load and run .
file > Save as
choice MicroPython equipment :
confirm .
Now press... On the development board RST key , Or power on again , The program will run automatically .
Right click in the upper window led_on_off.py
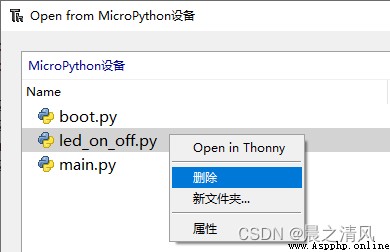
Then click delete .