Simple popular science :CPU Suitable for serial computing , Good at logic control .GPU Good at high-intensity parallel computing , Apply to AI Algorithm training and learning GPU Teaching focuses on operations , therefore GPU It is often used in some deep learning projects , Want to use GPU To run deep learning (GPU Speed up ), Some prerequisites are required
- The machine has GPU The graphics card , And install GPU Driver. ;
- install GPU Using environment of ,CUDA etc. ;
- open nvidia-smi Medium PM attribute ;
- Specified in the program GPU equipment ;
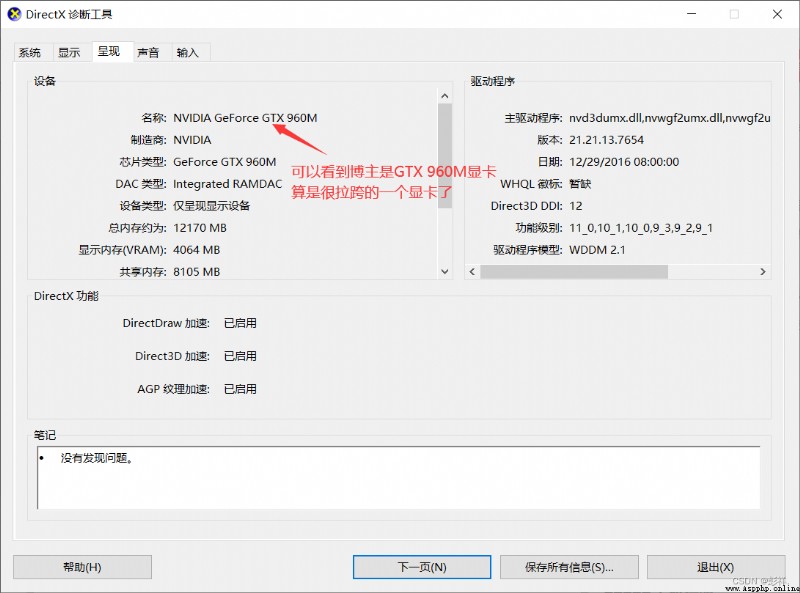
First, let's take a look at our own graphics card ,win+R Input dxdiag Check the computer information 
Or we can do it on my computer Right click : management 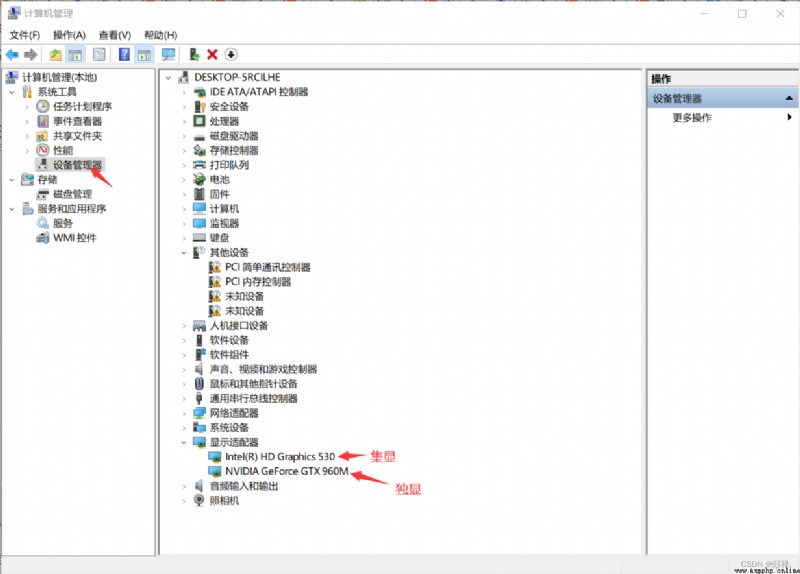
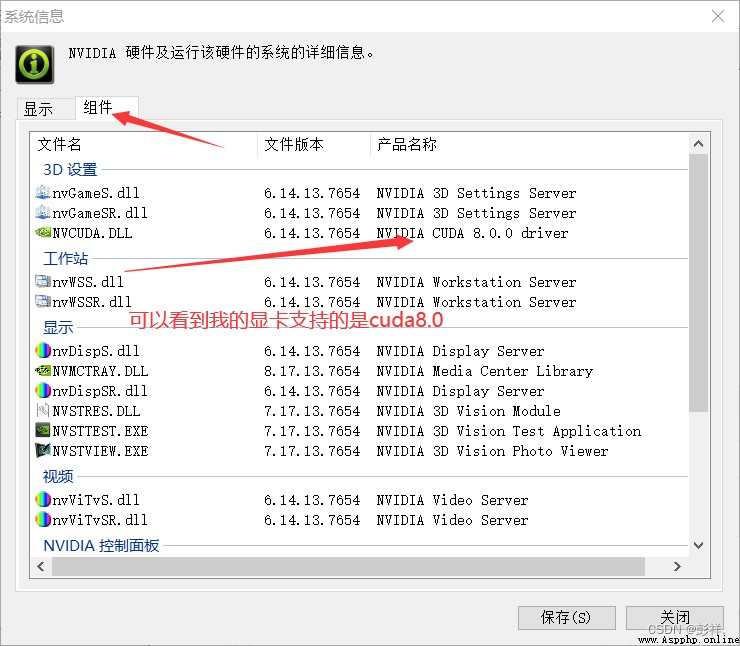
At the same time, the model of our graphics card shown here also indicates that our computer has installed the corresponding graphics card driver
When we know the model of our graphics card, we enter it in the browser :
Graphics card model +SPECIFICATION
To see if our graphics card supports cuda, Then we have to determine what it supports cuda edition :
Here is a brief introduction CUDA:
CUDA yes NVIDIA Launched for home GPU The framework of parallel computing , in other words CUDA Only in NVIDIA Of GPU Up operation , And only when the computing problem to be solved is a large number of parallel computing can play CUDA The role of .
In addition, we have to install CUDNN:
CUDNN(CUDA Deep Neural Network
library): yes NVIDIA The acceleration library for deep neural network is built , It's a deep neural network GPU Acceleration Library . If you want to use GPU Training models ,cuDNN It's not necessary , But we usually use this acceleration library .
Desktop right click , open NVIDIA Control panel 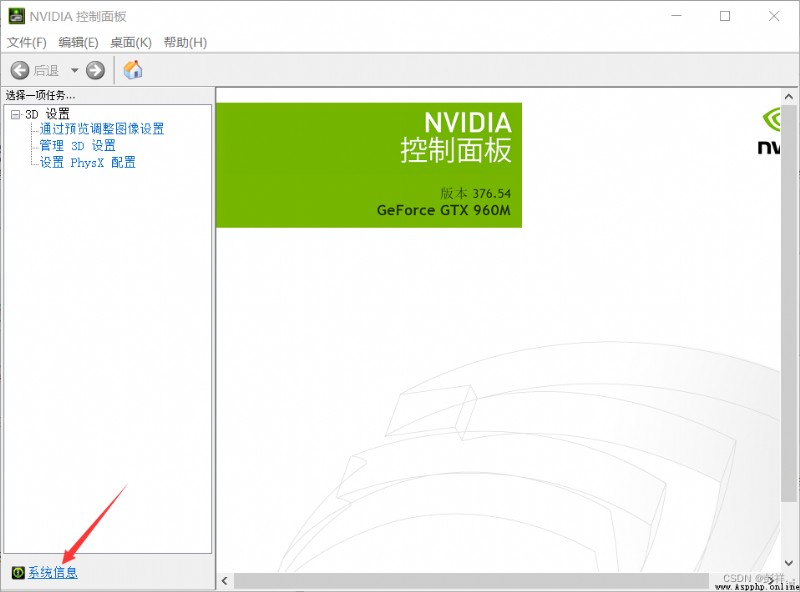
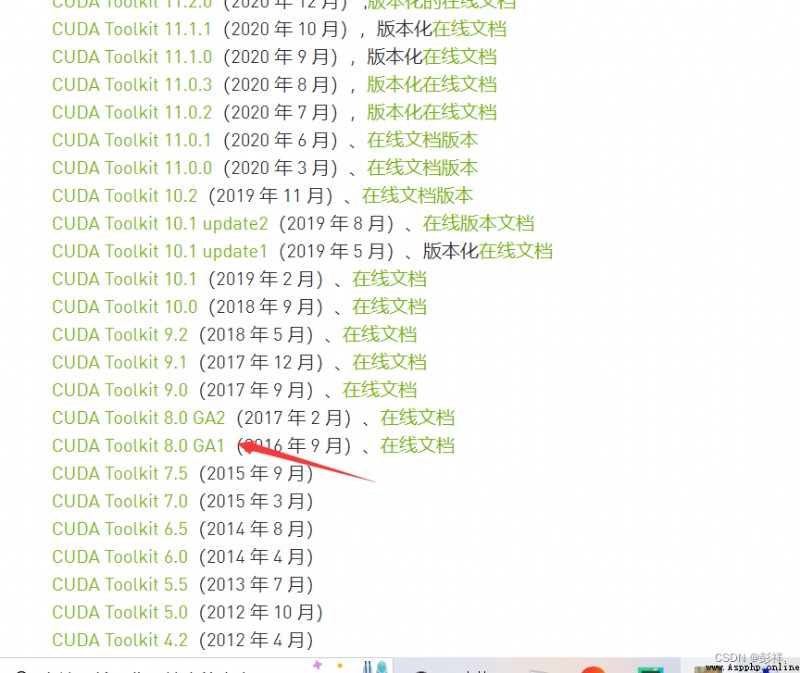
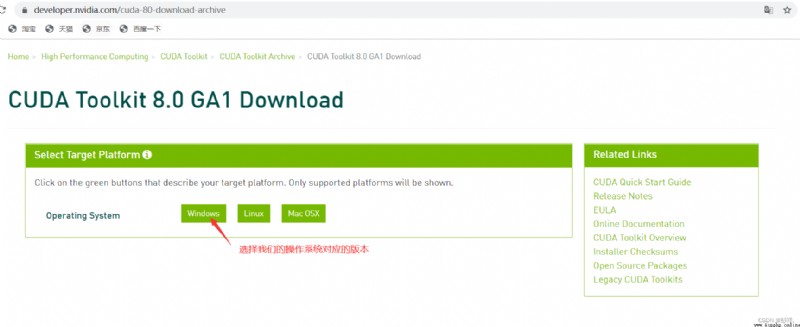
Go to CUDA Download the corresponding system
https://developer.nvidia.com/cuda-toolkit-archive
Find our matching version
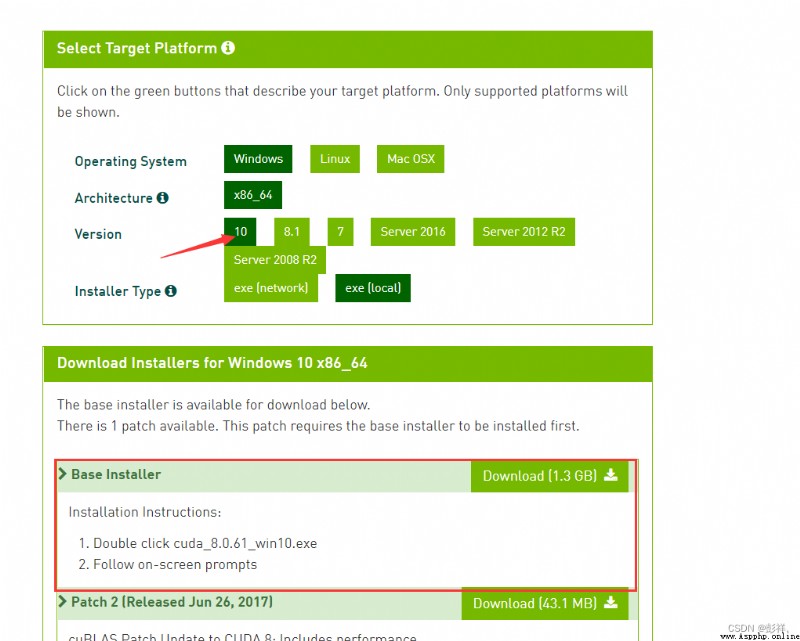
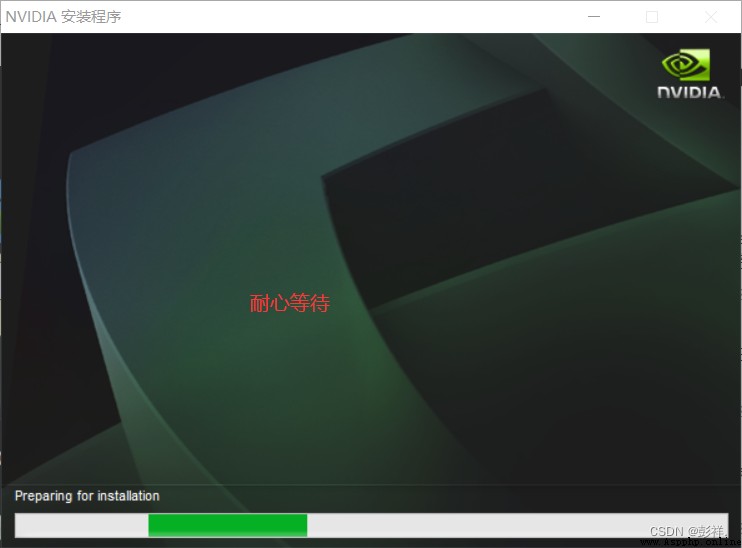
Here we need to wait
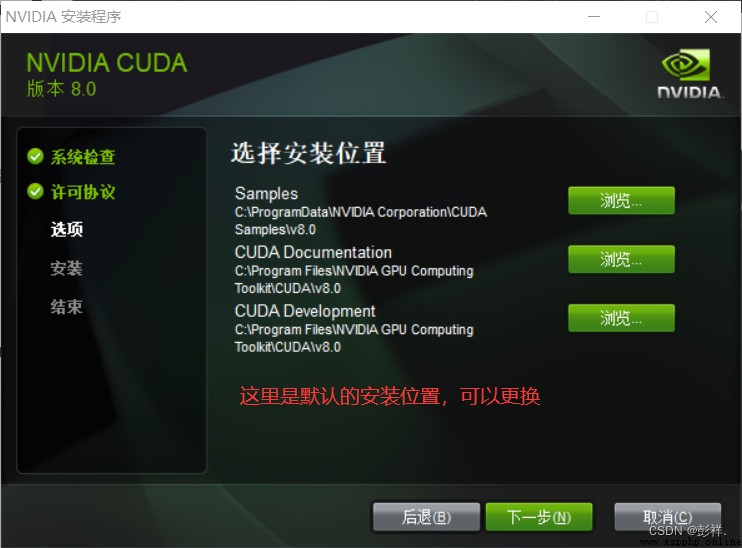
After downloading successfully, open , Here is the extracted directory , Try not to change , It will be automatically cleared after decompression 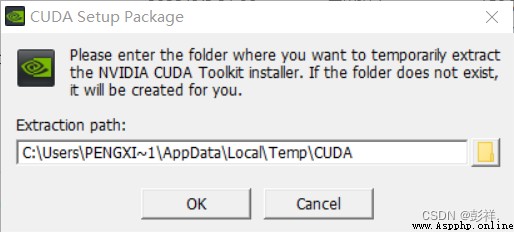
Wait for the progress bar to finish 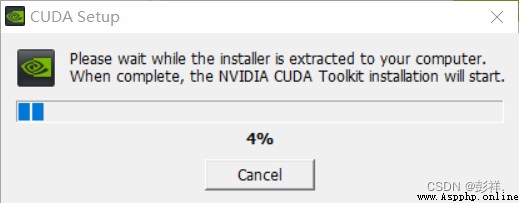
I changed it myself 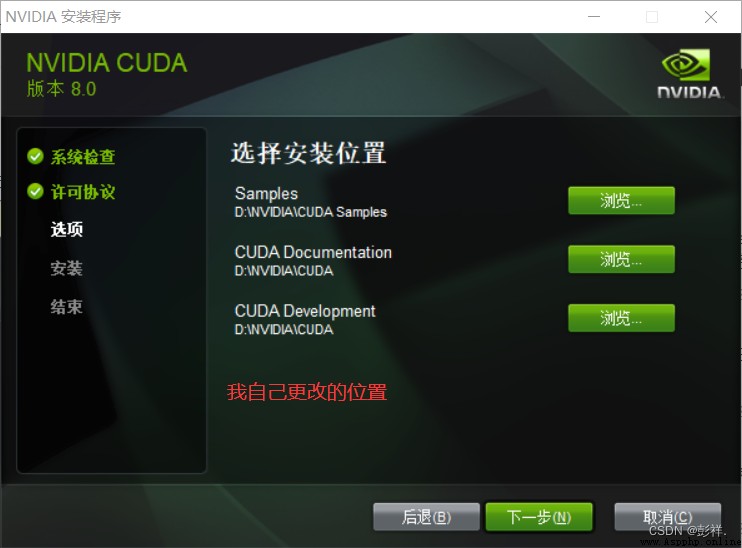
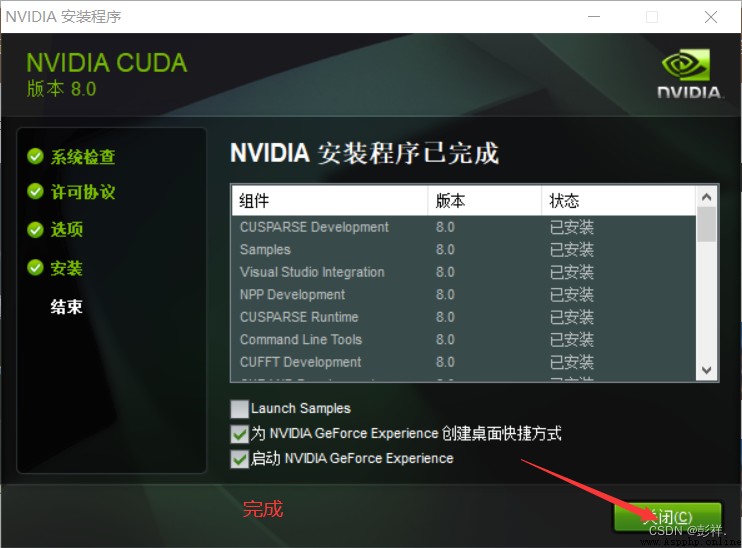
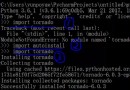
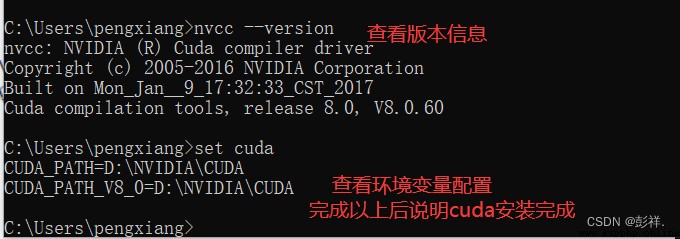
 function cmd, Input nvcc --version You can see the version number ;
set cuda, You can see CUDA Set environment variables .
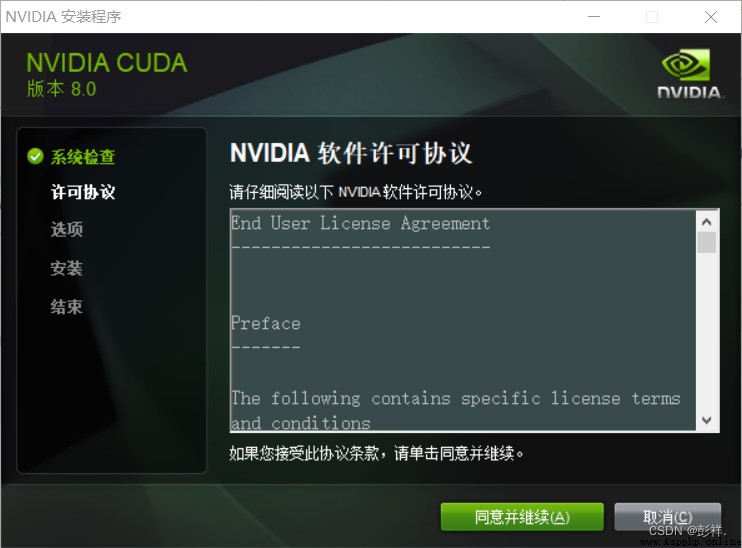
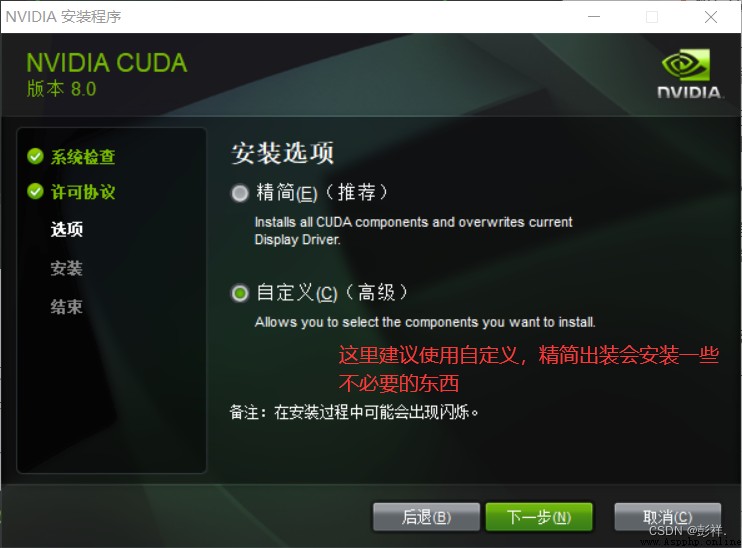
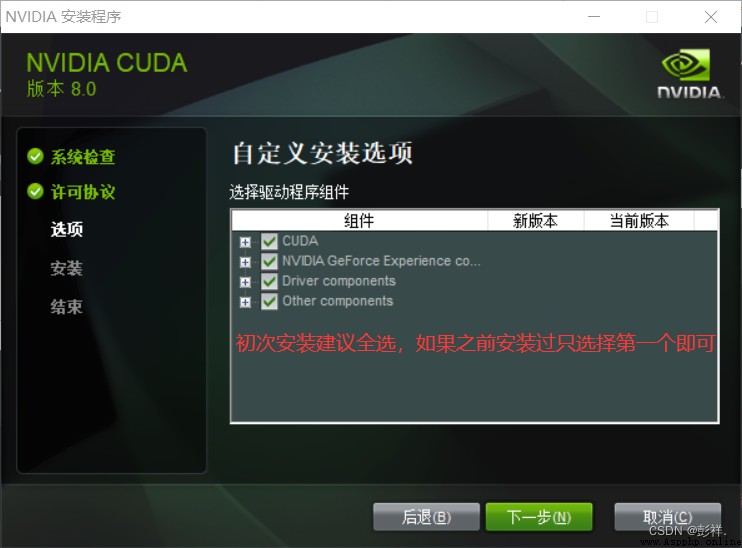
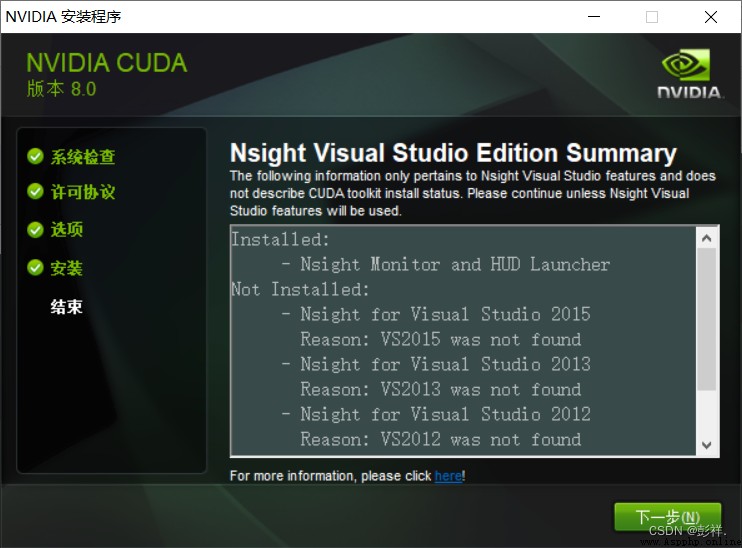
It's necessary to say 7 once :
NVIDIA Video card driver and CUDA It is not a one-to-one correspondence ,CUDA It's essentially a toolkit , So I can install many different versions of CUDA tool kit , For example, the computer can be installed at the same time
CUDA Multiple versions of . In general , I just need to install the latest version of the graphics driver , And then choose according to your choice CUDA The kit will do , But due to the use of offline CUDA Always tied CUDA And drivers , So you're using multiple CUDA Do not choose to install offline CUDA 了 , Otherwise, different graphics card drivers will be installed each time , It's not very good , We directly install a new version of the graphics card driver , Then install different versions online CUDA that will do .
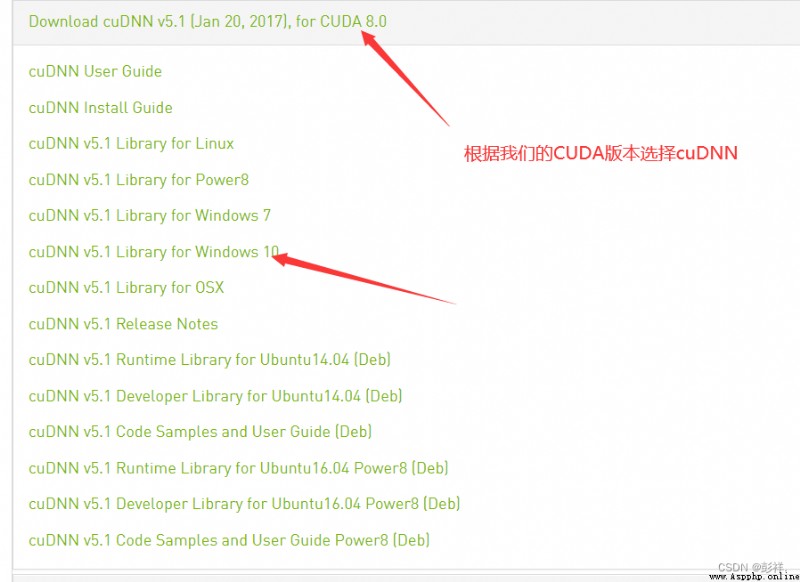
Download address
https://developer.nvidia.com/rdp/cudnn-archive
After downloading, you will get a compressed package 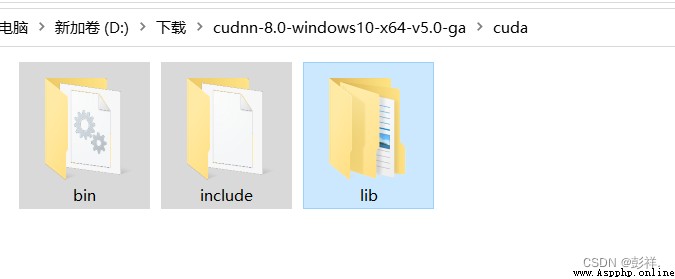
We copy and paste these three folders into our cuda Installation directory 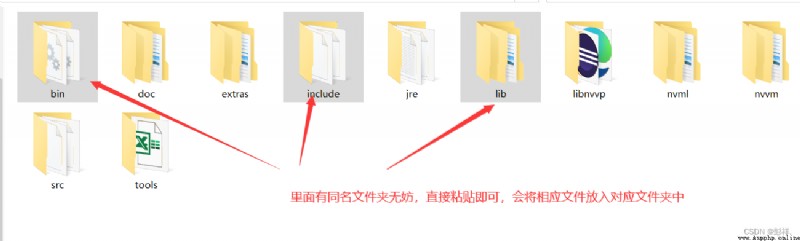
Now you can understand ,cuDNN In fact, that is CUDA Just a patch of , Optimized for deep learning operations . Then set the environment variable 
When the configuration is complete , We can verify that the configuration is successful , The main use of CUDA Built in deviceQuery.exe and bandwithTest.exe:
First win+R start-up cmd,cd Go to... In the installation directory …\extras\demo_suite, And then execute separately bandwidthTest.exe and deviceQuery.exe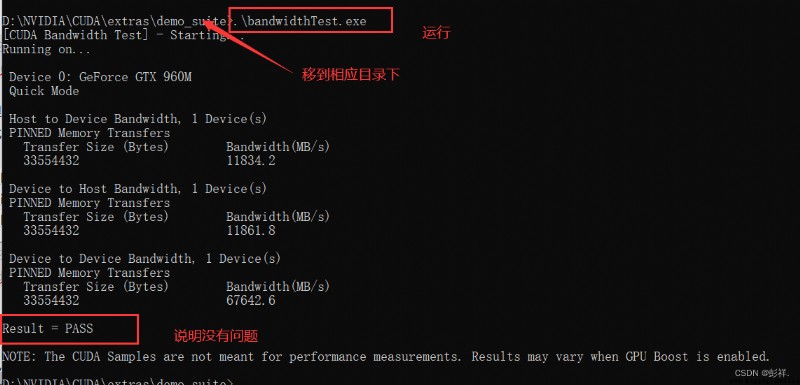
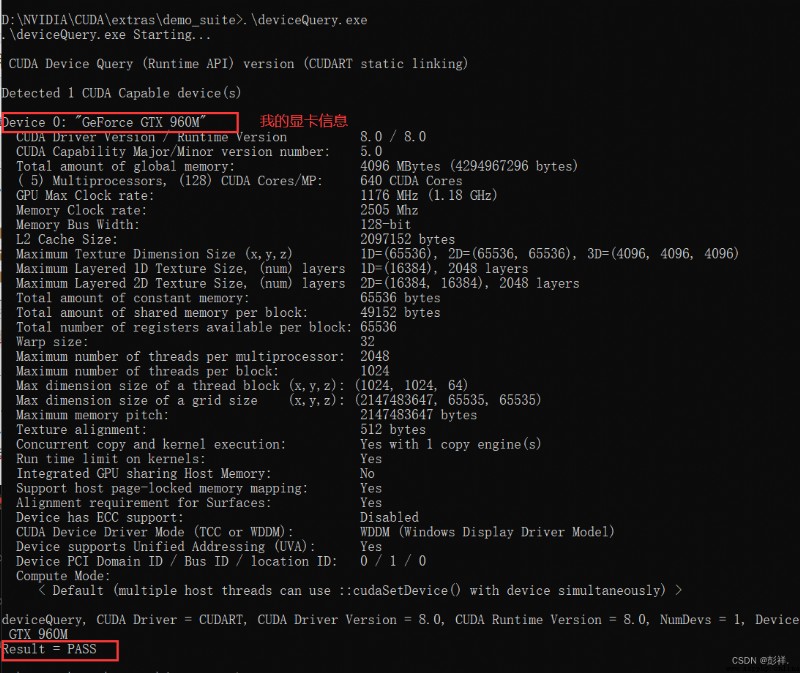
Come here , our cuDNN The configuration is successful
Then we can restart the computer , The test was successful .