1. Creating a virtual environment
2. Activate the virtual environment
3. install Django
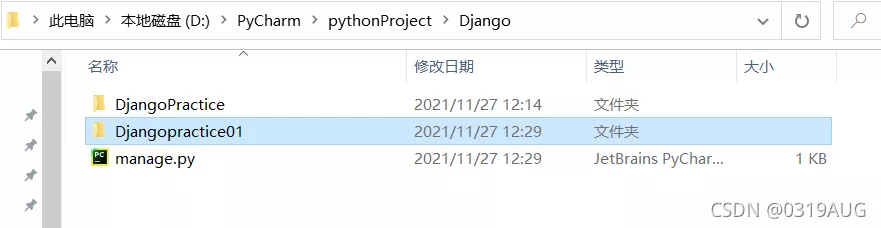
4. stay Django Create project under
5. Create database
6. Check out the project
7. Create application
7. 1. Activate the model
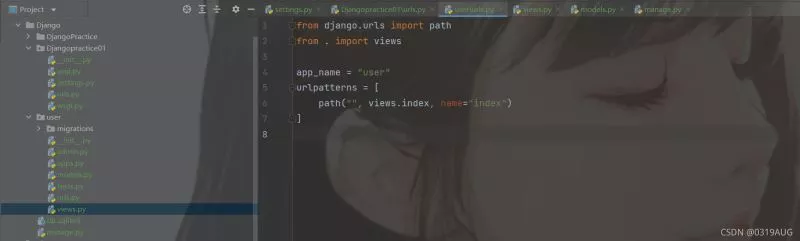
8. Definition URL
summary
1. Creating a virtual environmentFirst create a new folder
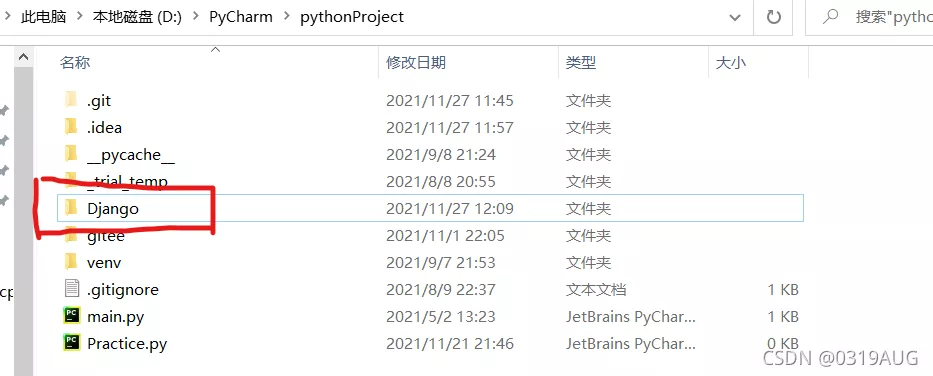
stay PyCharm Switch to this folder in the terminal , Input python -m venv Environment name Creating a virtual environment
At this time, the folder named DjangoPractice Folder

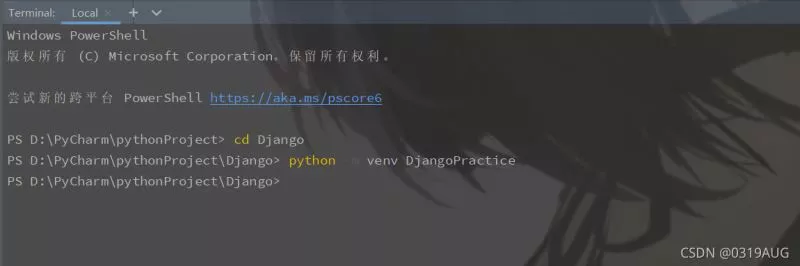
Input in the terminal Environment name \Scripts\activate Activate the environment , To stop the virtual environment, you can enter deactivate
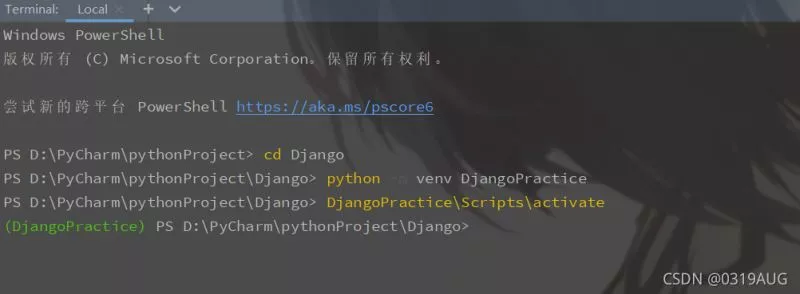
Enter pip install django

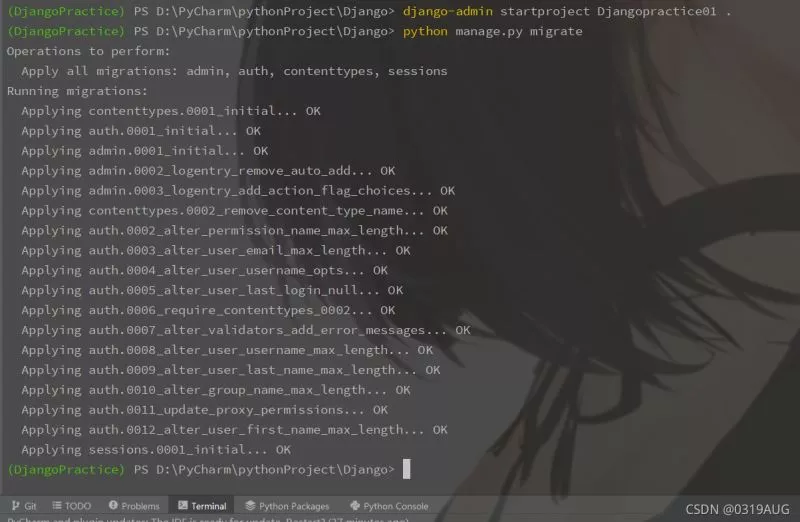
Input django-admin startproject Project name . ( Don't forget this )
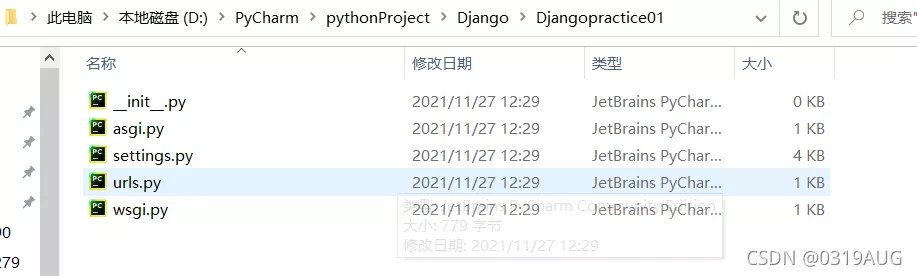
At this time, the project has been created under the folder
Input python manage.py migrate
Input python manage.py runserver
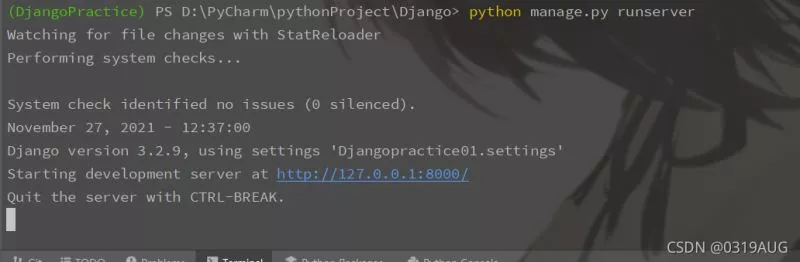
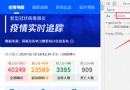
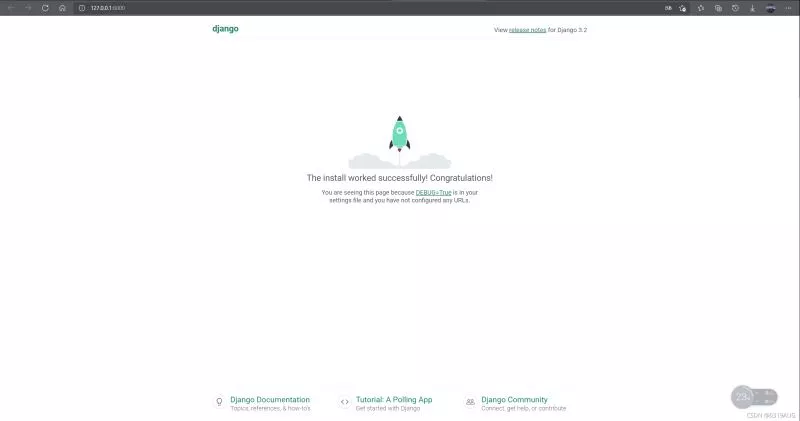
Enter the browser and open the website to see the following figure
If you want to change the page to Chinese , Can be in settings.py file
LANGUAGE_CODE = 'en-us'TIME_ZONE = 'UTC'It is amended as follows
LANGUAGE_CODE = 'zh-hans'TIME_ZONE = 'Asia/Shanghai'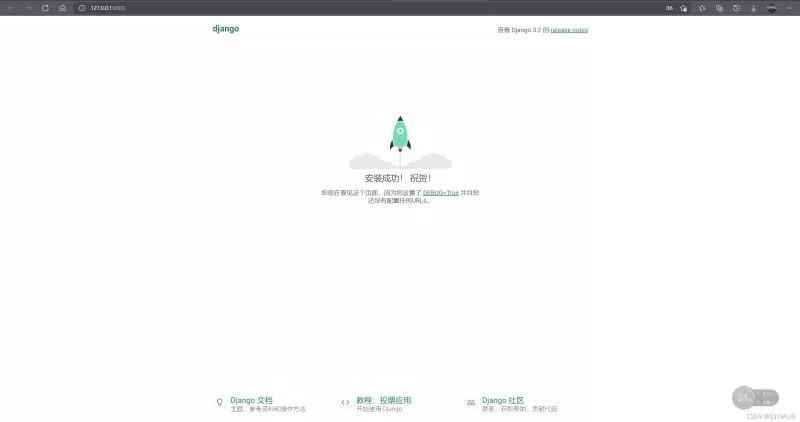
Open a new terminal window , Activate the virtual environment , perform startapp command
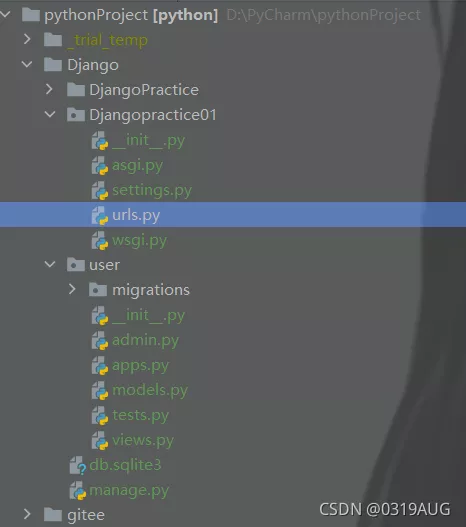
After the execution, you will find that there are more user Folder
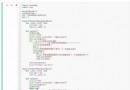
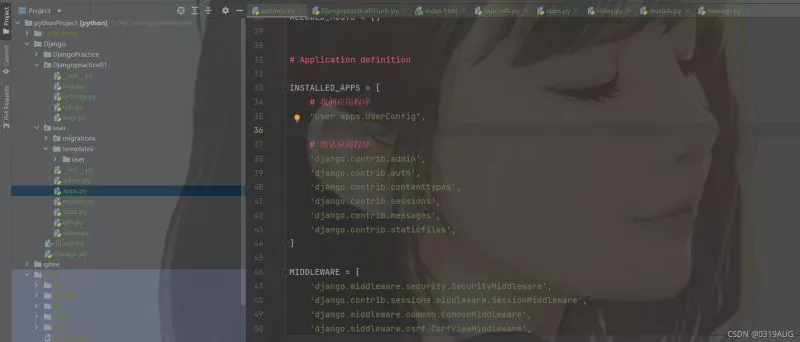
stay settings.py Lieutenant general INSTALLED_APPS Modify as shown in the figure
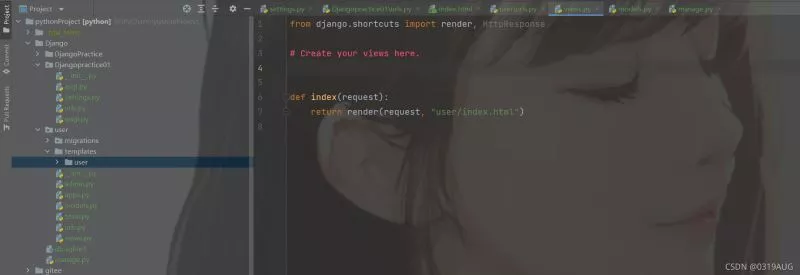
8. Definition URLstay user\views.py writes index() function :
stay user Create under directory urls.py
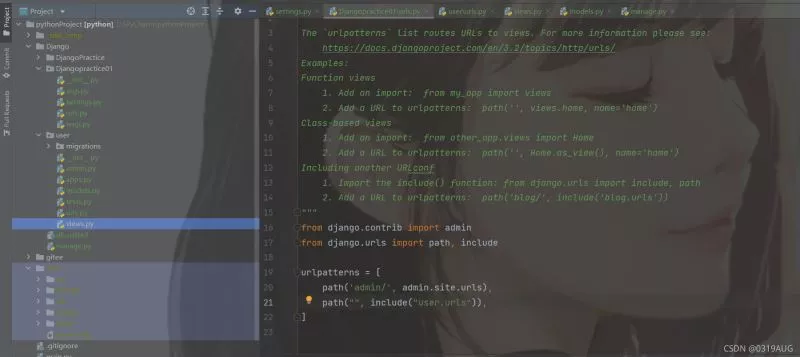
stay Djangopractice01\urls.py add to url
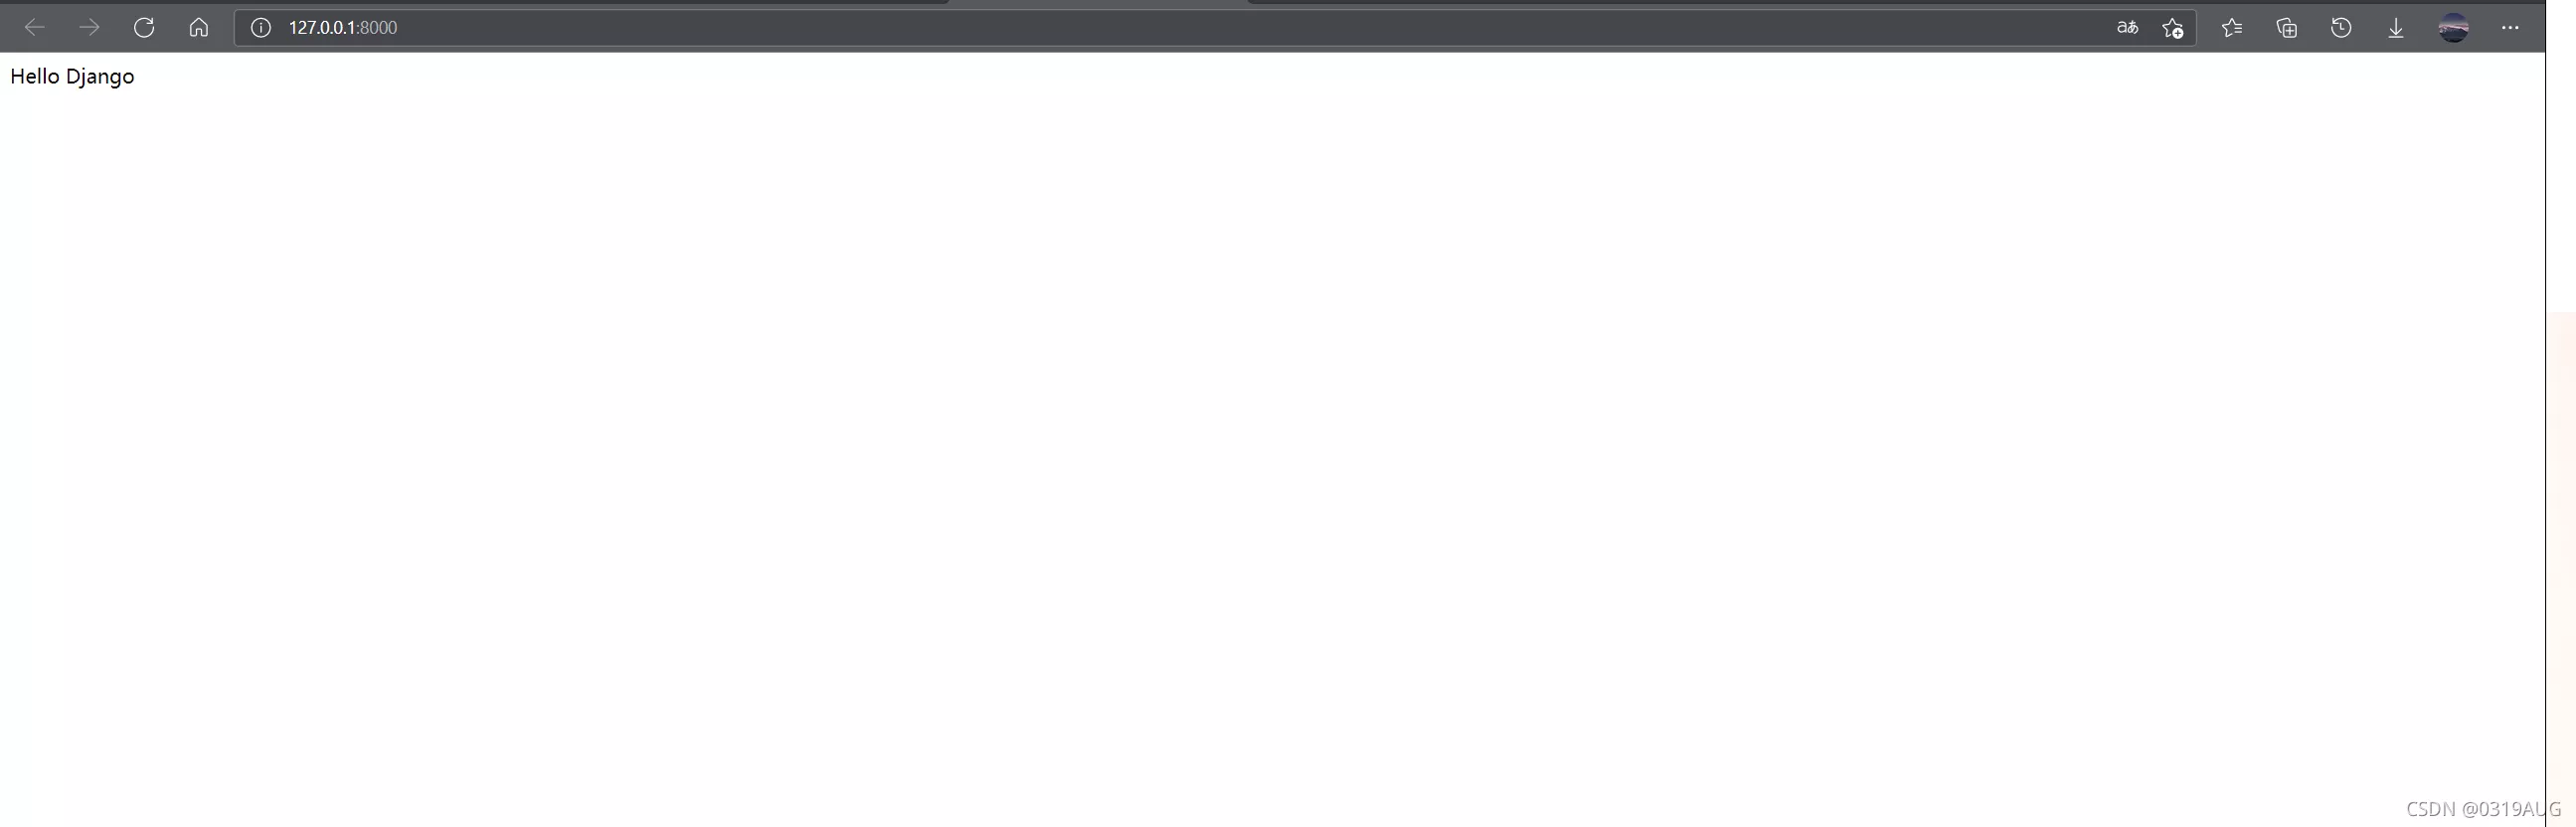
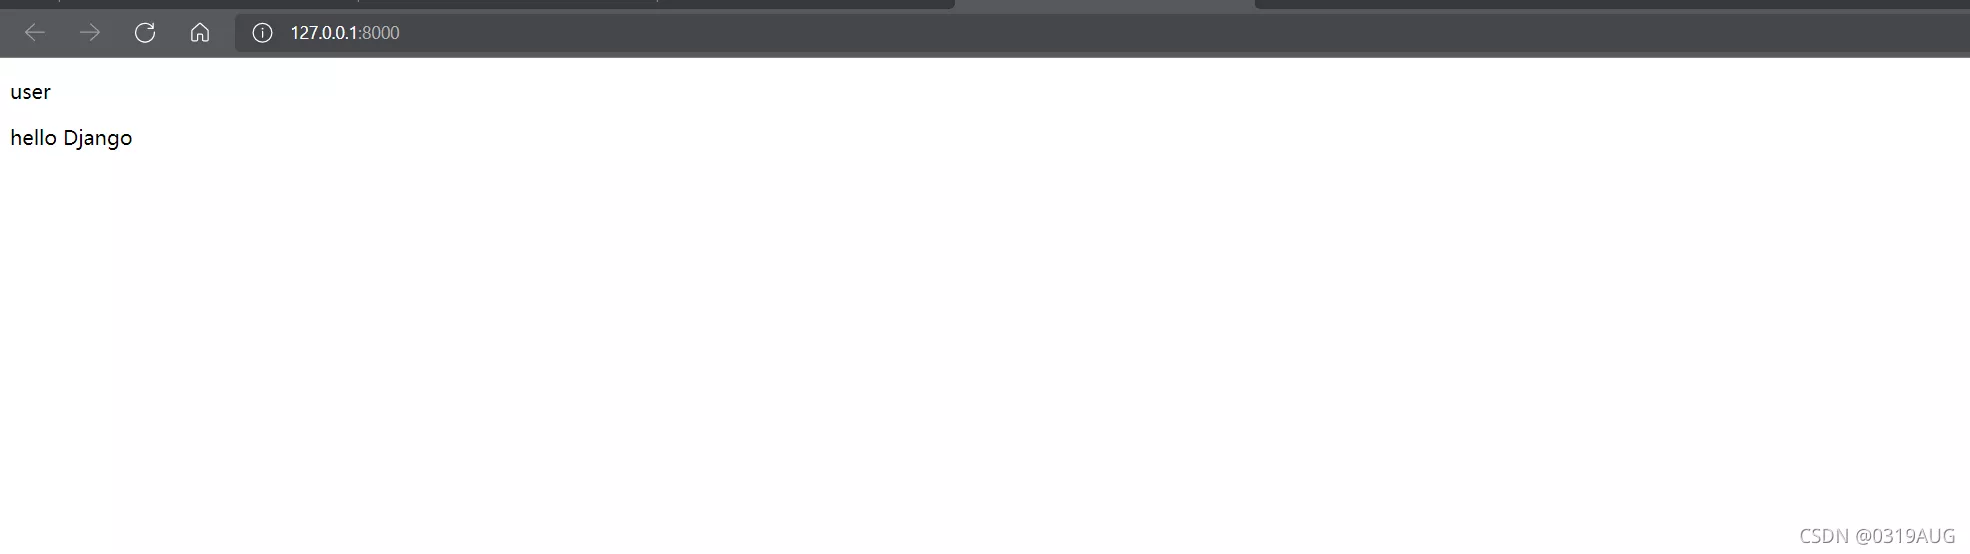
The page is displayed as "Hello django"
Or in another way :
stay user Under the new templates Folder , Build a new one inside user\index.html
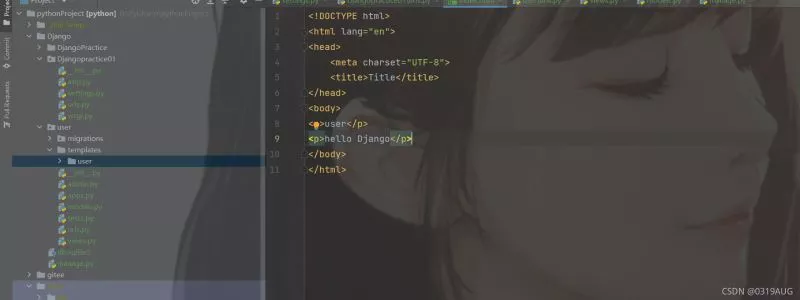
stay views.py writes :
The following operations remain unchanged , Open the page and see :
This is about PyCharm establish Django The article of the project is introduced here , More about PyCharm establish Django Please search the previous articles of SDN or continue to browse the relevant articles below. I hope you will support SDN more in the future !